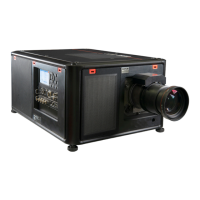
4. Installation
• file transfer for firmware upgrade
• easy adjustment of projector
• storage of multiple projector configurations and set ups.
• wide range of control possibilities.
• linking the projectors to allow uniform color (Linked Dynacolor) and brightness (CLO) ,...
•...
The connection to the projector can be done via a crossed cable or via a HUB on the local network (LAN).
The Ethernet connection is also used to allow the Desktop integration. The software on the delivered CDROM
must therefore be installed on the desktop PC. See the Desktop integration software User Guide.
How to connect the projector ?
1. Connect the RJ 45 male plug to the projector’s RJ 45 female connector
DVI
COMPUTER
RS 232 C
DVI
R.C.
DVI
COMPUTER
RS 232 C
DVI
R.C.
R / PR
G / Y
B / PB
Hs / Cs
Vs
VIDEO
S-VIDEO
R / PR
G / Y
B / PB
Hs / Cs
Vs
VIDEO
S-VIDEO
DESKTOP INPUT
Image 4-23
Crossed cable connection
30 R59770286 NW-12 07/09/2009

 Loading...