52
Setup Program
⦁
touch the center of the cross using the Touchscreen pen
►
the cross moves to the next position
⦁
repeat this until all three positions shown are calibrated
►
the Display closes
►
the calibration is saved
Display Calibration
⦁
touch «Display calibration»-icon
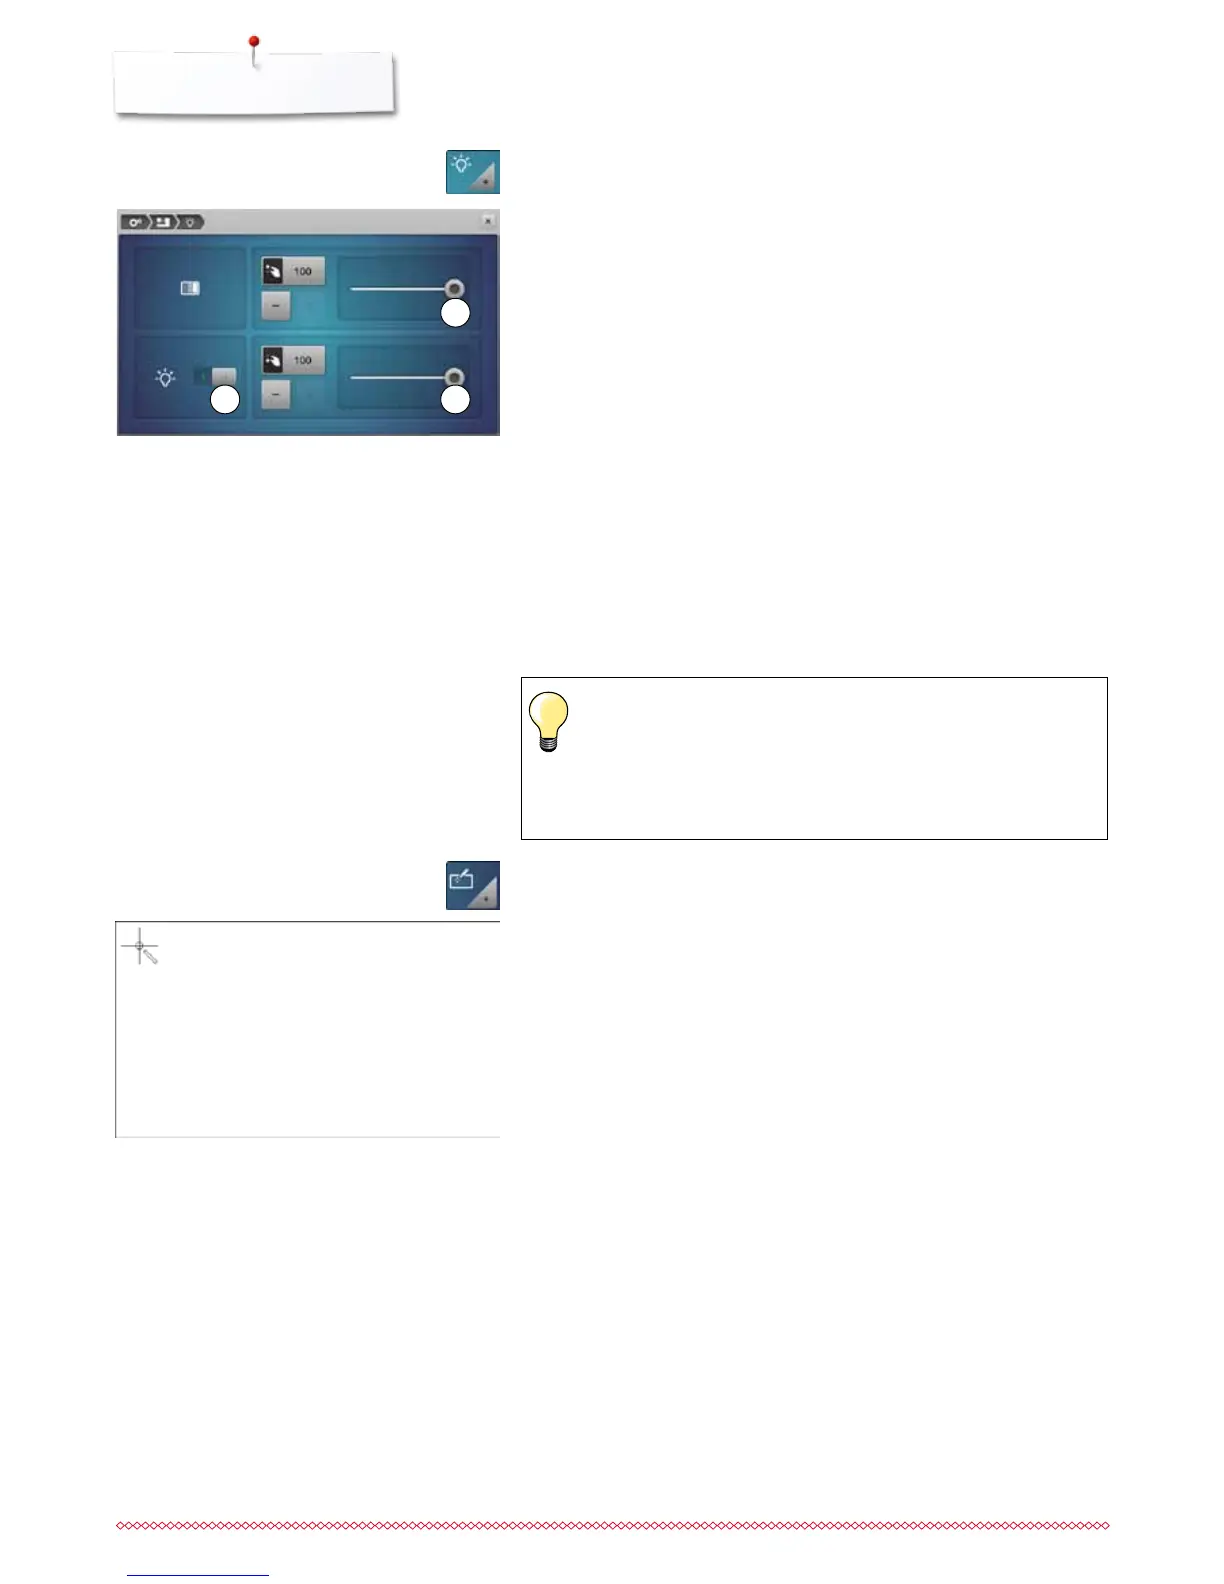
Brightness
⦁
move the round knob 1 in the upper part of the Display to the left/right using
the Touchscreen pen or the finger or
⦁
turn the stitch width knob or
⦁
touch icon «+»/«-»
►
the brightness of the Display changes
►
the basic setting is displayed by a small white dot
►
alterations are visible in the yellow-framed icon
Sewing light
►
when icon 2 is active, the sewing light is on
⦁
touch gray icon
►
the sewing light is turned off
Brightness sewing light
⦁
move the round knob 3 in the Display to the left/right using the
Touchscreen pen or the finger or
⦁
turn the stitch length knob or
⦁
touch icon «+»/«-»
►
the brightness of the sewing light changes
►
the basic setting is displayed by a small white dot
►
alterations are visible in the yellow-framed icon
Display settings
⦁
touch «Display setting»-icon
2
1
3
The Display calibration can be opened as follows:
⦁
turn off the sewing-/embroidery computer
⦁
touch the two needle positioning buttons on the front panel and
keep them pressed
⦁
turn on the sewing-/embroidery computer and release the
buttons as soon as the Display appears


 To Next Page