95
Button sew-on program
Darning foot No. 9 (optional accessory)
Button sew-on foot No. 18 (optional accessory)
Button sew-on program No. 60
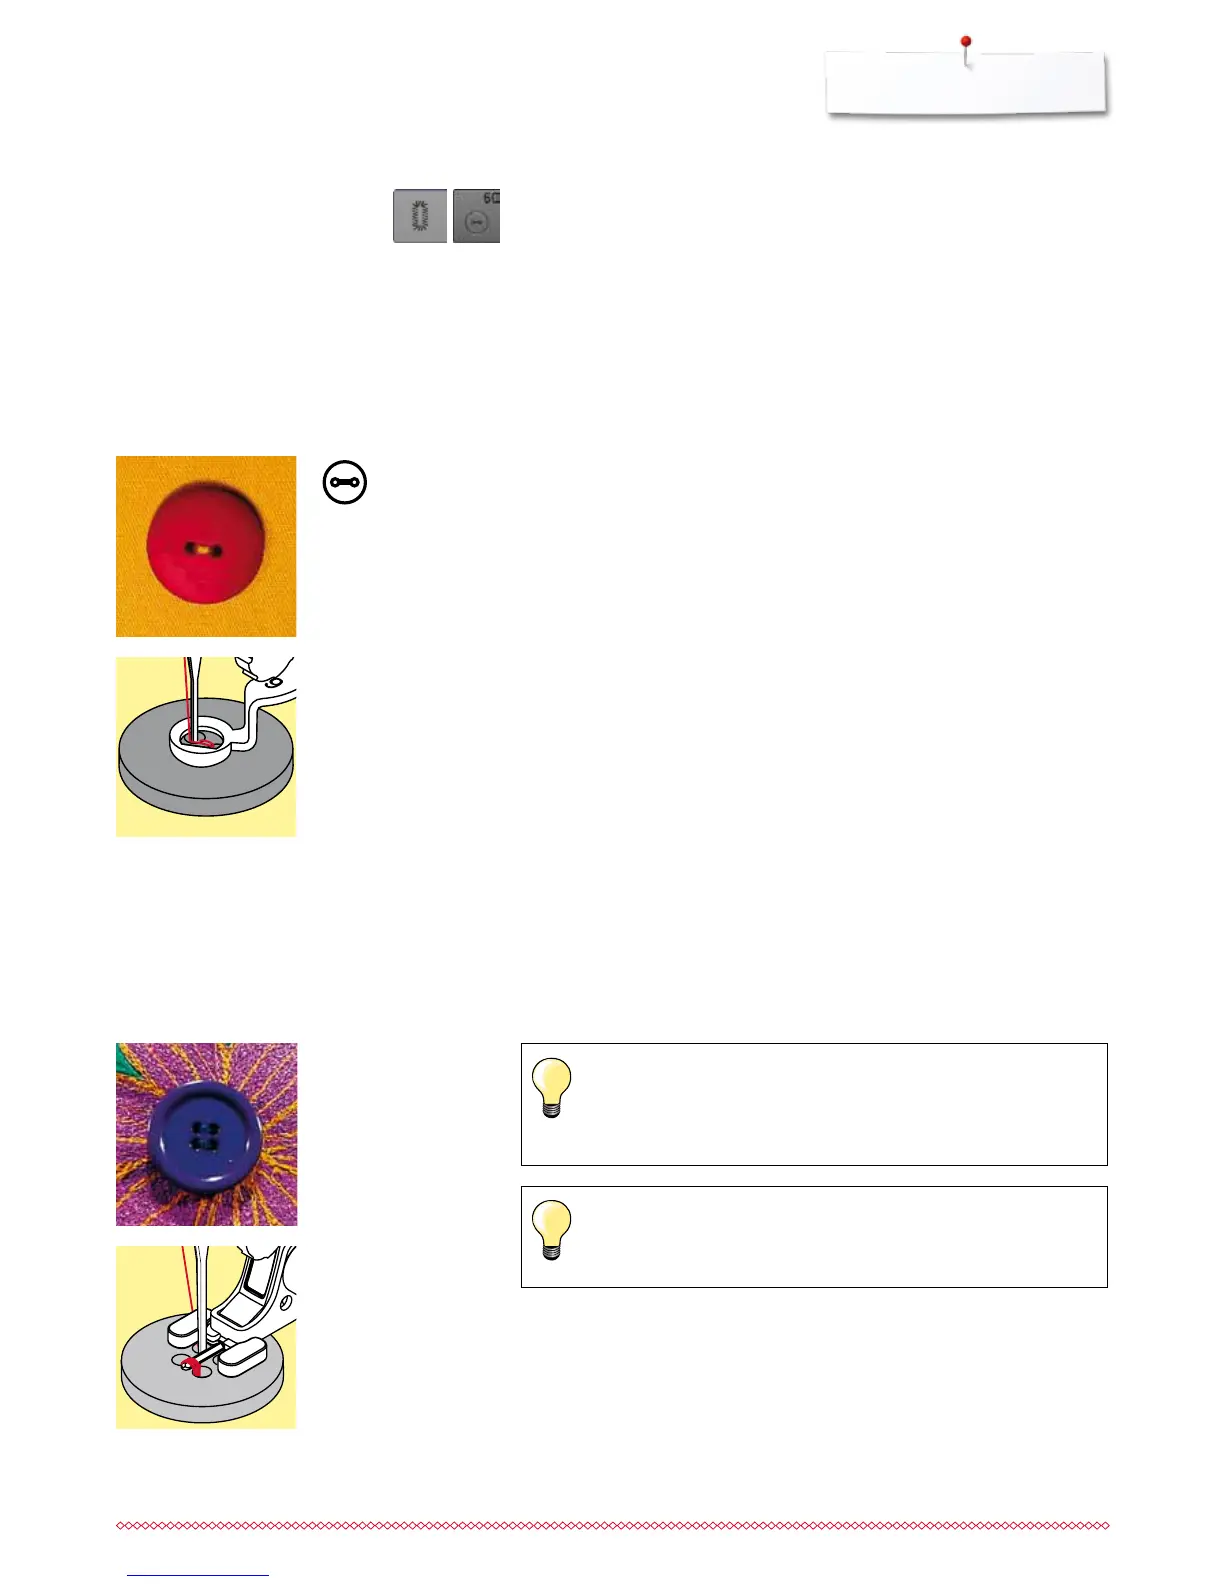
For buttons with 2 and 4 holes.
Preparation
⦁
lower the feed dog
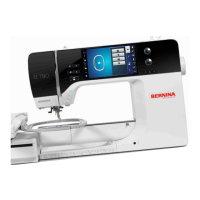
Sewing on a 4-hole button
⦁
sew the front holes first
⦁
carefully move the button forward
⦁
sew the back holes with the same program
For a increased stability the button sew-on program can be sewn
twice.
Sewing on Buttons
Buttons sewn on for decorative purposes only are stitched without a «thread
shank». «Shank length» = distance between button and fabric; can be adjusted
with Button sew-on foot No. 18.
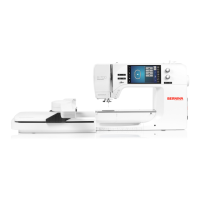
Sewing on buttons with Darning foot No. 9 (optional accessory)
⦁
select button sew-on program
⦁
check distances between holes with the handwheel
⦁
adjust stitch width if necessary
⦁
hold the threads when starting to sew
⦁
sew the first securing stitches into the left hole
⦁
sew program
►
sewing computer stops automatically when program is completed and is
ready for the next button
Beginning and ending threads
The threads are secured and can be trimmed.
For increased stability
⦁
pull on both bobbin threads until the ends of the upper threads are visible
on the wrong side
⦁
pull the threads out and knot the ends additionally
⦁
trim the threads
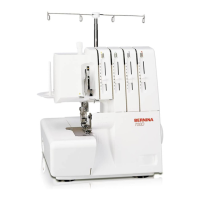
Sewing on buttons with foot No. 18 (optional accessory)
⦁
set the shank length with the screw on the foot
⦁
select button sewing-on program and continue as with foot No. 9 (optional
accessory)
⦁
touch «Buttonhole«-button
⦁
touch «Button sew-on program»-icon
Button sew-on program


 To Next Page