BERNINA International AG Seestrasse 161 CH-8266 Steckborn Schweiz Seite 128 von 172
DRAFT – VERSION
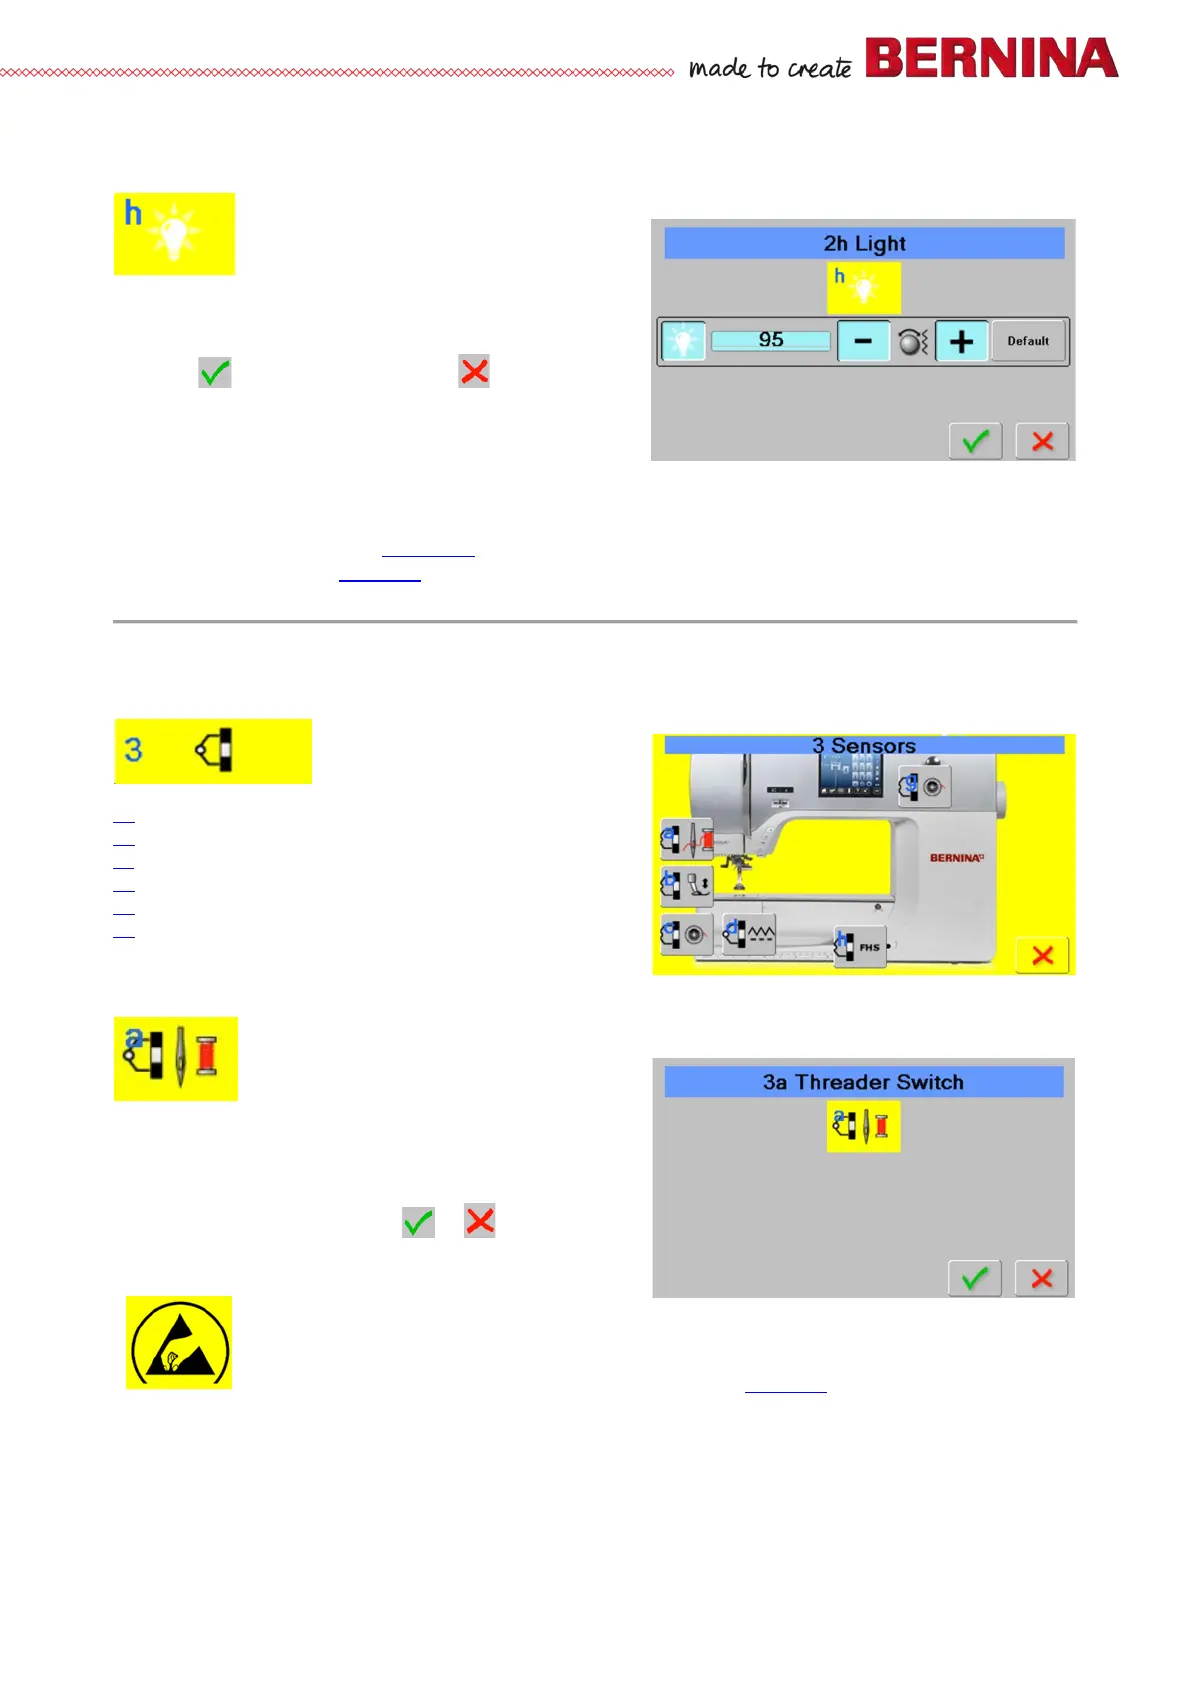
2h LED sewing light and brightness
Is used to check the sewing light
Check:
• Use + and - keys or the stitch width adjusting knob to
adjust the LED brightness.
• Press to save and close, press to close
without saving.
Repair note:
• Check plugs and cables for deformation and/or wear and tear.
• Determine which set of LEDs are not working.
• Check connections P-38 and P-3111 on the PCBA-Base.
• Replace LED sewing light (see 4.2.11
).
• Replace PCBA-Base (see 4.2.4).
6.3 Section 3 – Location of sensors in the machine
3a
Threader sensor
3b Presser-foot micro switch
3c Lower-thread sensor
3d Feed-dog drop
3g Winder micro switch
3h Frei Hand System FHS
3a Threader sensor
Is used to check threader sensor
Check:
• Select test 3a. A checkbox appears.
• Pull threader down, the signal in the box will change
from 1 to 0.
• To return to section 2, press or .
Repair note:
• Check cables for deformation and/or wear and tear.
• Check correct positioning of PCBA-Threader. The PCBA Threader is held in position with
a pin and fastening screw 007752.50.34 (T10) in the needle bar support.
• If sensor doesn’t respond, replace PCBA-Threader (see 4.2.6
).



 To Next Page