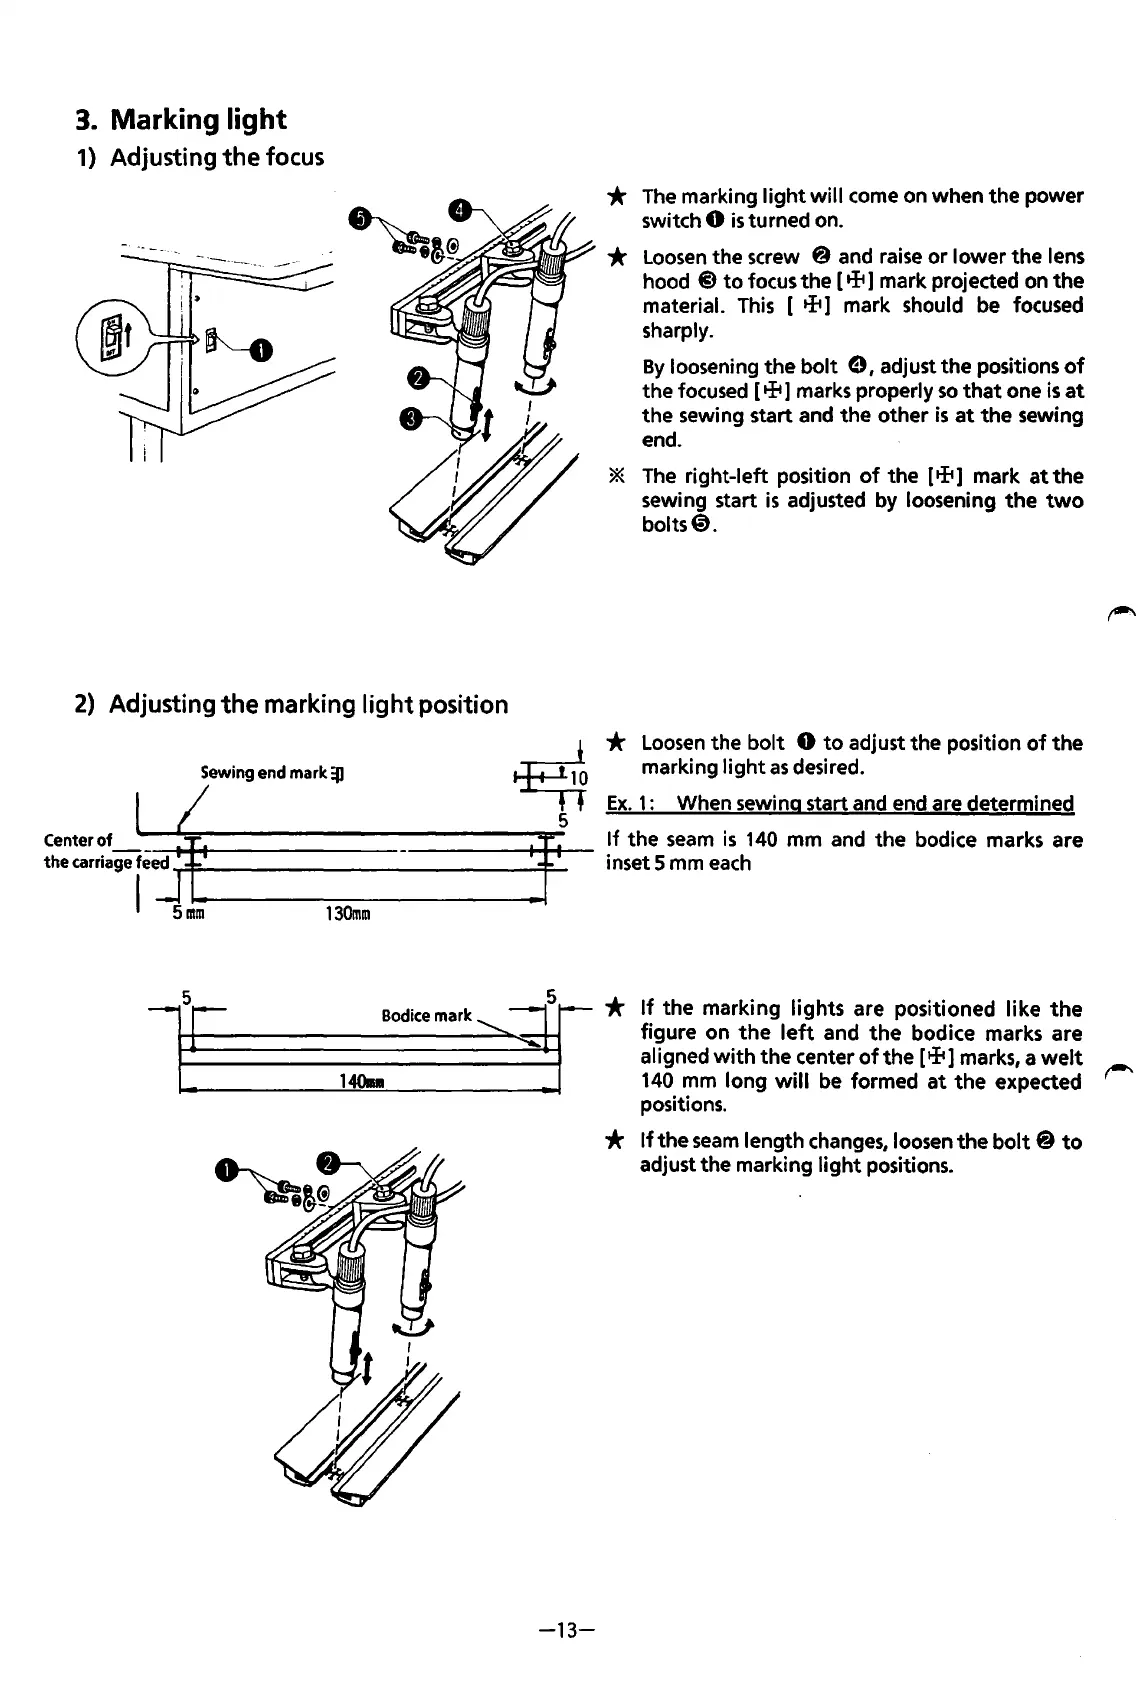
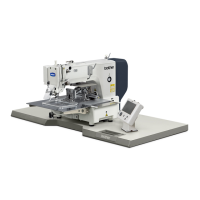
3.
Marking light
1) Adjusting
the
focus
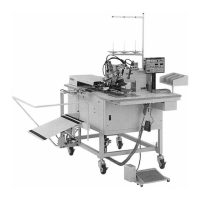
2)
Adjusting
the
marking
light
position
Centerof
~
thecarriagef.!j
.,.
_____________
--tj
I 5
mm
130mm
*
The
marking
light
will come on when the power
switch
0
is
turned on.
*
Loosen
the screw @ and
raise
or lower the lens
hood @
to
focus the [ + 1 mark projected on
the
material.
This
[ + 1 mark should
be
focused
sharply.
By
loosening the
bolt
e I adjust the positions
of
the focused [ + 1 marks properly
so
that
one
is
at
the sewing start and the other
is
at
the
sewing
end.
*
The
right-left position
of
the [ tft 1 mark
at
the
sewing start
is
adjusted by loosening
the
two
bolts@.
*
Loosen
the
bolt
0
to
adjust the position
of
the
marking
light
as
desired.
Ex.
1:
When sewing start and end are determined
If
the
seam
is
140
mm and the bodice marks are
inset 5 mm
each
5
1408
Bodicemark~
*
If
the marking lights are positioned like
the
figure on
the
left
and
the
bodice marks are
aligned
with
the center
of
the
[tli1
marks, a
welt
140
mm long
will
be
formed
at
the expected
positions.
-13-
*
If
the
seam
length
changes,
loosen the
bolt
@
to
adjust the marking
light
positions.
From the library of: Superior Sewing Machine & Supply LLC