1-2 Confidential
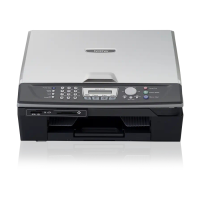
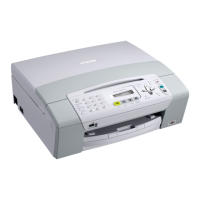
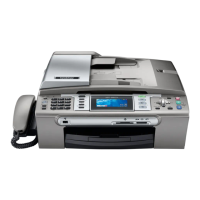
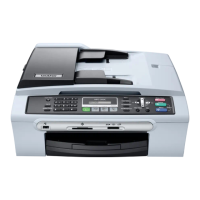
No. Name Description
(1) Control panel
Use the keys to operate the machine. The liquid crystal display
(LCD) shows the machine operation status.
(2) Ink cartridge cover Open to replace ink cartridges.
(3) Paper tray
Load paper here. Paper will be fed into the machine, sheet by
sheet.
(4)
Media slots for PhotoCapture
Center*
1
Insert a memory card here.
(5)
Port for PictBridge/USB flash
memory drive
Connect a digital camera (with PictBridge) to this connector using
the USB cable.
Insert a USB flash memory drive here.
(6) Handset*
2
Use for telephone conversations.
(7) Scanner cover (Scanner unit) Open to remove jammed paper.
(8)
ADF & document cover ASSY
(For models with ADF)
Document cover
(For models without ADF)
ADF (Only for models with ADF): Load documents (originals)
here. Documents will be fed into the machine, page by page.
Document cover: Open to place the document (original) on the
scanner glass.
(9) External telephone line jack Plug in the modular plug on the external telephone line here.
(10) Telephone line jack Plug in the modular plug on the telephone line here.
(11) LAN cable connector*
3
Connect the LAN cable here.
(12) USB interface connector Connect the USB cable here.
(13) Jam clear cover Open to remove paper jammed inside the machine.
*
1
For models with PhotoCapture Center
*
2
For models with handset
*
3
For wired LAN-enabled models
 Loading...