1 - 3
1.2.2 Inspection Outline
When you start the tool and implement "Read serial no", the next available inspection, "Write
default eeprom data", becomes operable after completion of the inspection. All the listed
inspections will be completed by operating in descending order. Inspections after "Check
adaptor AD" are optional. They can be omitted when the operation has been already checked or
the inspection is unnecessary. However, be sure to implement "Write serial no" as the last item.
Note : Serial number will not be written into the machine unless "Write serial no" is completed.
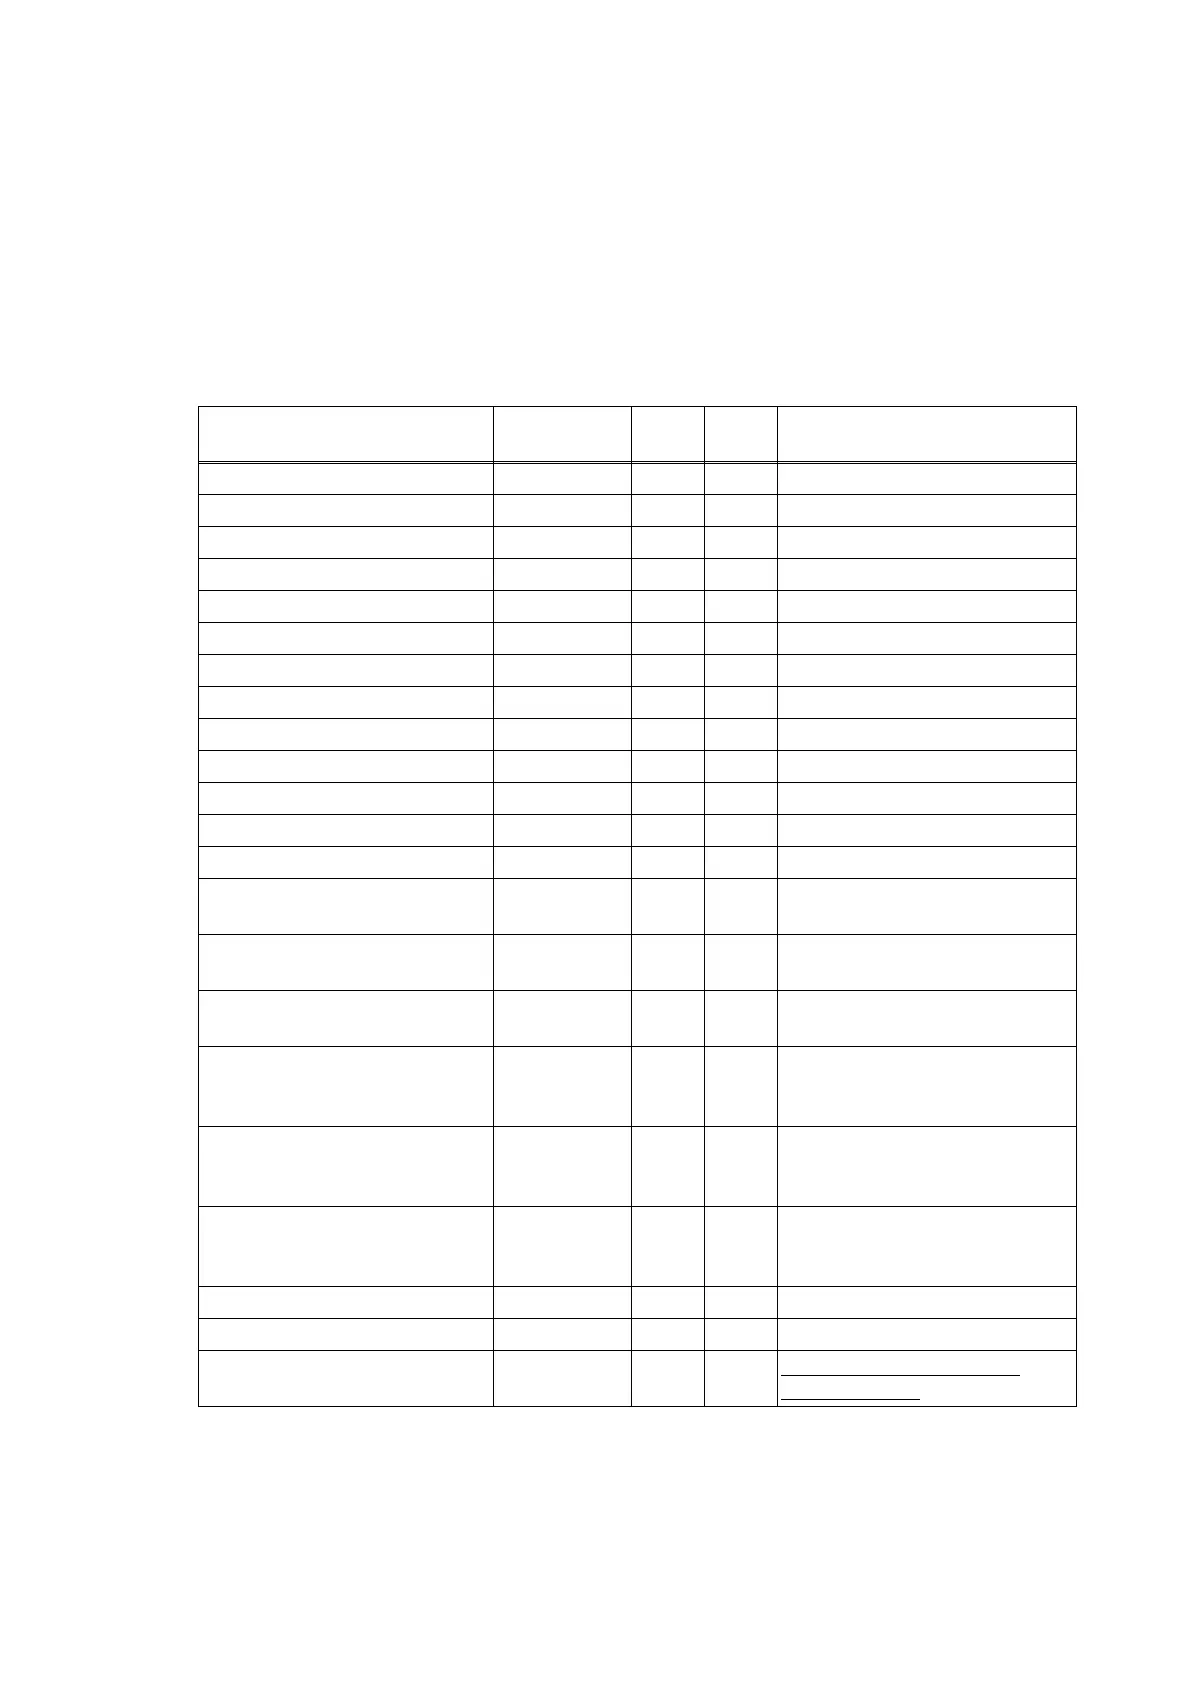
Inspection list ("
O
": valid "
-
": invalid)
*1 Only for TD-2130N. This setting applies only to HC models.
Operation procedures for each inspection item are explained in the following pages.
Procedures can be different between TD-2000 and TD-2100N. Follow the instructions for each
model explained hereafter.
Name of inspection
Communication
I/F
2000 2100N Note
Read serial no USB
OO
Check MAC address USB
-
O
Write default eeprom data USB
OO
Write media information USB
OO
Write product info USB
OO
Write mass storage info USB
OO
Write pincode and localname USB
-
O
Adjust transmission sensor USB
OO
Adjust reflecting sensor USB
OO
Reboot printer USB
OO
Print test(Label) USB
OO
Check adaptor AD USB
OO
Check USB host USB
-
O
Check connect TDU USB
-
O
Optional touch panel display unit
connection is required.
Check peel sensor (Paper none) USB
-
O
Optional peeler connection is
required.
Check peel sensor (Paper on) USB
-
O
Optional peeler connection is
required.
Check battery AD USB
-
O
Optional battery base unit and
battery are required for power
supply.
Check holder adaptor AD USB
-
O
Optional battery base unit and
adapter are required for power
supply.
Check battery charge USB
-
O
Optional battery base unit,
battery and adapter are required
for power supply.
Check LED USB
OO
Write smart info USB
-
*1
Write serial no RS-232C
OO
Always operate as the last
inspection item.
 Loading...