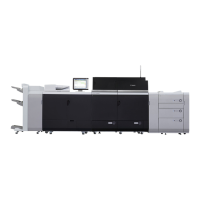
12) Attach the new transfer cleaner drive unit (FM1-H026-000). Check that the 2 pins [a] are thoroughly inserted, and secure it
with the 4 screws removed in the step 10).
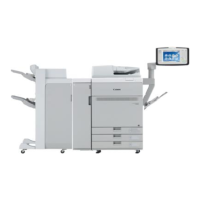
13) Apply the same amount of super lube grease as 1 grain of rice (20mg) respectively to the entire surface of the 2 shafts [a] of
the transfer cleaner drive unit. In addition, check that the timing belt is not detached.
14) Attach the 2nd transfer drive motor assembly removed in the step 9) with the 4 screws.
[Reference] Check that the hole of the 2nd transfer drive motor sheet metal and the shaft match. If the shaft has a stepped section,
check that it fits to the hole properly.
15) Assemble in the order of the steps 7), 6) and 5).
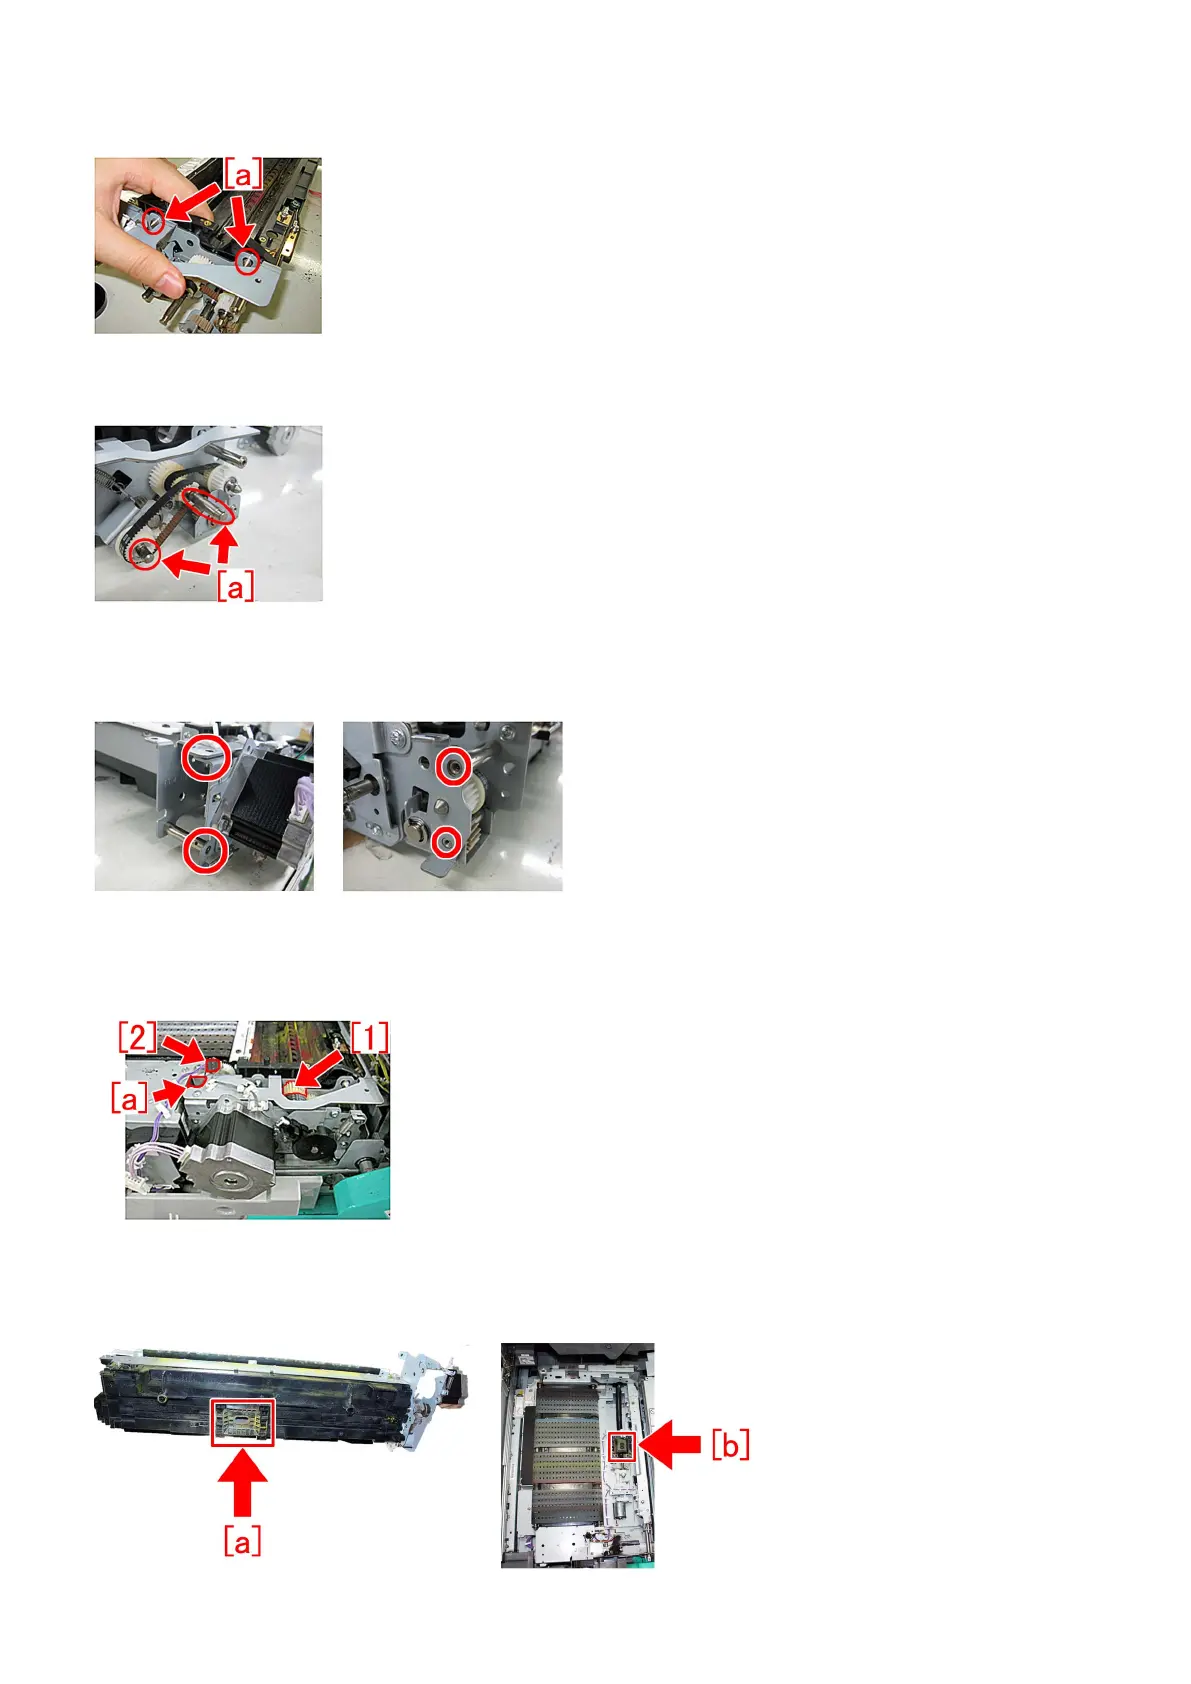
16) Turn the gear [1] clockwise seeing from the front to check that it, including the transfer cleaner drive unit, turns smoothly. And
insert the connecting part [2] of the connector into the hole [a].
17) Assemble by reversing the steps from 4).
18) When assembling the 2nd transfer assembly, the position of the waste toner discharge outlet [a] of the 2nd transfer assembly
facing downward and the position of the waste toner inlet [b] of the pre-registration/feed unit facing upward may be shifted.
50
 Loading...