Program Sequence
3. Press “
ENTER
” to confirm.
4. Press “
EXIT
” to return to Program PAGE (Figure 4-1).
4.2.1 Setting Sequence Number
1. Use “
”, “
” keys to move the cursor to the column to be set as Figure 4-9 (1)
shows.
2. Use the numeric (
0
~
1
) keys or “Rotary”(
) knob to set the value.
A program has 10 sequences, therefore the range of SEQ NO. is: 1~10.
3. Press “
ENTER
” to confirm.
4. Press “
EXIT
” to return to Program PAGE (Figure 4-1).
4.2.2 Setting Sequence Type
1. Use “
”, “
” keys to move the cursor to the column to be set as Figure 4-9 (2)
shows.
2. Use the numeric (
0
~
2
) keys or “Rotary” (
) knob to set the Sequence Type.
There are three Sequence Types, which are: (1) AUTO, (2) MANUAL, (3) EXT.
TRIGGER.
(1) Setting Sequence Type to AUTO
When SEQ TYPE = AUTO is set, the page shown as Figure 4-10 indicates the sequence
will complete the execution automatically and skip to next sequence. TIME= will
prompt at the lower left corner to ask users entering the time remained for this sequence.
NOTICE
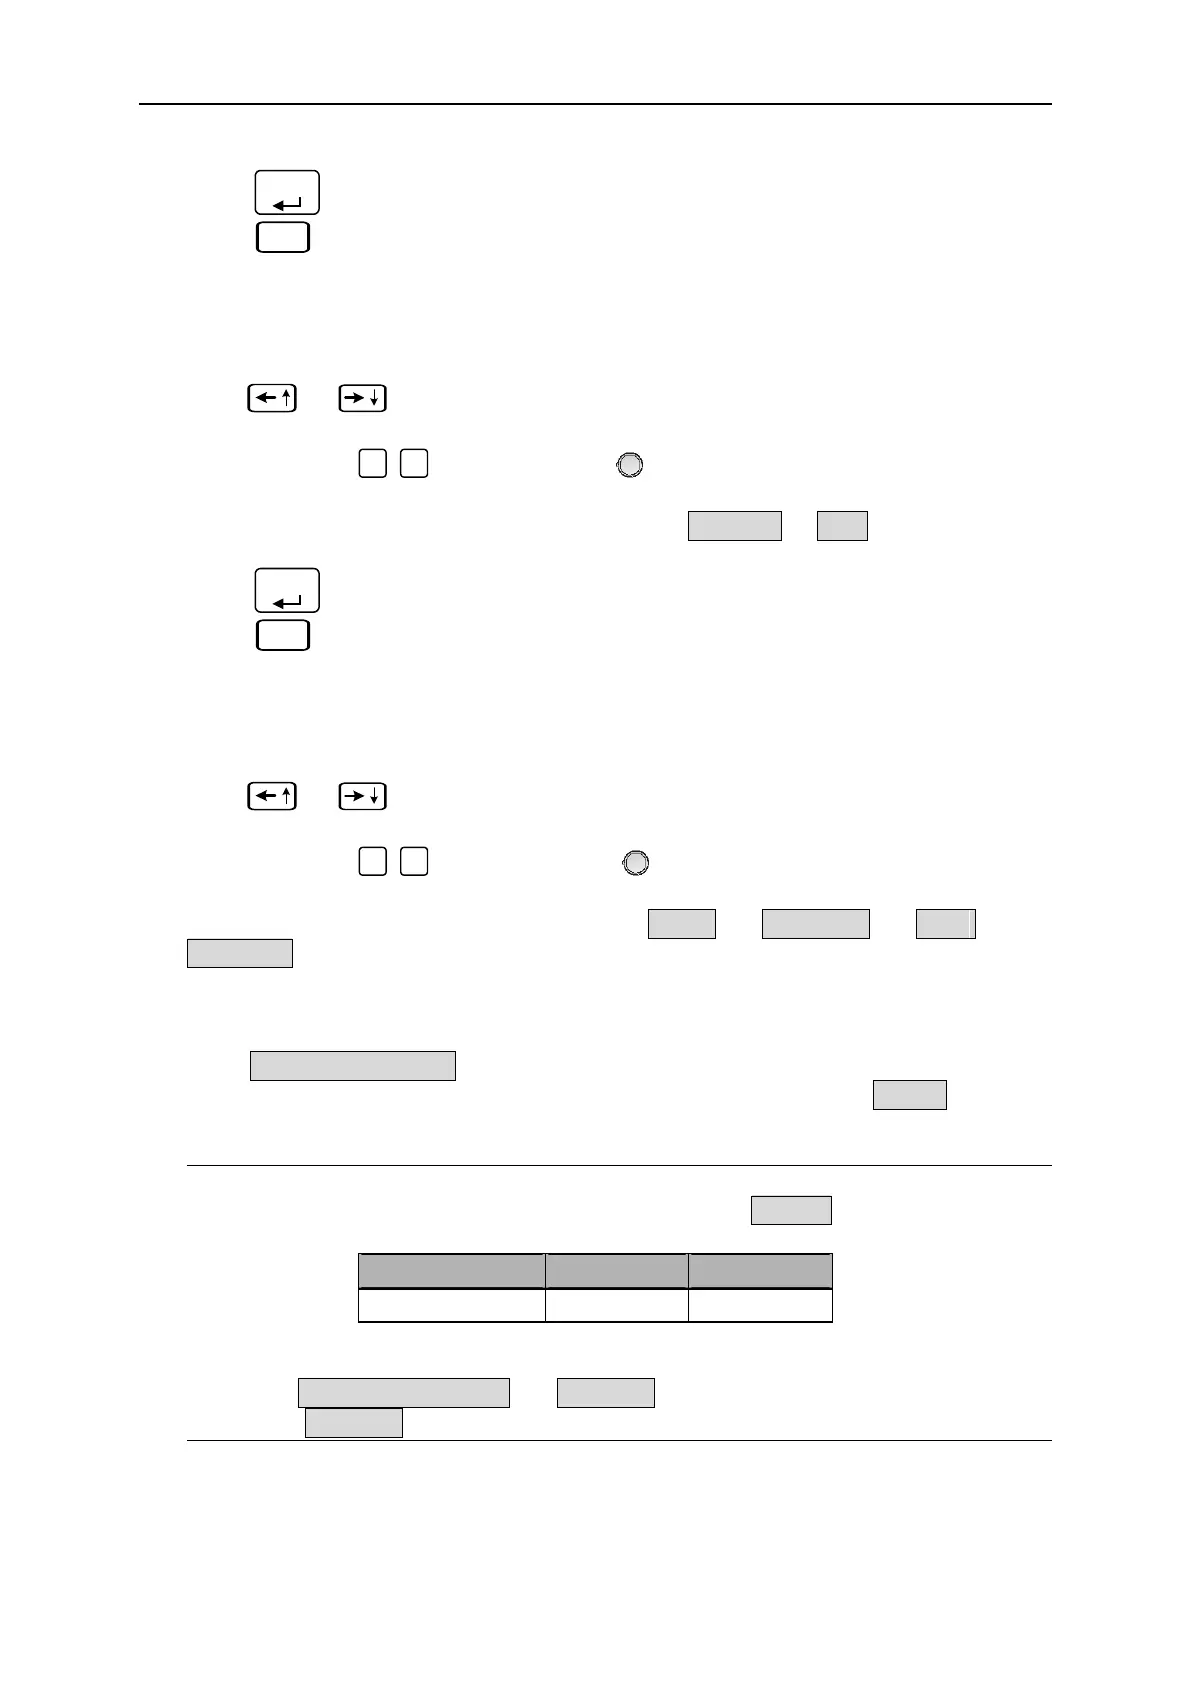
1. Table 4-2 lists the range for setting the time remains (TIME =).
TIME Min. (Sec) Max. (Sec)
0.1 15000
Table 4-2
2. When SEQ. TYPE = AUTO and TIME = 0 it indicates the program is done before
setting TIME = 0 for previous Sequence.
4-9

 Loading...