Program Sequence
(3) Setting Sequence Type to EXT. TRIGGER
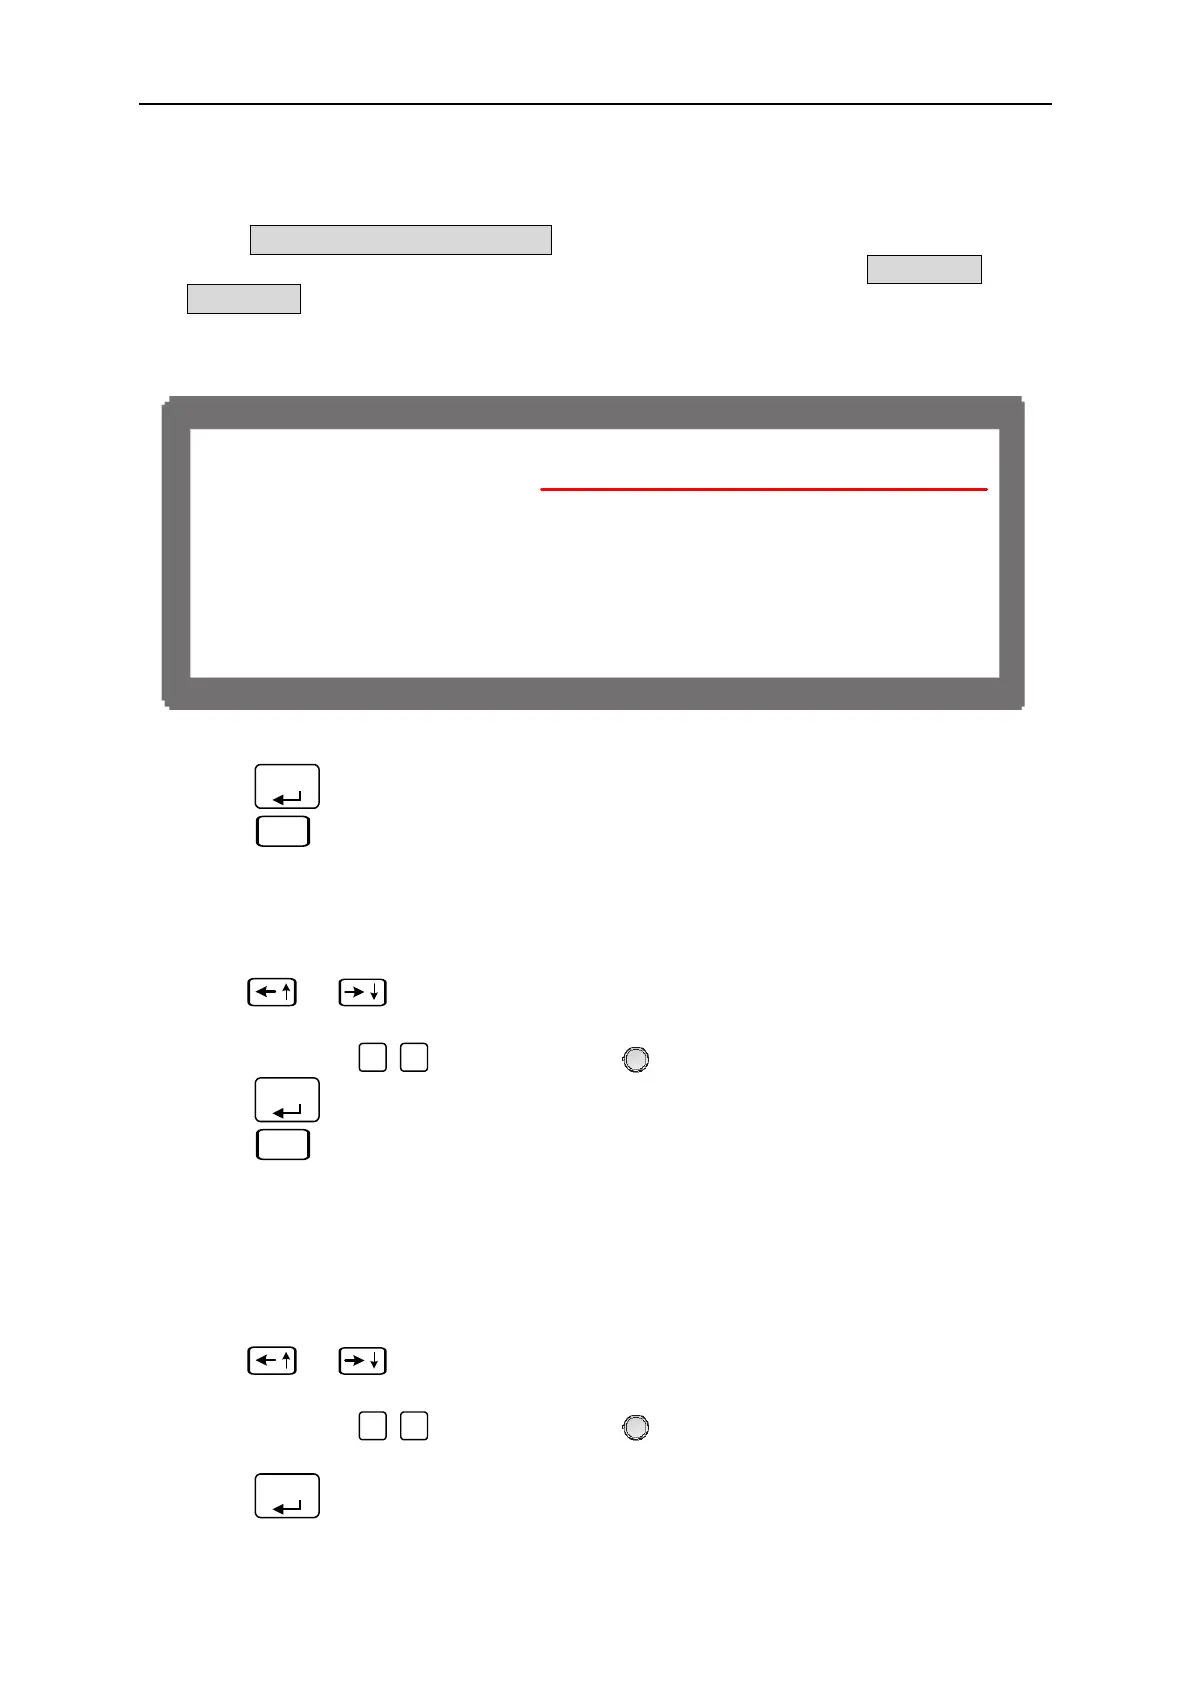
When SEQ TYPE = EXT. TRIGGER is set, the Sequence page shown as Figure 4-14
indicates the sequence will run automatically and stop at the setting of VOLTAGE or
CURRENT without skipping to next sequence until triggered by positive pulse from PIN
7 of Analog Interface on the rear panel. It will not ask users to enter the time the
sequence will remain when set to EXT. TRIGGER.
[ S E Q U E N C E ]
S E
. = 1 S E
.T
PE=EX
.T
I
G E R
V
L T
E = 0
S.
.=1.0(V/
S )
C
E N
= 0 I S.
.=1.0(A/
S )
T T L
U
= 0 <BINAR
=00000000 >
Figure 4-14
3. Press “
ENTER
” to confirm.
4. Press “
EXIT
” to return to Program PAGE (Figure 4-1).
4.2.3 Setting Voltage
1. Use “
”, “
” keys to move the cursor to the column to be set as Figure 4-9 (3)
shows.
2. Use the numeric (
0
~
1
) keys or “Rotary” (
) knob to set the SEQ output voltage
3. Press “
ENTER
” to confirm.
4. Press “
EXIT
” to return to Program PAGE (Figure 4-1).
See section 3.2 for detail description of settings.
4.2.4 Setting Current
1. Use “
”, “
” keys to move the cursor to the column to be set as Figure 4-9 (4)
shows.
2. Use the numeric (
0
~
1
) keys or “Rotary” (
) knob to set the SEQ output current
limit.
3. Press “
ENTER
” to confirm.
4-13

 Loading...