User Guide | FreeSpeak II™ Base station version
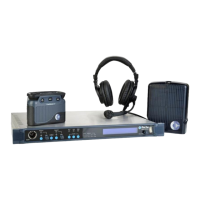
4) Select ‘INPUT’ to display the input level setup menu.
Figure 6-27 Port input level setup
5) Rotate the setup/enter encoder clockwise or counter clockwise to increase
or decrease the input level in 1 dB increments.
6) When the desired audio level appears on the screen, press and release the
setup/enter encoder to select it,
7) The changes are saved and applied automatically five seconds after the
last time the setup/enter encoder was pressed or turned. The front-panel
display flashes to indicate that the changes are being saved and applied.
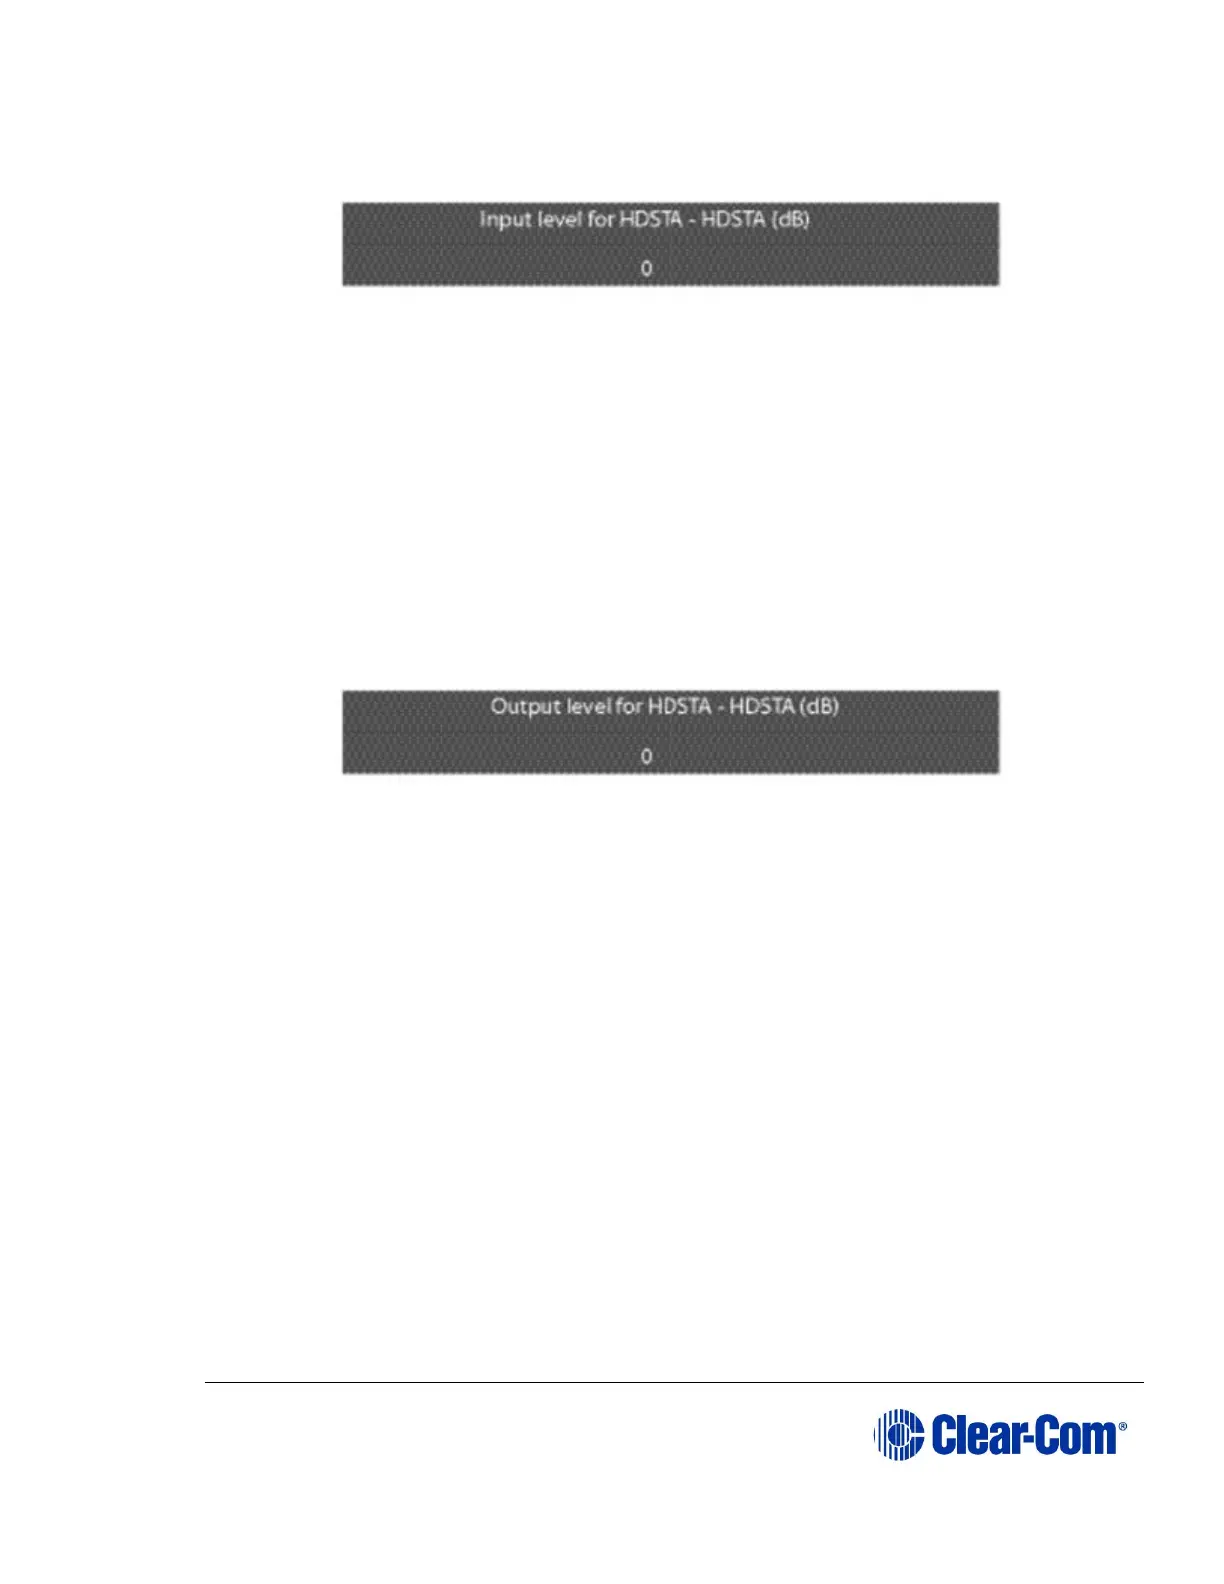
8) Select ‘OUTPUT’ to display the output level setup menu.
Figure 6-28 Port output level setup
9) Rotate the setup/enter encoder clockwise or counter clockwise to increase
or decrease the output level in 1 dB increments.
10) When the desired audio level appears on the screen, press and release the
setup/enter encoder to select it.
11) The changes are saved and applied automatically five seconds after the
last time the setup/enter encoder was pressed or turned. The front-panel
display flashes to indicate that the changes are being saved and applied.
In some cases, the audio paths must be re-made before the changes will take
effect.
6.14 Setting port call destination
Partyline, 4-Wire, Stage Announce and Program ports can also have call
destinations configured. In this case any audio on the port will immediately be
routed to the specified destination which may be any of the other available ports.
If the VOX trigger is set then audio on this port will be routed to the destination
when the specified threshold is exceeded.