5-24 Desktop Removal and Replacement
5.12.4 Riser Board Removal
1. Prepare the computer for disassembly (Section 5.4).
CAUTION:
When the computer is plugged into an AC power source, there is always voltage applied to the
system board. You must disconnect the power cord from the power source before opening the computer
to prevent system board or component damage.
2. Remove the system unit cover (Section 5.6).
3. Disconnect and raise the expansion board cage (Section 5.12.1).
4. Remove the expansion board cage from the chassis (Section 5.12.3).
5. Remove the expansion boards from the board cage by first removing the retaining screw that
secures each board to the assembly. Be sure you disconnect any interconnect cables attached to
the expansion boards before removing the boards.
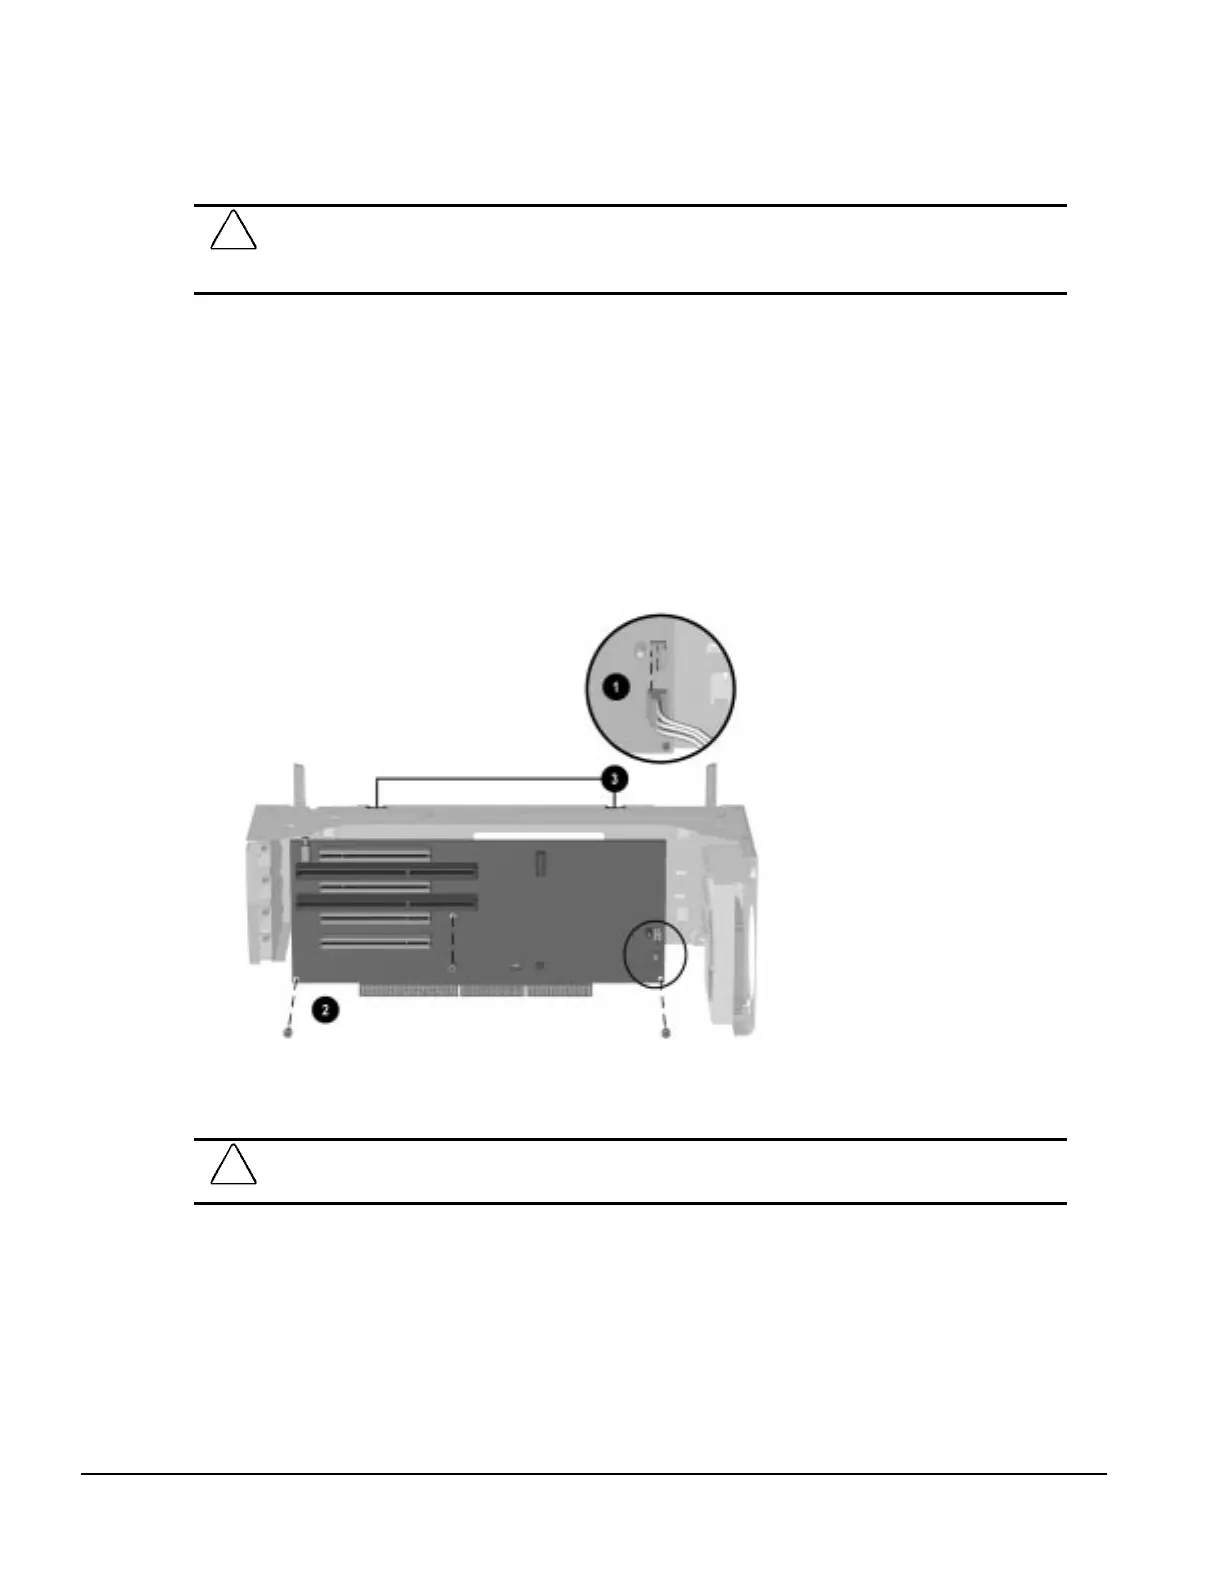
6. Disconnect the fan control cable from the riser board at P8 1.
7. Remove the three screws securing the riser board to the expansion board cage 2, then remove
the riser board 3.
Removing the Riser Board from the Expansion Board Cage
To replace the riser board, reverse the removal procedure.
CAUTION:
When returning the drive cage to its normal position, use caution to prevent damaging the
data and power cables.

 Loading...