Configuration and Setup 3-22
6. If you are using LAN interfacing, either with a printer directly connected to the scanner’s
LAN port or to a remote printer on the network, you will need to set the printer’s IP address.
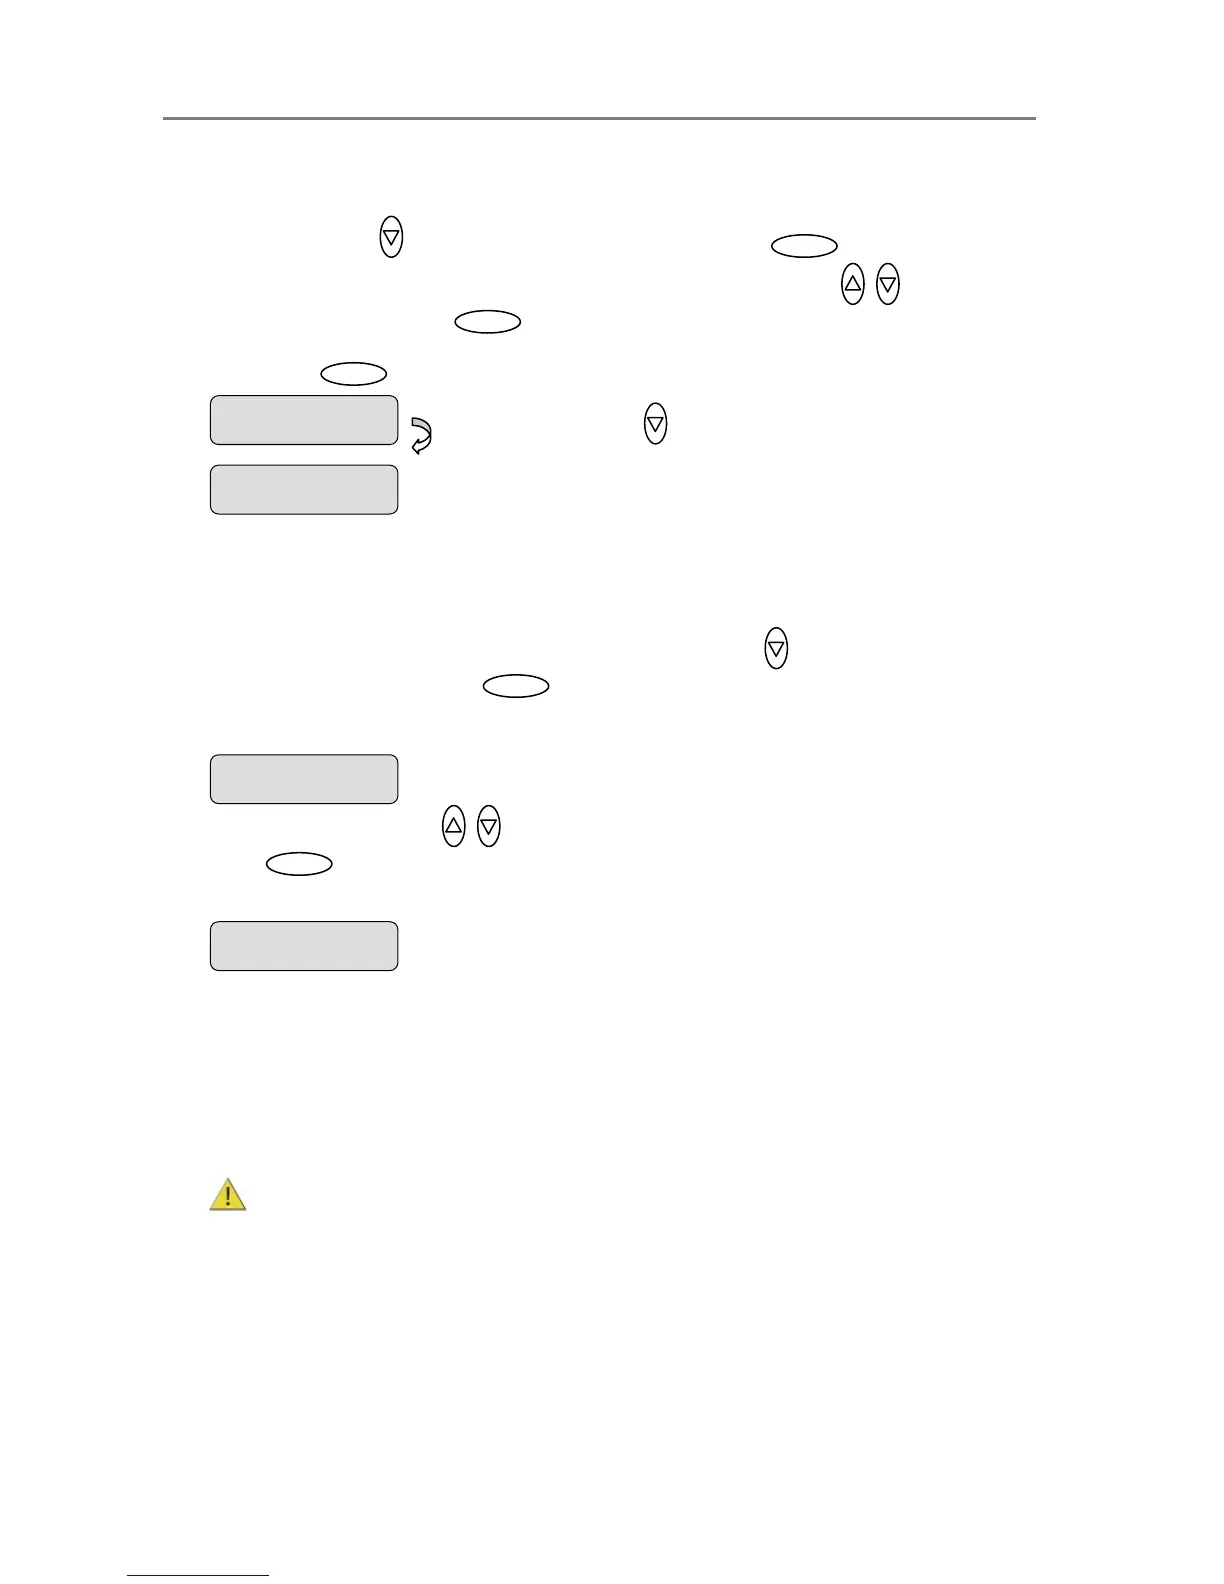
Press arrow down to display the IP setting dialog and then . The default IP
shows 4 groups with 3 zeros in each group. Use the arrows up/down to change the
first group (3 digits). Press to move to the next 3 digit group and again the arrows
to change them. Repeat this with each group until you have the right IP displayed and
press Enter to confirm.
7. You must now set definitions and parameters for the actual Printer Model. Printer Model
settings can be set in 3 ways (methods): automatically, by selecting a printer model from a
list of predefined printers or through making custom settings manually.
To select the Printer Model setup method: Press arrow down to reach and display the
Printer Model dialog and then to move the “>” mark down and thus enter the
Printer Model options.
Use the arrows up/down to display one of the following Printer Model options and
press to confirm your selection:
7.1 Auto Configure
Auto Configure tells the system to retrieve the printer’s parameters automatically from the
printer itself. The system searches for the printer on the port as indicated by your Interface
setting (USB or LAN-IP address) and then when it finds it, the printer’s setup parameters
are saved in the scanner device.
Not all printer models support automatic setup and you will need to use the Printer List or
the Custom Setup options instead. The printer must support SNMP in order for its settings
to be detected automatically.
NOTE: the actual search and settings upload process takes place the first time you try
to print and not during setup. It is therefore recommended to make a dispensable test copy
just after completing the steps for setting up your scanner.
Printer Model
> Auto Configure
Ente