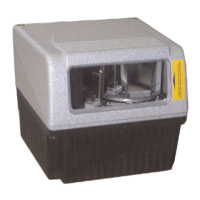
DS2400N
2
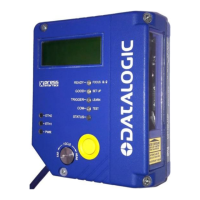
AutoLearn (F2) Function
Once entered, the reader starts a procedure to automatically detect and recognize
barcodes (by type and length), which are presented to it (*). The laser turns on and
the TRIGGER LED blinks to indicate the ongoing process.
The procedure is as follows:
- place the desired barcode on the scanline.
- wait until the TRIGGER LED stays steady on (indicating the reader has detected
the barcode)
- repeat, if needed, the above two steps to program up to 10 different barcodes (either
by length or by symbology). If more than one barcode is detected, the Multi Label
mode is enabled (refer to the “2000 Family Software Configuration Parameter
Guide” Help file)
- exit the process by pressing the X-PRESS™ push button once
The scanner will restart at the end of the process, and then the detected barcodes
are automatically configured in scanner memory.
(*) = in case of Programming Barcodes (refer to the “ID-NET™ : programming barcodes and
setup procedure” document in the product CD)
AutoSetup (F3) Function
Once entered, if a barcode label is positioned in front of the scanline, the scanner
automatically performs the optimal setup of the reading parameters for that specific
barcode.
The procedure is as follows:
- place the desired barcode on the scanline.
- enter the AutoSetup function (the laser turns on and the GOOD LED blinks to
indicate the ongoing process)
- wait until the GOOD LED stays steady on (indicating the reader has detected the
barcode)
This procedure ends either when the barcode is successfully decoded or after a timeout
of about 7 (seven) seconds.
The scanner will restart at the end of the process, and then the optimized reading
parameters for that barcode are automatically configured in scanner memory.
NOTE
The AutoSetup function does not modify the programmed barcode
symbologies. If needed, the AutoLearn function can be performed
after Autosetup.
22
 Loading...