DEVICE MAINTENANCE
108
SAFERY LASER SCANNER
New Window Calibration
NOTE
NOTE
10. After replacing the optical window, supply power to the Safety Laser Scanner and
connect it to DLSentinel.
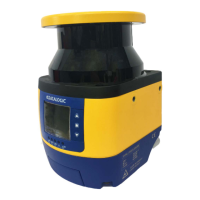
11. On DLSentinel, discover your device. On the Discovery page, go to Sc
anner>Win-
dow Replacement and e
nter your password (if any), then start the procedure.
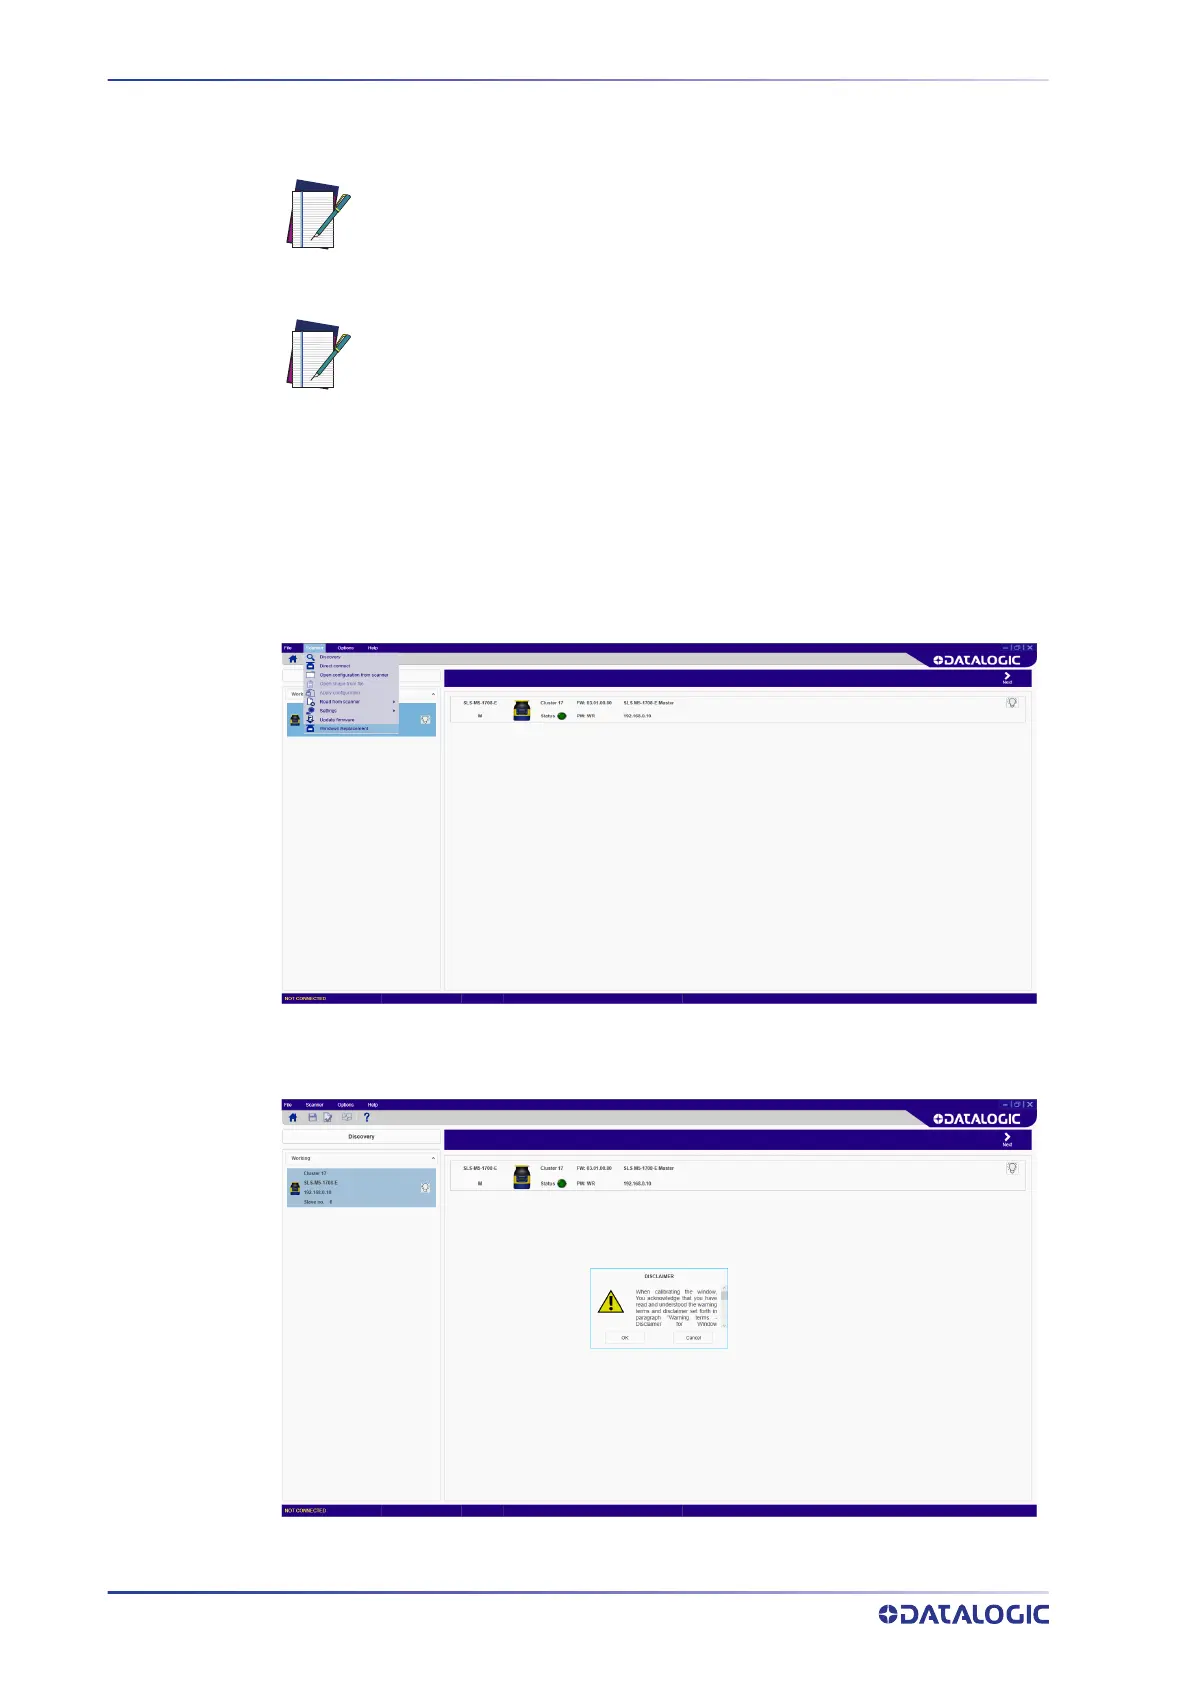
12. Carefully read the disclaimer. By clicking OK you accept the terms and disclaimer
contained herein.
A 2-meter free area around the 275° angle range of the Laser Scanner is
necessary to calibrate and validate the new optical window. Keep this area
free for the whole duration of the procedure.
If the Window Replacement procedure is performed on a Slave device, this
must be connected to a Master device. In this case, the last configuration is
preserved only if the optical window is replaced while the Slave device is
connected to the same Master device of said configuration. On the other
hand, if the Slave device is connected to a different Master device during
Window Replacement, the last configuration will be lost.
 Loading...