Get started with your AnywhereUSB Step 4: Connect the power supply
AnywhereUSB® Plus User Guide
37
Step 4: Connect the power supply
This section explains how to power the Hub.
Before you begin, verify that you have your AnywhereUSB Hub and the required additional
equipment. See Step 1: Verify product components.
1. Connect the appropriate power supply for your model to the device.
n
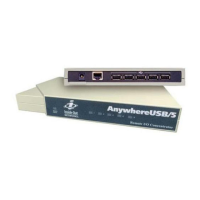
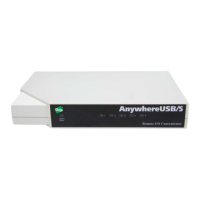
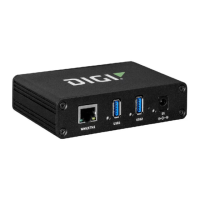
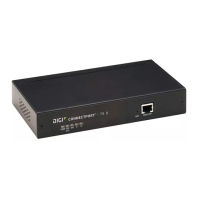
AnywhereUSB2 Plus Hub: Connect the power supply kit to the Hub, and use the twist-
lock feature to secure the power supply to the Hub.
n
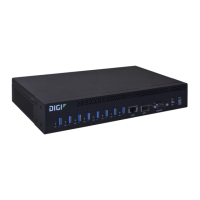
AnywhereUSB8 Plus Hub: Connect the power supply to the Hub and tighten the
screws to secure. Connect the power cord to the power supply.
n
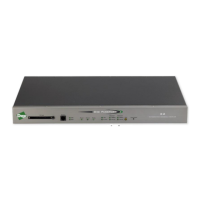
AnywhereUSB24 Plus Hub: Connect both IEC power cords into the Hub. Note that the
power supply is built into the Hub.
Note Digi recommends that you purchase an additional power supply for the following
reasons:
**More power is needed if you use all 24 ports.
**Two power cords maintain redundancy if one power supply fails. Digi also
recommends plugging each power cord into separate main power circuits.
**Helps maximize heat dissipation.
2. Plug the power cord into an outlet.
Note For an AnywhereUSB24 Plus Hub, plug both power cords into an outlet, if you are using
two power cords. Digi recommends plugging each power cord into separate main power
circuits.
3. Verify that the blue power LED is illuminated.
NEXTSTEP: If you are performing the initial device set-up, proceed to the next step: Step 5: Connect
to the device using an Ethernet LAN connection.
Step 5: Connect to the device using an Ethernet LAN connection
Connect an Ethernet cable to your PCand Hub to create an Ethernet LAN network. This enables you to
access the Hub's web UIand configure the Hub.
WARNING! Digi recommends that you use a private network to connect the computer to
the Hub. This ensures that only clients IDs with known user credentials can connect to the
Hub. The first time that a client IDon a computer connects to the Hub, the unique
credentials for this known user are stored in your Hub. If do not use a private network, an
unknown computer with the same client ID may happen to connect to the Hub before the
known computer connects. In this case, the known computer will not be able to connect
and authenticate.
1. Connect one end of a Shielded CAT 7 (STP) Ethernet cable to the ETH port on the Hub.
2. Connect the other end of the Ethernet cable to your computer. If your computer is connected
to your organization's network, by default a DHCP request will be sent to the local Ethernet