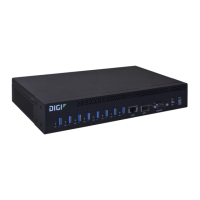
Get started with your AnywhereUSB Step 6: Verify initial connection
AnywhereUSB® Plus User Guide
38
network and an IPaddress assigned to the Hub.
Note If you are not connected to your organization's network, you can manually configure the
PCand assign an IPaddress to the Hub.
NEXTSTEP: If you are performing the initial device set-up, proceed to the next step: Step 6: Verify
initial connection.
Step 6: Verify initial connection
After the hardware has been connected and powered on, and you have installed the AnywhereUSB
Manager, verify that the Hub connection is working as expected.
Note You will need a USB flash drive to follow the verification process below.
1. Verify that your Hub powered on. The power LED is solid blue.
2. Plug your USBflash drive into port 1 on the Hub.
3. Verify that the USB port 1 LED is solid yellow, green, or blue, depending on whether the USB
flash drive is 1.1, 2.0, or 3.1.
4. If not already open, launch the AnywhereUSB Manager.
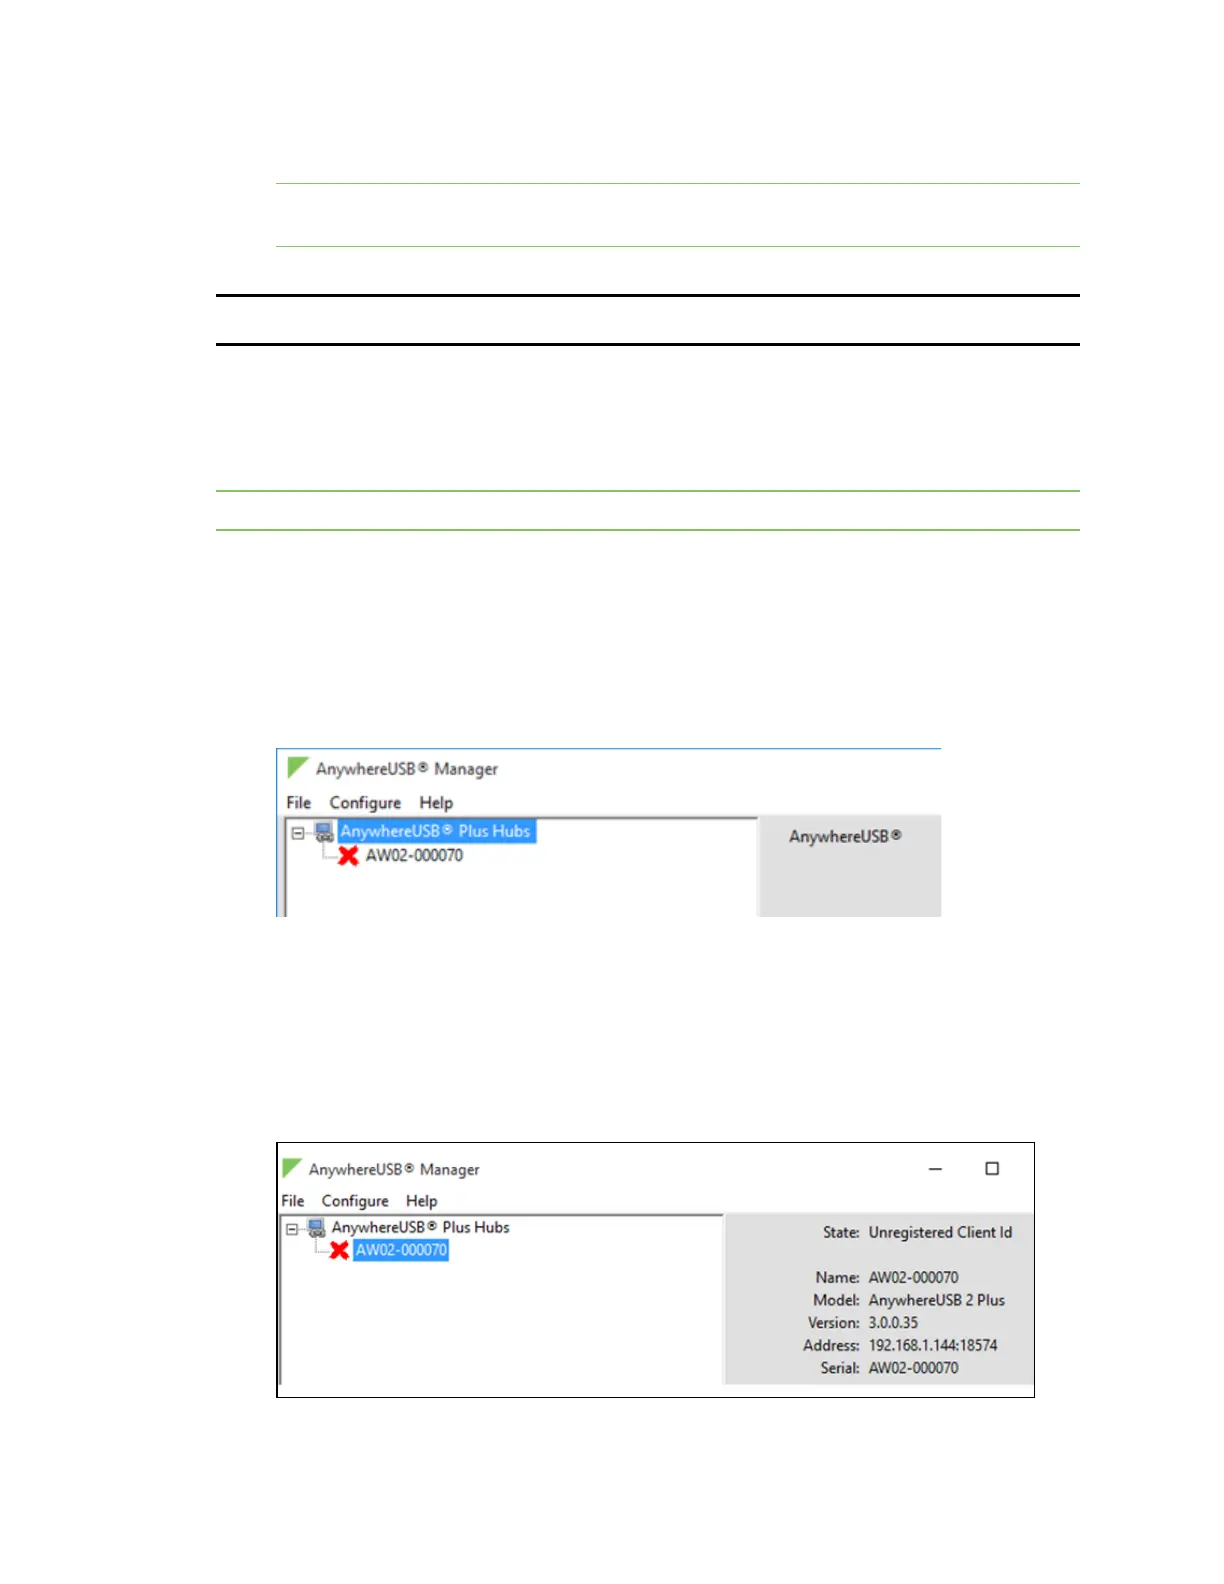
5. Expand AnywhereUSB Hubs to display a list of AnywhereUSB Hubs.
6. Verify that the serial number of the Hub is in the list. You can find the serial number on the
Hub's label.
7. You will notice that the Manager is showing the Hub in an error state, with a red X appearing
next to the Hub name. Click on the Hub to update information in the Hub Status pane. The
Hub State appears as "Unregistered Client ID."
This is a security feature. The Hub administrator needs to allow each new client ID by adding
the client ID to the client list.