Routing Dynamic DNS
AnywhereUSB® Plus User Guide
530
ÉWebUI
1. Log into the AnywhereUSB Plus WebUI as a user with full Admin access rights.
2. On the menu, click System. Under Configuration, click Device Configuration.
The Configuration window is displayed.
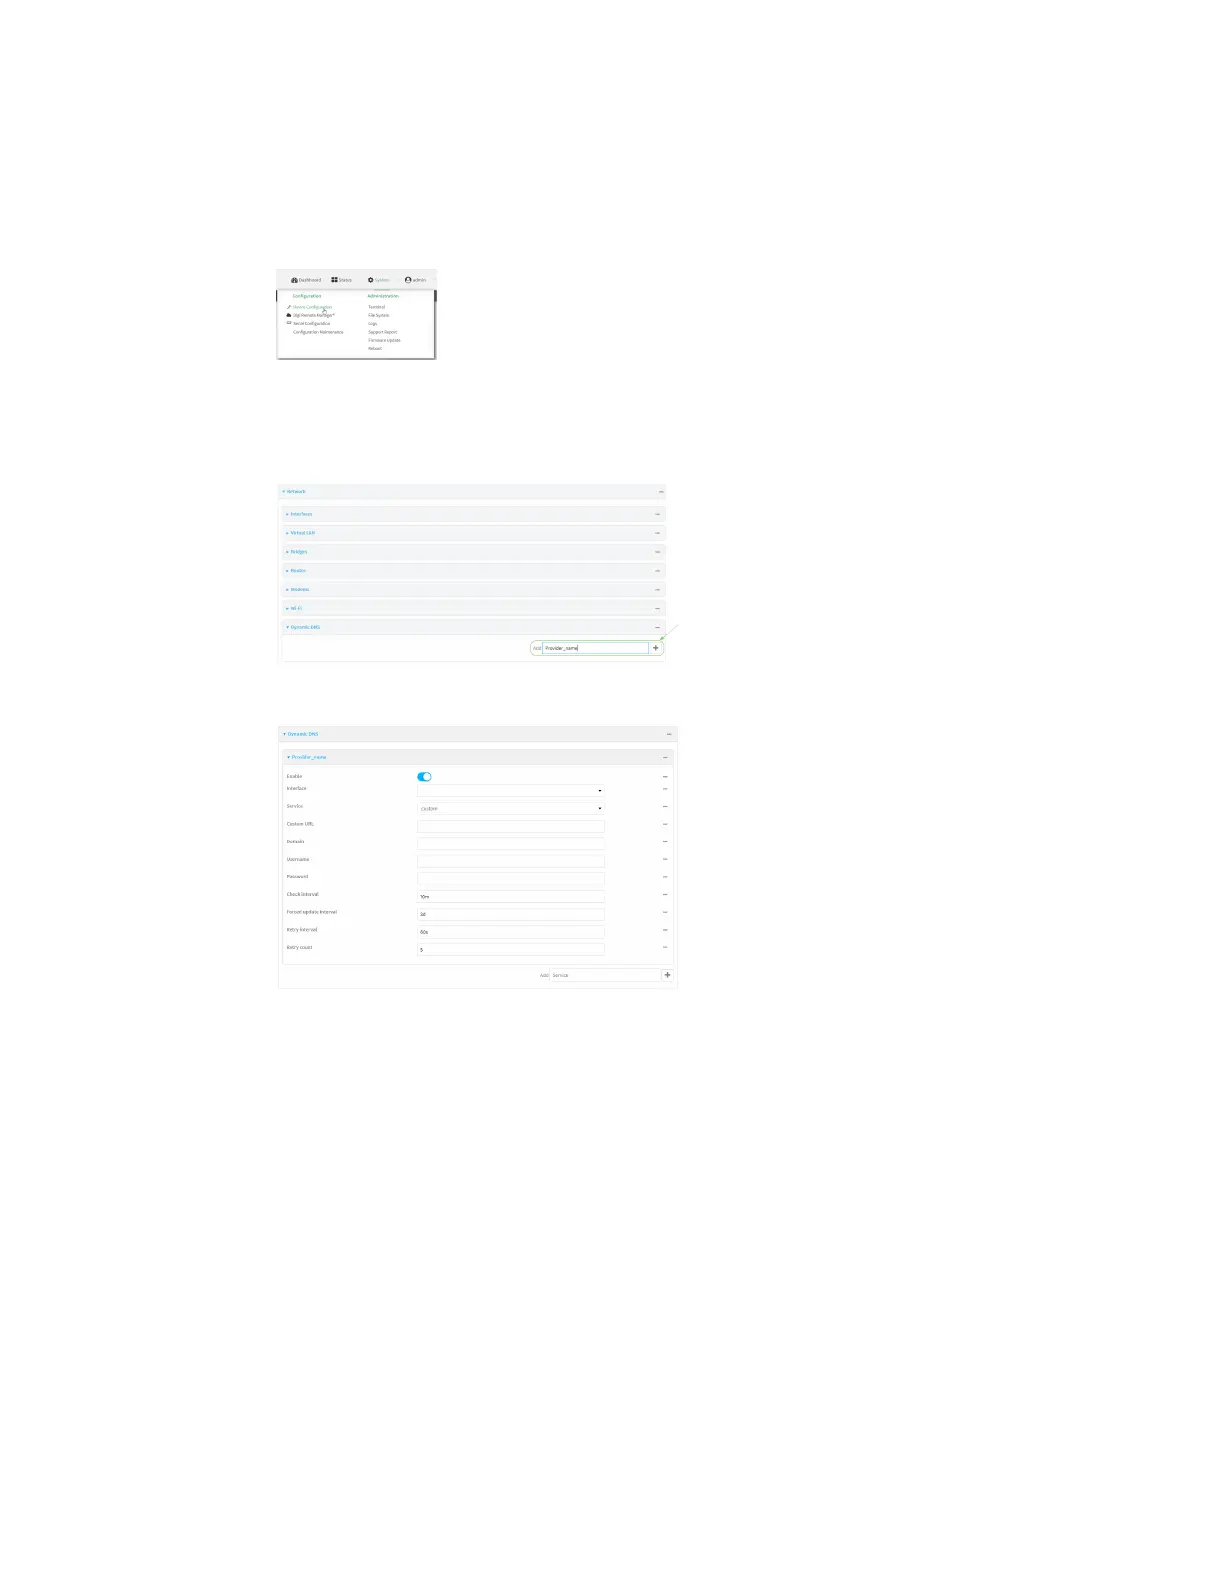
3. Click Network > Dynamic DNS.
4. Type a name for this Dynamic DNS instance in Add Service and click g.
The Dynamic DNS configuration page displays.
New Dynamic DNS configurations are enabled by default. To disable, click to toggle Enable to
off.
5. For Interface, select the interface that has its IP address registered with the Dynamic DNS
provider.
6. For Service, select the Dynamic DNS provider, or select custom to enter a custom URL for the
Dynamic DNSprovider.
7. If custom is selected for Service, type the Custom URL that should be used to update the IP
address with the Dynamic DNS provider.
8. Type the Domain name that is linked to the interface's IP address.
9. Type the Username and Password used to authenticate with the Dynamic DNSprovider.
10. (Optional) For Check Interval, type the amount of time to wait to check if the interface's IP
address needs to be updated.
Allowed values are any number of weeks, days, hours, minutes, or seconds, and take the
format number{w|d|h|m|s}.