Integrated motor
86 Service Instructions 827/827-M - 01.0 - 05/2019
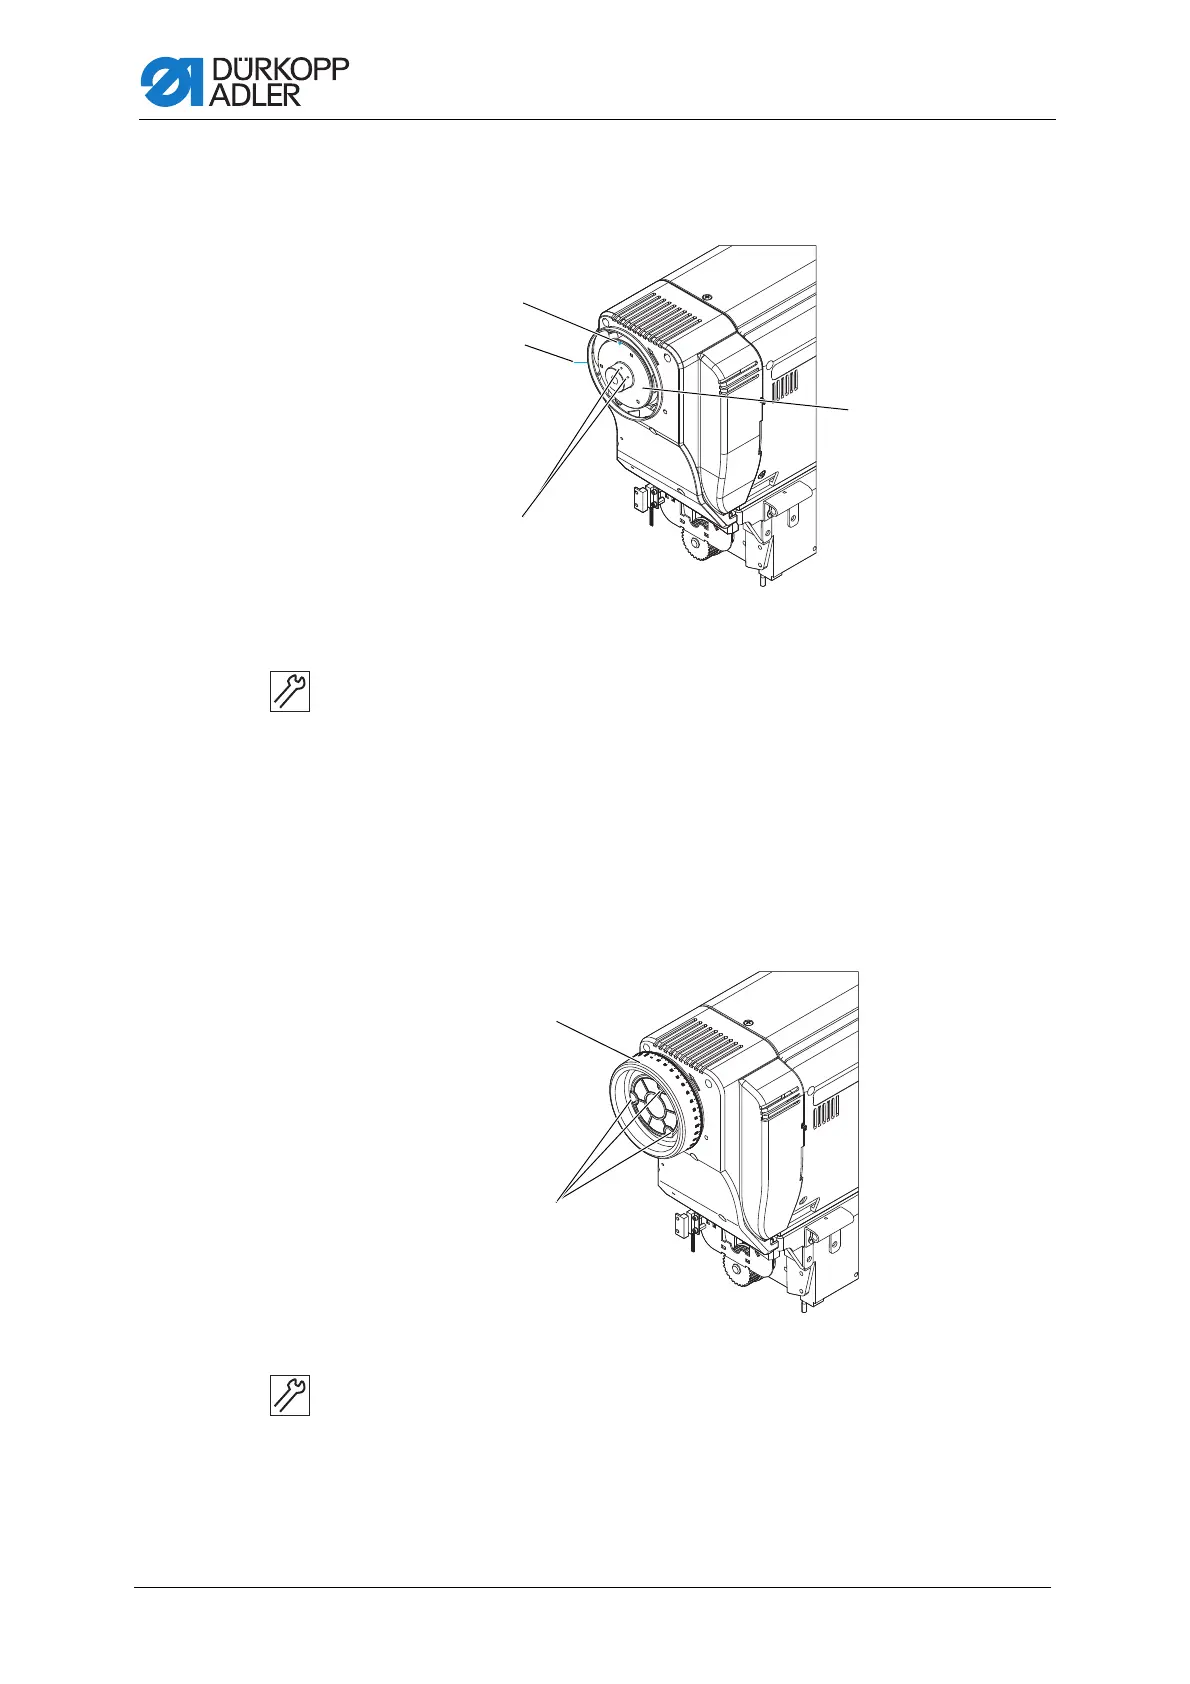
18.3.6 Assembling the handwheel flange
Fig. 70: Assembling the handwheel flange
To assemble the handwheel flange:
1. Attach the handwheel flange (4) so that the two markings (1), (2) are
in line.
2. Tighten both threaded pins (3) firmly in place.
In doing so, make sure that there is a distance of approx. 0.5 - 1 mm
between the handwheel flange (4) and the cover plate.
18.3.7 Assembling the handwheel
Fig. 71: Assembling the handwheel
To assemble the handwheel:
1. Attach the handwheel (1) and tighten all 3 screws (2).
2. Adjust the reference position via the control; see Instructions for
use DAC comfort.
o
(1) - Handwheel flange marking
(2) - Cover marking
(3) - Threaded pins
(4) - Handwheel flange
(1) - Handwheel (2) - Screws

 Loading...


