78Installation and Service Guide: Color Controller E-85
Replacing parts
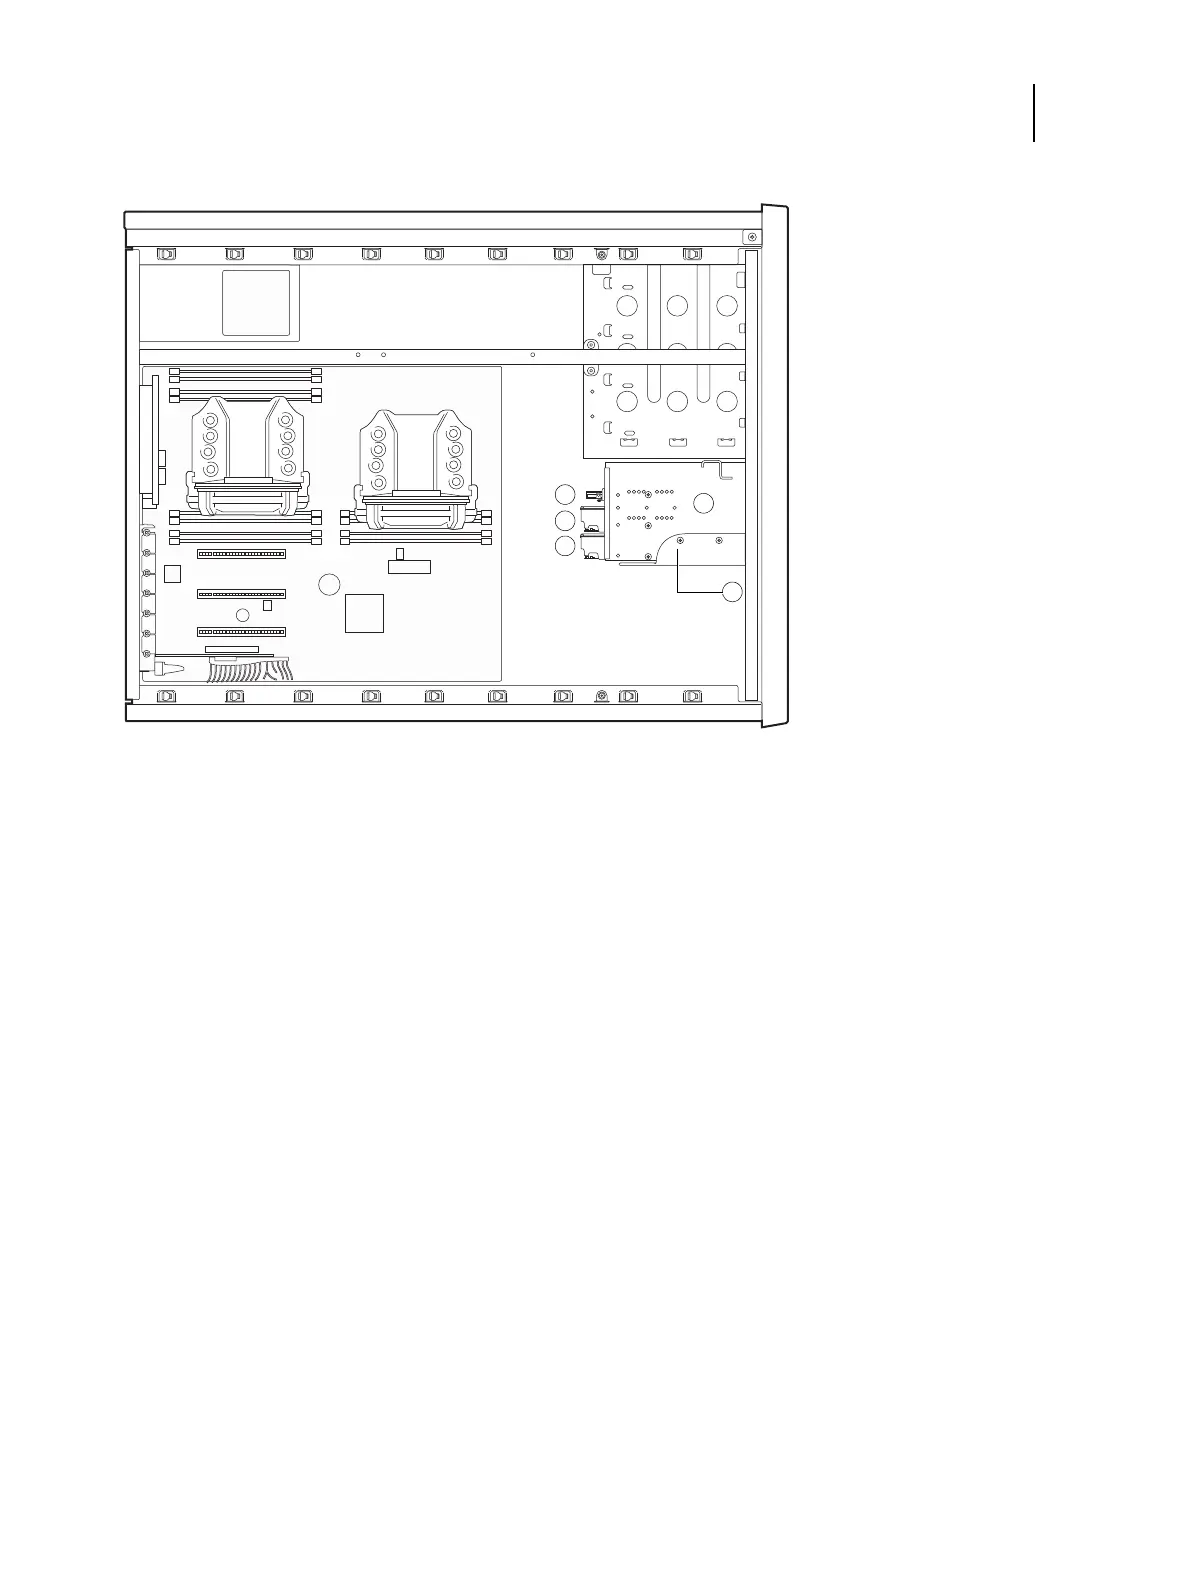
Figure 41: E-85 hard disk drives (HDDs)
To remove a hard disk drive
1 If you have not done so already, ask the site administrator to print the Job Log and save any custom simulation and
output profiles. If possible, print the following:
• Server Configuration page lists any installed options and records the customer’s current Setup configuration (for
more information, see page 27).
• Font List lists the fonts currently on the hard disk drives. Along with the fonts provided, the customer may have
installed additional fonts (for more information, see page 27).
2 Shut down the E-85, remove all cables from the back, and then open the system (see page 48).
To access the hard disk drives, you must remove the left panel.
3 Remove the power cables from all three hard disk drives.
4 Remove the data cables from all three hard disk drives.
5 Remove the screw that secures the HDD bracket to the HDD slot in the chassis.
1 HDD1
2 HDD2
3 HDD3
4 HDD sled
5 Bracket screw