Resistance welder MULTISPOT MI-100control
Installation
35
5.6 Connecting the pneumatics
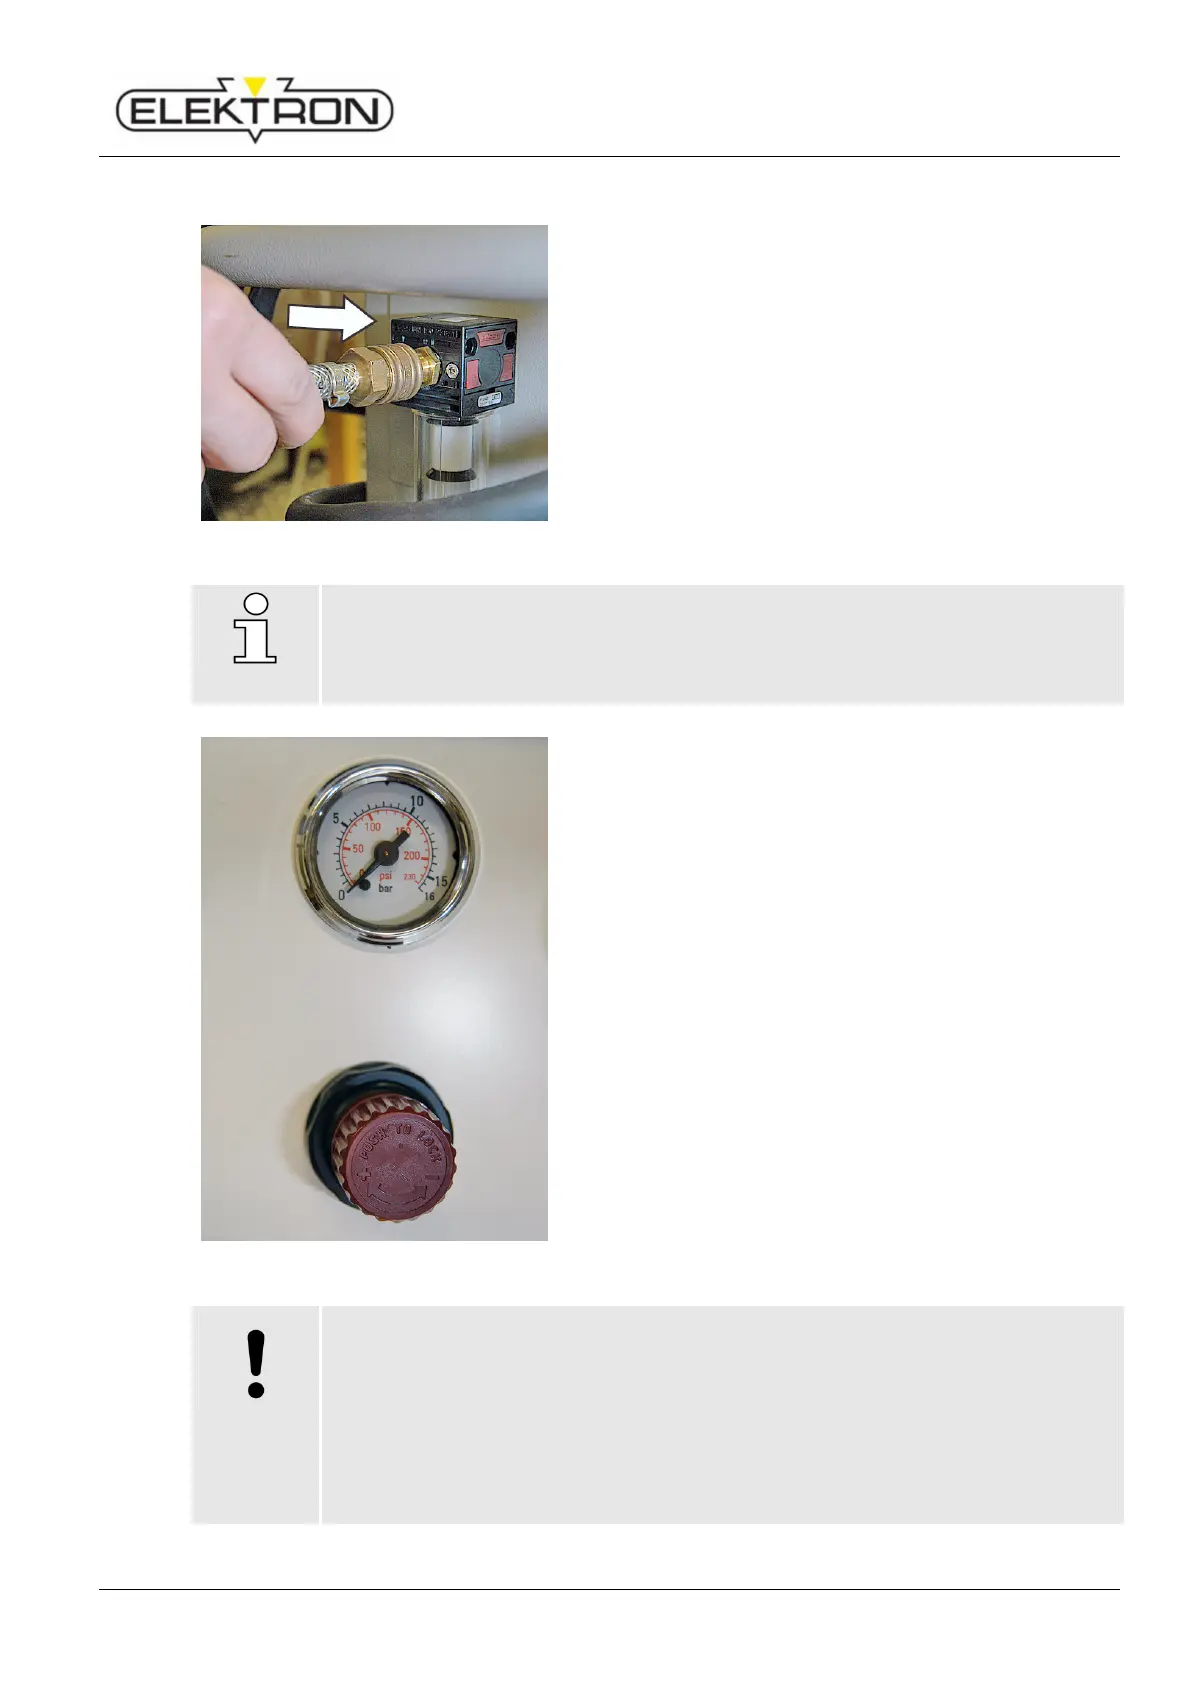
Fig. 27: Connecting compressed-air supply
1. Take the supply line from the pneumatic grid of the plant
and plug it on to the welder (Fig. 27).
2. The plant’s pneumatic mains must provide about 8 bar
(116 Psi) input pressure to the welder.
NOTE!
6 bar (87 Psi) input pressure generate a contact force of the electrodes of 360 daN
(809 lb f) approx.
To adjust the contact force of the electrodes, proceed as described below.
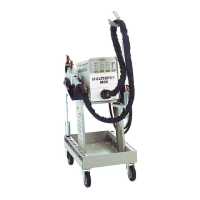
Fig. 28: Pressure gauge and pressure regulator
3. Check the pressure supplied at the pressure gauge
(Fig. 28).
If necessary, use the pressure regulator (Fig. 28) to set
the pressure as required (depending on welding program
and manufacturer’s specs).
Turn the regulator in the “+” direction to increase the
input pressure.
(max. admissible: 10 bar / 145 Psi)
Turn the regulator in the “–” direction to decrease the
input pressure.
(min. admissible: 6 bar / 87 Psi)
4. When decreasing the input pressure, actuate the pliers
from time to time to let the air escape.
5. Push in the regulator to set and lock the selected value.
pressed air may damage property!
Low pressure reduces the contact force of the electrodes which, in turn, increases wear
of the electrodes. High pressure, on the other hand, may damage the spot welding
pliers.
Therefore:
Check the pressure gauge before you switch on the welder. Compare to the
parameters of the welding program selected.
Maintain the pressure between 6 and 10 bar (87 and 145 Psi).