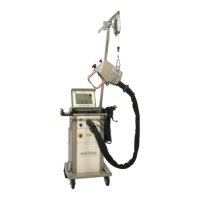
Resistance welder MULTISPOT MI-100control
Operation
42
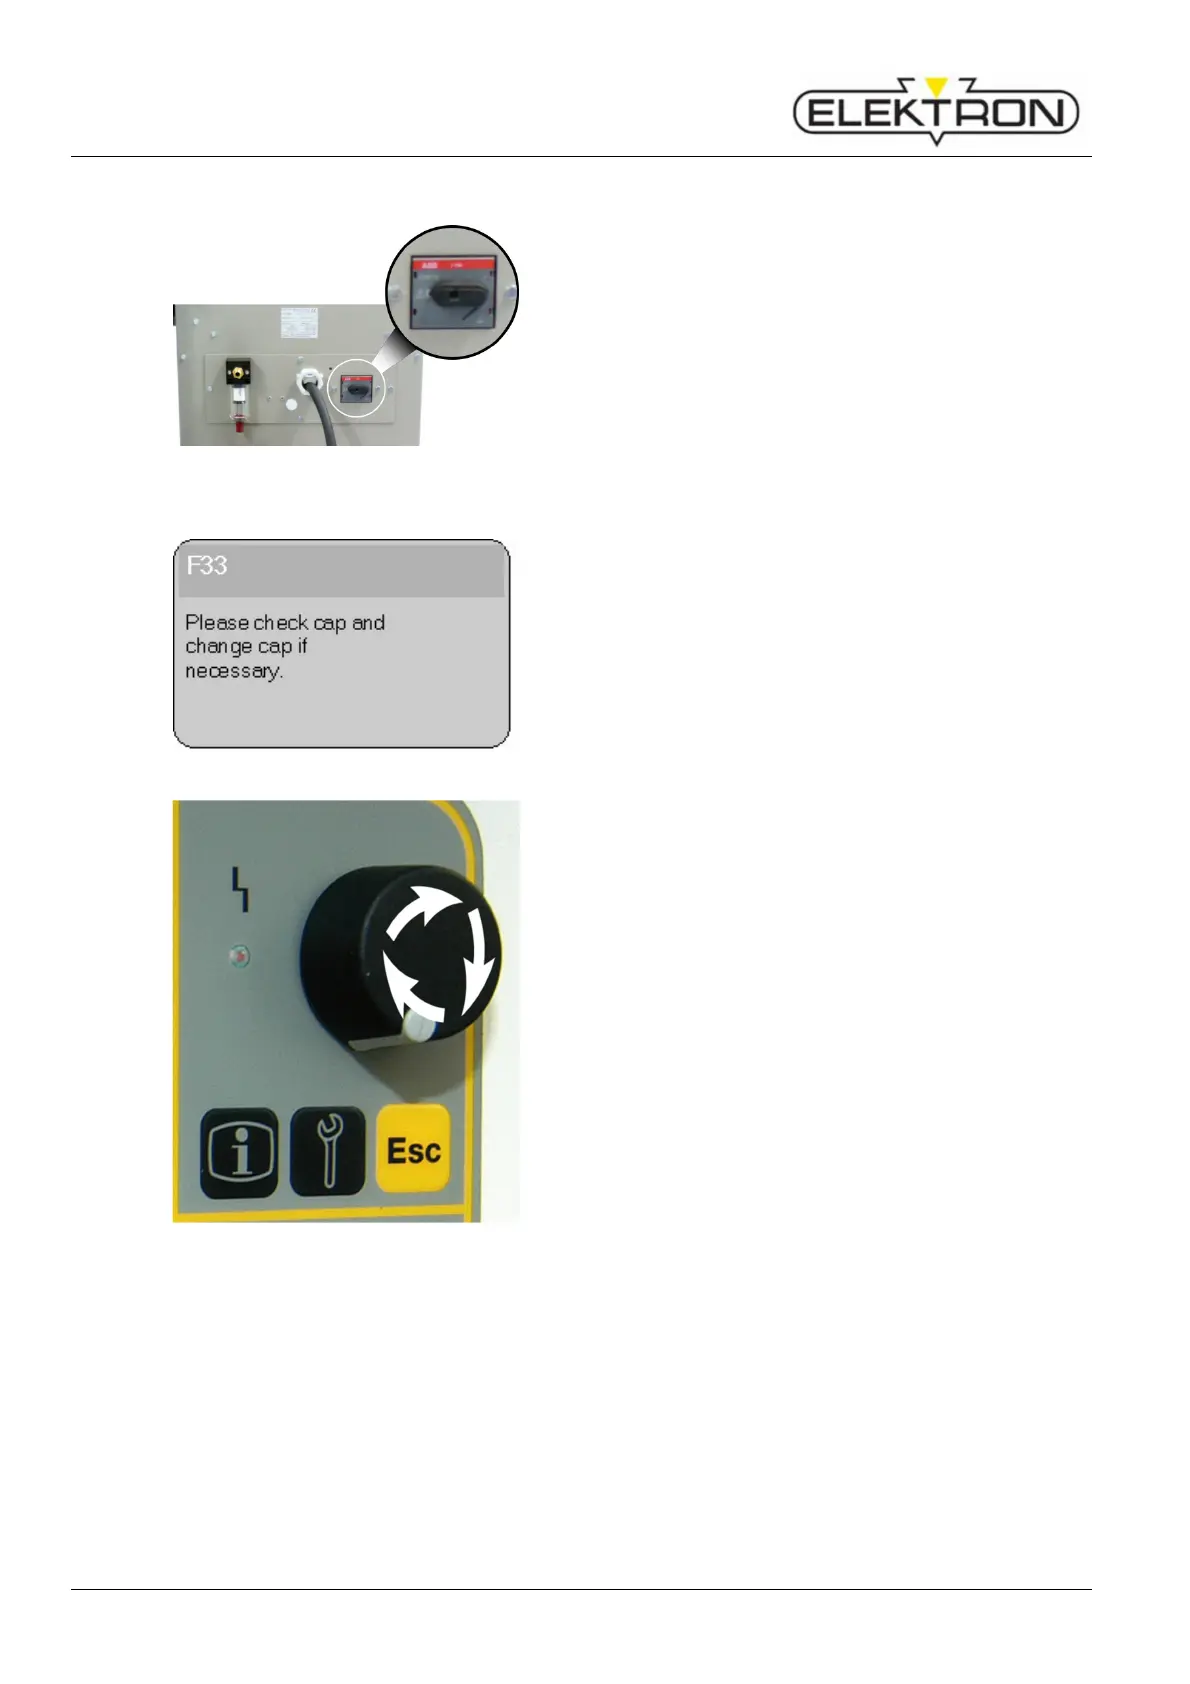
6.2 Switching on
Fig. 42: Power switch
1. Once the welder has been installed and prepared
according to instructions, you may switch it on by turning
the power switch (Fig. 42).
Fig. 43: Prompting operator to service caps
If switching on has been successful, the display will show the
following message: S07 “Powering up, please wait.”
This will be followed by the message shown here on the left
(Fig. 43).
2. Visually check caps.
Clean, mill and / or replace the electrode caps, as
required.
Fig. 44: Control knob
Turn the control knob (Fig. 44) clockwise (cw) to position
“OK”. Confirm by pressing.
The display shows:
S12 “Calibrate tool”
“Please weld without sheets”
4. Press the welding button on the welding pliers.
If calibration was successful, the display will show:
S13 “Calibration successful”
> “OK”
5. Acknowledge by pressing the control knob.
If calibration was not successful, the display will show:
S13 “Error at calibration”
> “Repeat / Abort”
The reason may be that the electrode caps are dirty or worn.
If that should be the case, clean the electrode caps again.
If necessary, mill or replace. ( see “6.1.2”).
Repeat calibration.