4-Post Rack Mount Installation
Enterasys S-Series Stand Alone (SSA) Hardware Installation Guide C-7
Chassis to Rail Assembly Installation
Refer to Figure C-5 as you perform the following procedure.
To install the chassis into the rail assembly:
1. Face the front (cool air) side of the rack (callout 1) with the air intake side of the chassis
(callout 2) facing you.
2. Slide the chassis with the installed adapter plates onto the rack mount rails until the adapter
plate ear (callout 3) meets the middle screw hole (callout 4) of the rack mount rail.
3. Secure the chassis with one screw or fastener appropriate to your rack in each of two adapter
plate ear screw holes.
A flange (callout 6), towards the back of each rail assembly secures the back side of the chassis
adapter plate in place. If needed, loosen the two screws (callout 8) that secure the rear of the
rail assembly to the rack and adjust the rail assembly position for best fit or alignment.
Retighten the two screws.
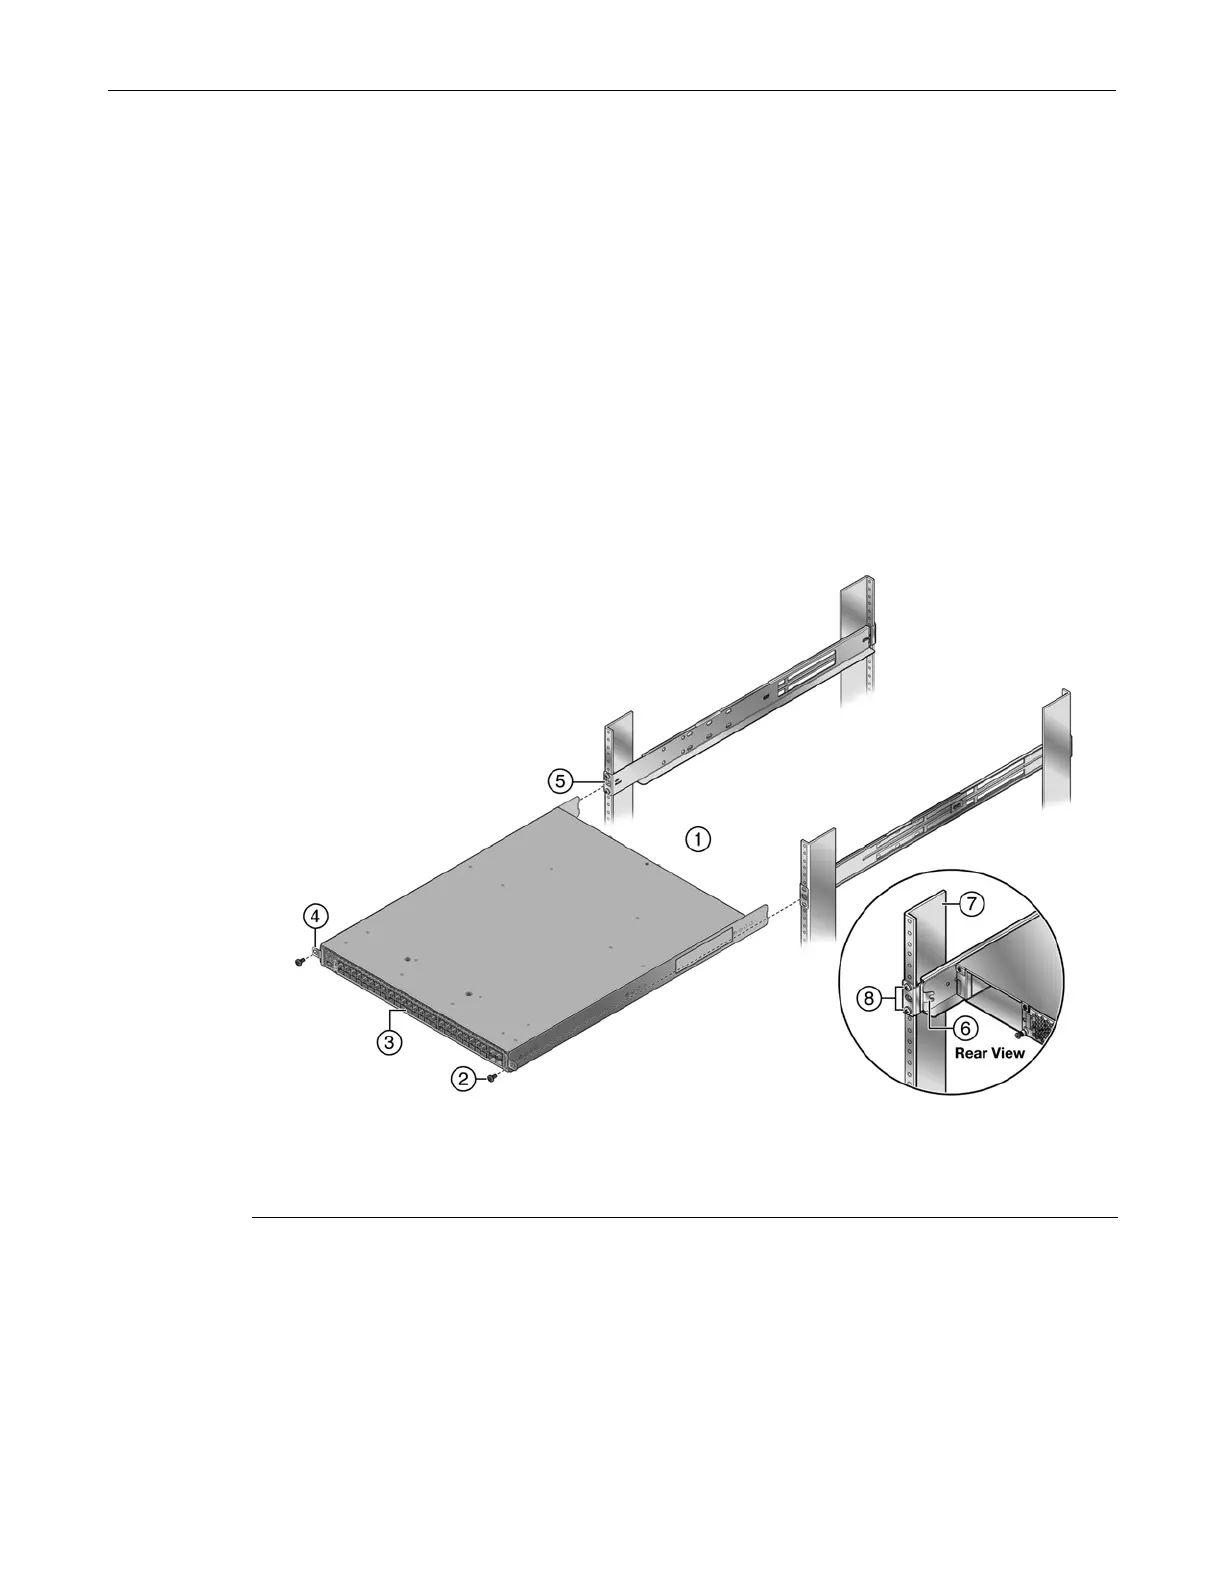
Figure C-5 Installing the Chassis on to the Rack Mount Rail Assembly
1 Rack front (cool air inlet) 5 Rail assembly middle screw hole
2 Rack specific screw (2) 6 Rail assembly flange
3 Chassis air intake side 7 Rear rack post
4 Adapter plate ear 8 Rail assembly to rack screws