SC-F2000 Revision C
DISASSEMBLY & ASSEMBLY Disassembly and Assembly Procedure 100
Confidential
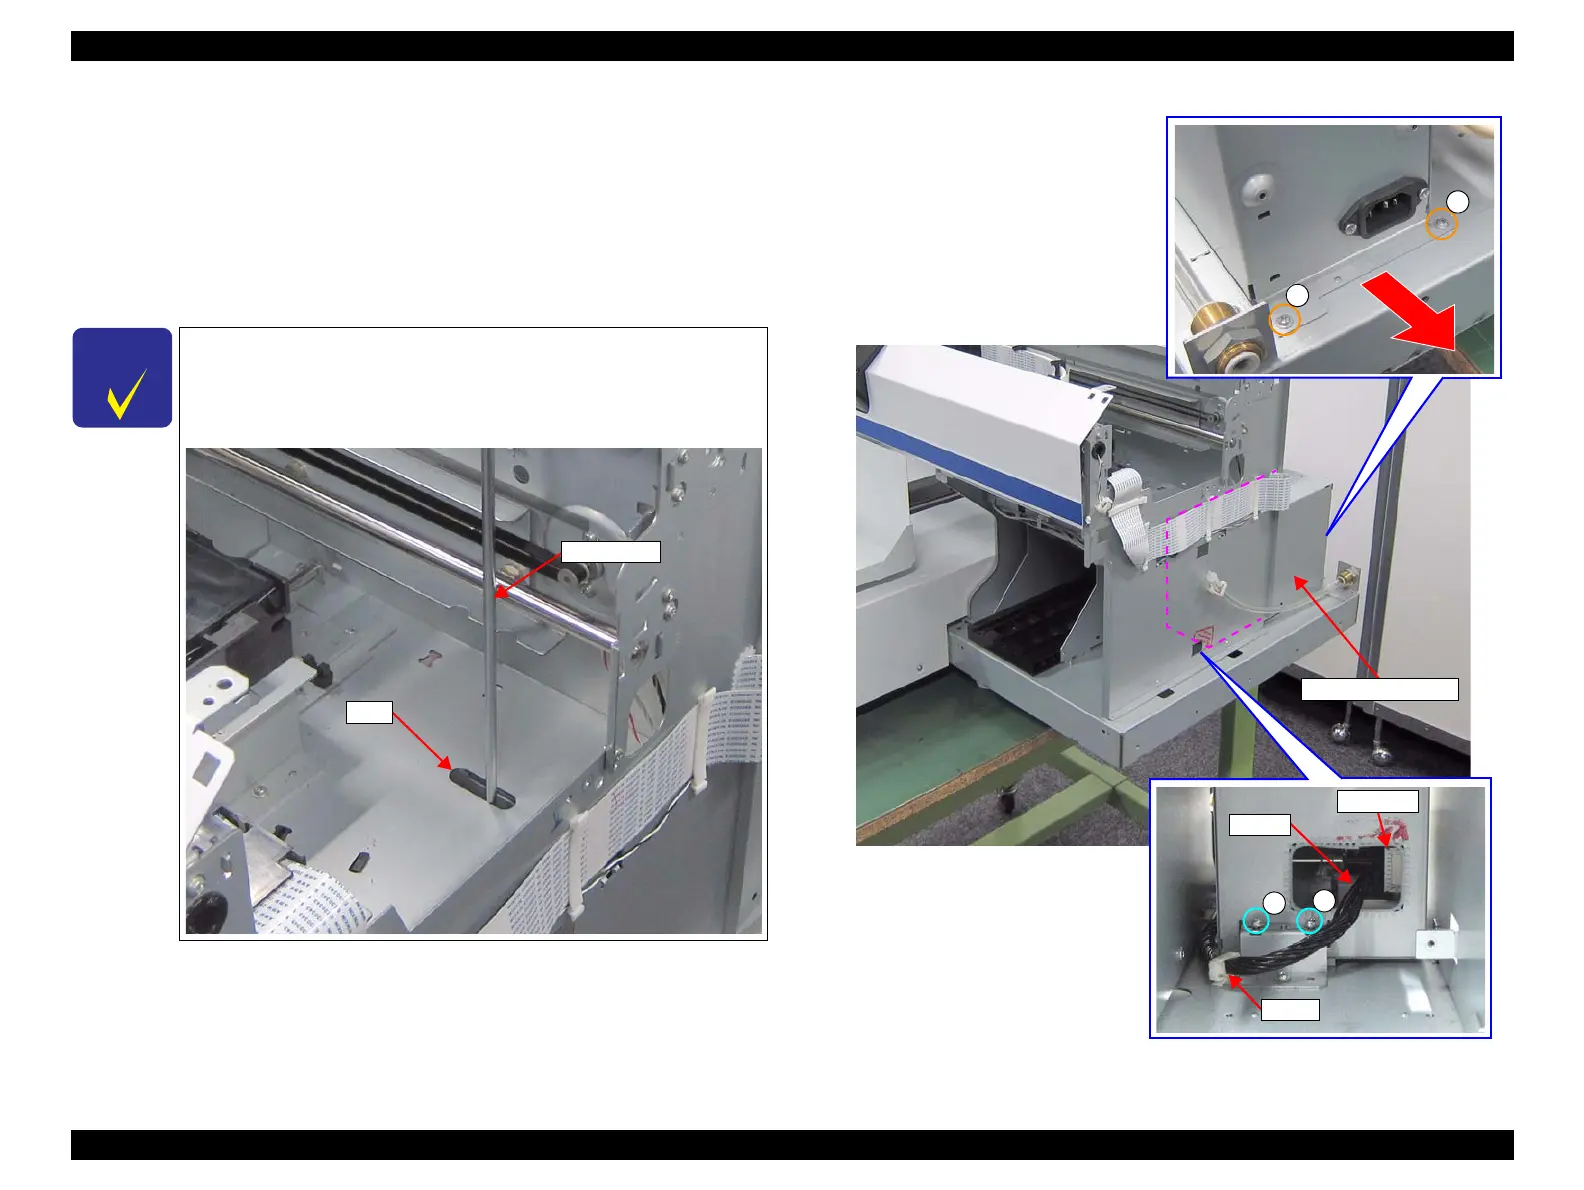
11. Release the cable from the clamp.
12. Disconnect the cable from the connector of the POWER SUPPLY BOARD.
13. Loosen the two screws.
C) Silver M3x6 Cup S-tite screw: 2 pcs
14. Remove the four screws, and remove the PS Shield Plate Assy to the rear.
D) Silver M3x6 Cup S-tite screw: 2 pcs
Figure 3-46. Removing the PS Shield Plate Assy
When loosen the screw C, use a stubby screwdriver. To loosen the
screw C easily, first remove the PUMP CAP ASSY (p143) then
insert the screwdriver into the hole on the frame shown below to
reach the screw.
 Loading...


