EPSON Stylus Photo R1900/R2880/R2000/R2000s/SC-P400 Series Revision I
Disassembly And Assembly Disassembling the Printer Mechanism 104
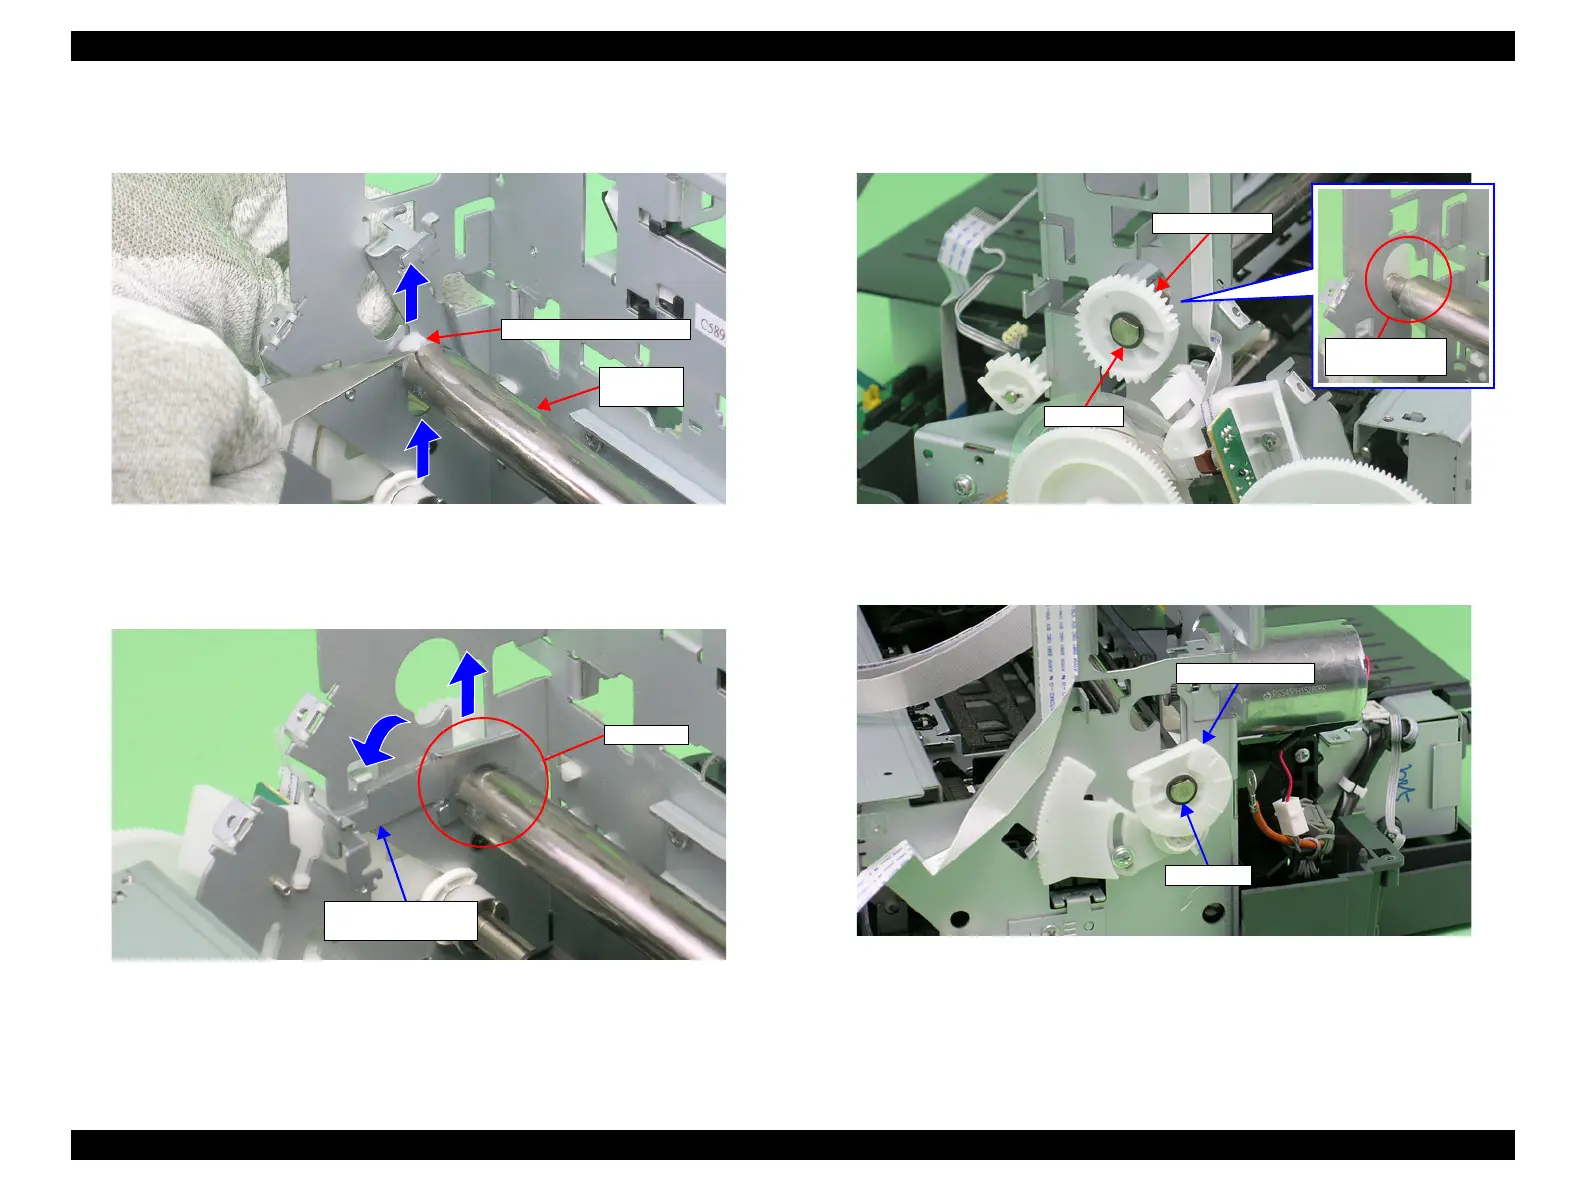
16. Lift the Carriage Shaft upwards, and remove the Carriage Shaft Spacer from the
Carriage Shaft with tweezers.
Figure 4-79. Removing the Carriage Shaft Spacer
17. Rotate the Left CR Shaft Mounting Plate toward you to remove the Bushing on the
Left CR Shaft Mounting Plate from the Carriage Shaft.
Figure 4-80. Removing the Left CR Shaft Mounting Plate
18. Lift the Carriage Shaft within the hole on the Main Frame, and remove the Spacer
and Left PG Cam from the Carriage Shaft.
Figure 4-81. Removing Left PG Cam
19. Remove the Spacer and Right PG Cam from the Carriage Shaft.
Figure 4-82. Removing Right PG Cam
Carriage
Shaft
Carriage Shaft Spacer
Left CR Shaft
Mounting Plate
Bushing

 Loading...


