EPSON Stylus Photo R1900/R2880/R2000/R2000s/SC-P400 Series Revision I
Adjustment Adjustment 160
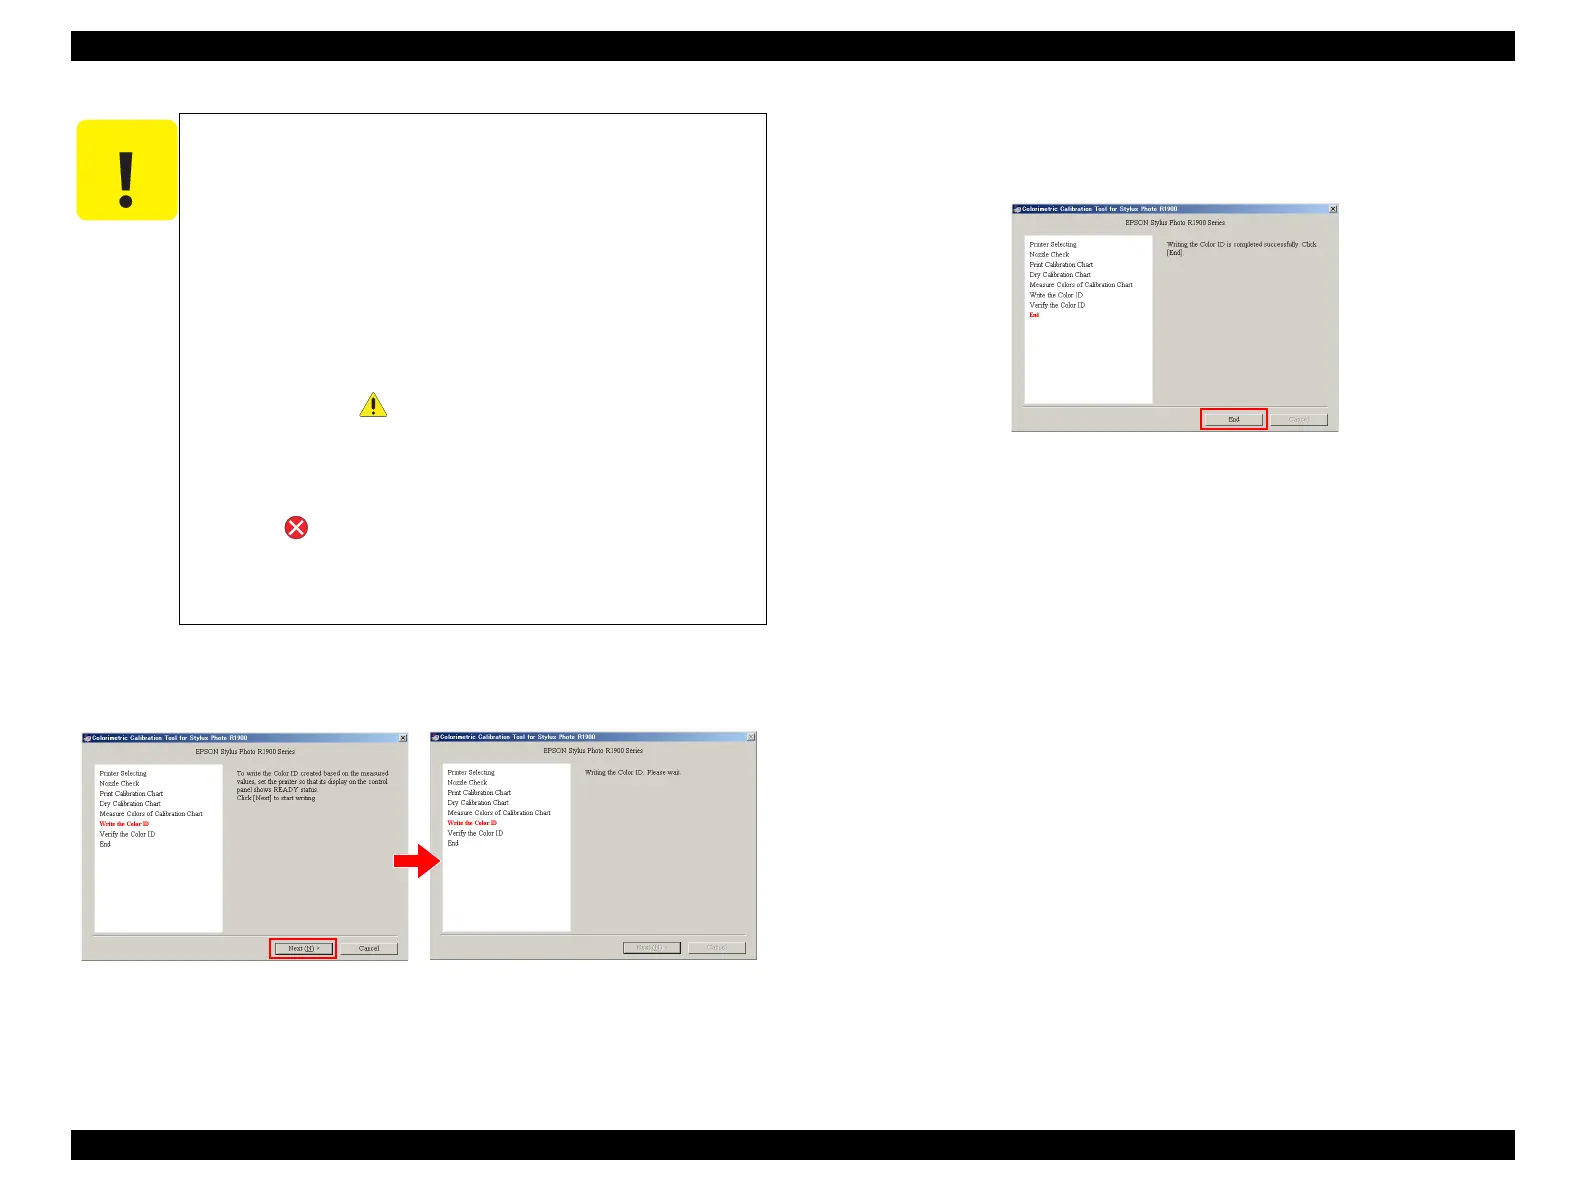
11. Click [Next], and write the Color ID to the printer. After the writing has finished,
the Colorimetric Calibration Tool automatically checks the Color ID.
Figure 5-30. Writing of Color ID
12. When the following screen is displayed, click [End], and turn the printer OFF then
back ON again to end the adjustment. This action reflects the color measurement
values on the printer.
Figure 5-31. END
Be sure to start the measurement from the top side of the chart.
Be sure to measure colors at each row two times.
During color measurement, do not allow the Calibrator to rub
against unmeasured patches on the chart.
Prevent the ruler and Calibrator from coming off the chart
sheet during color measurement. Doing so will cause incorrect
color measurement.
During color measurement, measure only the patches on the
chart sheet. Do not measure other parts such as the USB ID
text string.
When there is an error possibility in measuring color, a
warning mark ( ) appears at the patch in question. In such
case, make sure to measure the row that includes the patch
with a warning mark again.
If the number of scanned patches does not match the number of
patches on a single row, the cursor stops at that row, the error
mark ( ) appears on all of the patches on that row, and the
following error message is displayed:
•
“Color measuring by Eye-One calibrator has failed.
Measure colors of the failed row again.”

 Loading...


