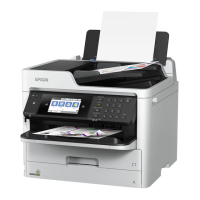
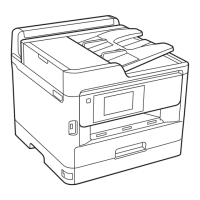
EPSON WF-C5790/WF-C5790a/WF-C5710/ET-8700/WF-C5210/WF-C5290/WF-C5290a Revision A
Troubleshooting Troubleshooting procedure 139
Confidential
Troubleshooting
Step Check and measure Yes No
1
Check for the installation status of the Rear Unit.
Check that the Rear Unit is installed properly.
Go to step 2
Reinstall the Rear Unit properly.
If the symptom continues to occur after
performing the above, go to step 2.
2
Check the settings
Check for the settings listed below.
1. Check that the paper type and size are appropriate.
2. Check that the rubbing avoidance mode is “off”.
Is the setting appropriate?
Go to step 3
Change the settings.
When the phenomenon is improved
Explain that the phenomenon is caused due to
an erroneous setting, and get the setting
corrected.
When the phenomenon is not improved
Go to step 3
3
Check the nozzle check pattern
Print nozzle check patterns and check whether there are nozzles missing or deflection.
Nozzle condition is excellent?
Go to step 4
Execute the head cleaning.
The standard cleaning strength depending on the
number of missing nozzles is as described below.
• CL1: No. of missing nozzles (1 to 5)
• CL2: No. of missing nozzles (6 to 20)
• CL3: No. of missing nozzles (21 or more)
* If nozzle missing is not improved, refer to
Nozzles missing (P. 133).
If the symptom continues to occur, go to step 4.
4
Perform adjustments.
Perform adjustments listed below.
• PF/EJ adjustment (p. 577)
• PF band adjustment (p. 578)
Has the phenomenon been improved upon?
End Go to step 5
5
Use the Print Quality Adjustment feature.
From the User Menu, implement Print Quality Adjustment.
[Print Quality Adjustment execution method]
1. Press the Help button, and then select “In the case of a problem”.
2. Select “Incorrect printing results”.
3. Select “Stripes and lines are present”.
4. Select “Resolve print problem”.
Has the phenomenon been improved upon?
End Go to step 6
 Loading...

