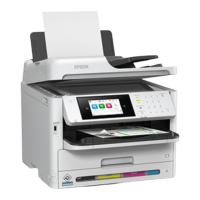
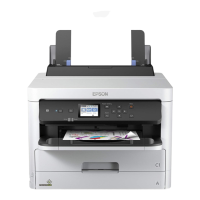
EPSON WF-C5790/WF-C5790a/WF-C5710/ET-8700/WF-C5210/WF-C5290/WF-C5290a Revision A
Troubleshooting Fax Troubleshooting 208
Confidential
3. When the following screen is displayed, execute setting of PC FAX
reception from PC with USB or network connection with product.
4. After PC FAX reception setting is completed, “Ready” is displayed and
transfer is started.
5. When the transfer is completed, the following message is displayed.
Press the [Power] button to turn off the product.
4.3.6.2 Emergency ejection of received fax documents (FAX to Memory)
Using the USB memory, urgently remove fax received original file (.PDF) that can not
be printed.
The received fax document file is transferred to the “/EPFAXRCV” folder of
the USB memory. (Folders are automatically generated)
The fax receiving document is deleted from the product after transfer.
Work Procedure
1. Start “User Special mode”.
1-1.Turn off the power of the printer once, hold down the # button and
press and hold the power switch.
Long press until the following message appears on the panel LCD.
1-2.Enter the ID number and activate “User Special Mode”.
2. Press the [2] and [8] buttons, select “FAX to Memory” from the menu and
press the [#] button to execute.
3. When the following message is displayed on the screen, connect the USB
memory to the product.
After the transfer of the received original file is completed,
Turn on the power again and turn off PC FAX reception
FAX to PC
Change save mode from PC.
FAX to PC
Completed, Push [Power]
When using “User Special Mode”, confirm the ID
number to the Service Support.
User Special Mode
Run: [#] / Select:[2][8]
1. Password Initialization
2. FAX to PC
3. FAX to Memory
 Loading...

