A1400 AIR RDT 23 532119 04 - Rev. C
8
9
10
11
0.0
RESET/SETUP
DL2
DL11
MAIN
F1
USB
+
-
F
ERR
BAT1
OPEN
EMERG
BAT2
SIC
_
OP
SIC
_
CL
J10
J14
J11
J12
J13
V G
I
I+
I-
J5
V G
E
E+
E-
J6
V G
S1
G
T
J1
V G
S2
G
T
J2
V G
S3
G
T
J3
V G
S4
G
T
J4
J17
V RX TX G
J8
E1 G E2
J7
T1 G
T2
R1
G R2
J9
V G 01 02 02
J22
J21
V
G
I1
I2
G
I3
I4
V
J18
G CH CL G
J23J24
J25
2 2
2
2
1
1
3
1
1
2
2
2
6
6
Nm
2
6
6
Nm
2
6
6
Nm
7
2
1
Translation of the original instructions
ENGLISH
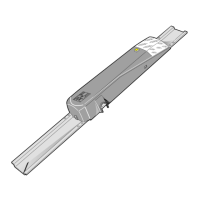
ELECTRONICS MODULE AND TELESCOPIC PROFILE ROD
1. Insert into the side of the profile the mounting rod of the electron-
ics module 7-
.
2. Fasten the electronics module with the 2 screws on the mounting
rod 7- 8-
.
3. Insert the rod into the side to fasten the telescopic profile 7-
.
!
Caution: the electronics module bar and the bar for telescopic profile
must always be installed before installing the head section.
The electronics module may be fastened even if the suitable bar is not
present. In such an event 2 plates with screws may be used.
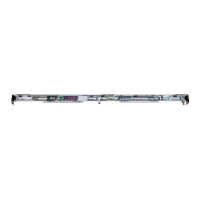
SAFETY CABLES AND SPACERS
1. Insert the largest end of each cable in the support profile 9-
.
2. Insert 2 vibration damper spacers 9-
on the edge of the
profile. In case of profiles longer than 3 m, add a spacer in the
middle 9-
.
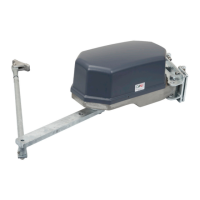
MOTOR_1
1. Mount crescents on motor 1 10-
.
2. Insert the motor in the side of the support profile.
3. Fasten by means of the 3 plates with screws 10-
.
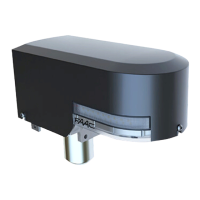
AUXILIARY_MOTOR
1. Mount crescents on auxiliary motor 11-
.
2. Insert the motor in the side.
3. Fasten by means of the 5 plates with screws 11-
.
 Loading...