A1400 AIR RDT 26 532119 04 - Rev. C
19
20
1
2
Translation of the original instructions
ENGLISH
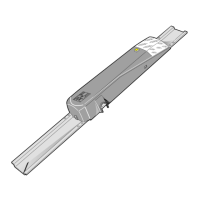
7. ASSEMBLE THE FRAME A1400 AIR RDT CS
RISKS
PERSONAL PROTECTIVE EQUIPMENT
REQUIRED TOOLS
Ø 8 mm
5
glass shims
!
A torque wrench must be used to achieve the specified fastening
torques (Nm).
When ordering the door frame take into account that opening safety
clearances must be kept as set forth by the standard EN 16005:2012
since no opening protection detectors are admissible for the door
A1400 AIR RDT.
For manual lifting, arrange for an adequate number of people for the
weight of the leaf: 1 person every 20 kg to be lifted.
7.1 ENTRY DOOR WITH PROFILES TK50
PRELIMINARY OPERATIONS
1. Check soundness of the installation opening (Masonry, Structural
Metal Work etc.).
2. Take the measurements of the opening.
!
The door frame must be fastened to the structure with suitable screws
(dowels, self tapping screws etc.).
3. Measure the door frame and compare them with the opening
measurements.
4. Check floor levelness with a spirit level.
!
Ensure there are no hydraulic coils or electrical conduits under the
floor at the planned drill points.
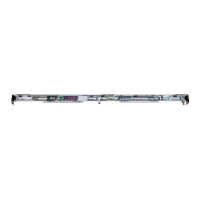
ASSEMBLING THE FRAME
The supply includes:
- upper head section with reinforcement counter-plate for
A1400 AIR RDT
- 2 mobile leaves assembled with or without glazing
- 2 fixed side leaves without glazing to be assembled with upper
head section
- fixed leaves glass beading
- frame assembly screws kit
1. Mount the upper balancing profile on the opening (STD solution)
20
-
.
2. Fasten with appropriate screws with minimum 500 mm pitch.
3. Assemble the entry door parts consisting of the 2 open leaves on
the top and assemble it with the head section connection profile
, in
the detail by means of the U bolt 20
-
. Join the head section
to the profile using the supplied screw kit.
4. Lift the assembled entry door.
5. Place the entry door in the opening and insert it into the top
balancing profile.
6. Check levelness with a spirit level.
7. Fasten the side balancing profiles with appropriate screws at the
grub screws 21-
.
 Loading...