Page 25 of 97 PN: 106417-05
4 INITIAL CONNECTION TO PROTONODE
4.1 Record Identification Data
Each ProtoNode has a unique part number located on the back of the unit. This number should
be recorded, as it may be required for technical support. The numbers are as follows:
Table 4-1: ProtoNode Identification Data
4.2 Use the ProtoNode Web Configurator to setup the Gateway
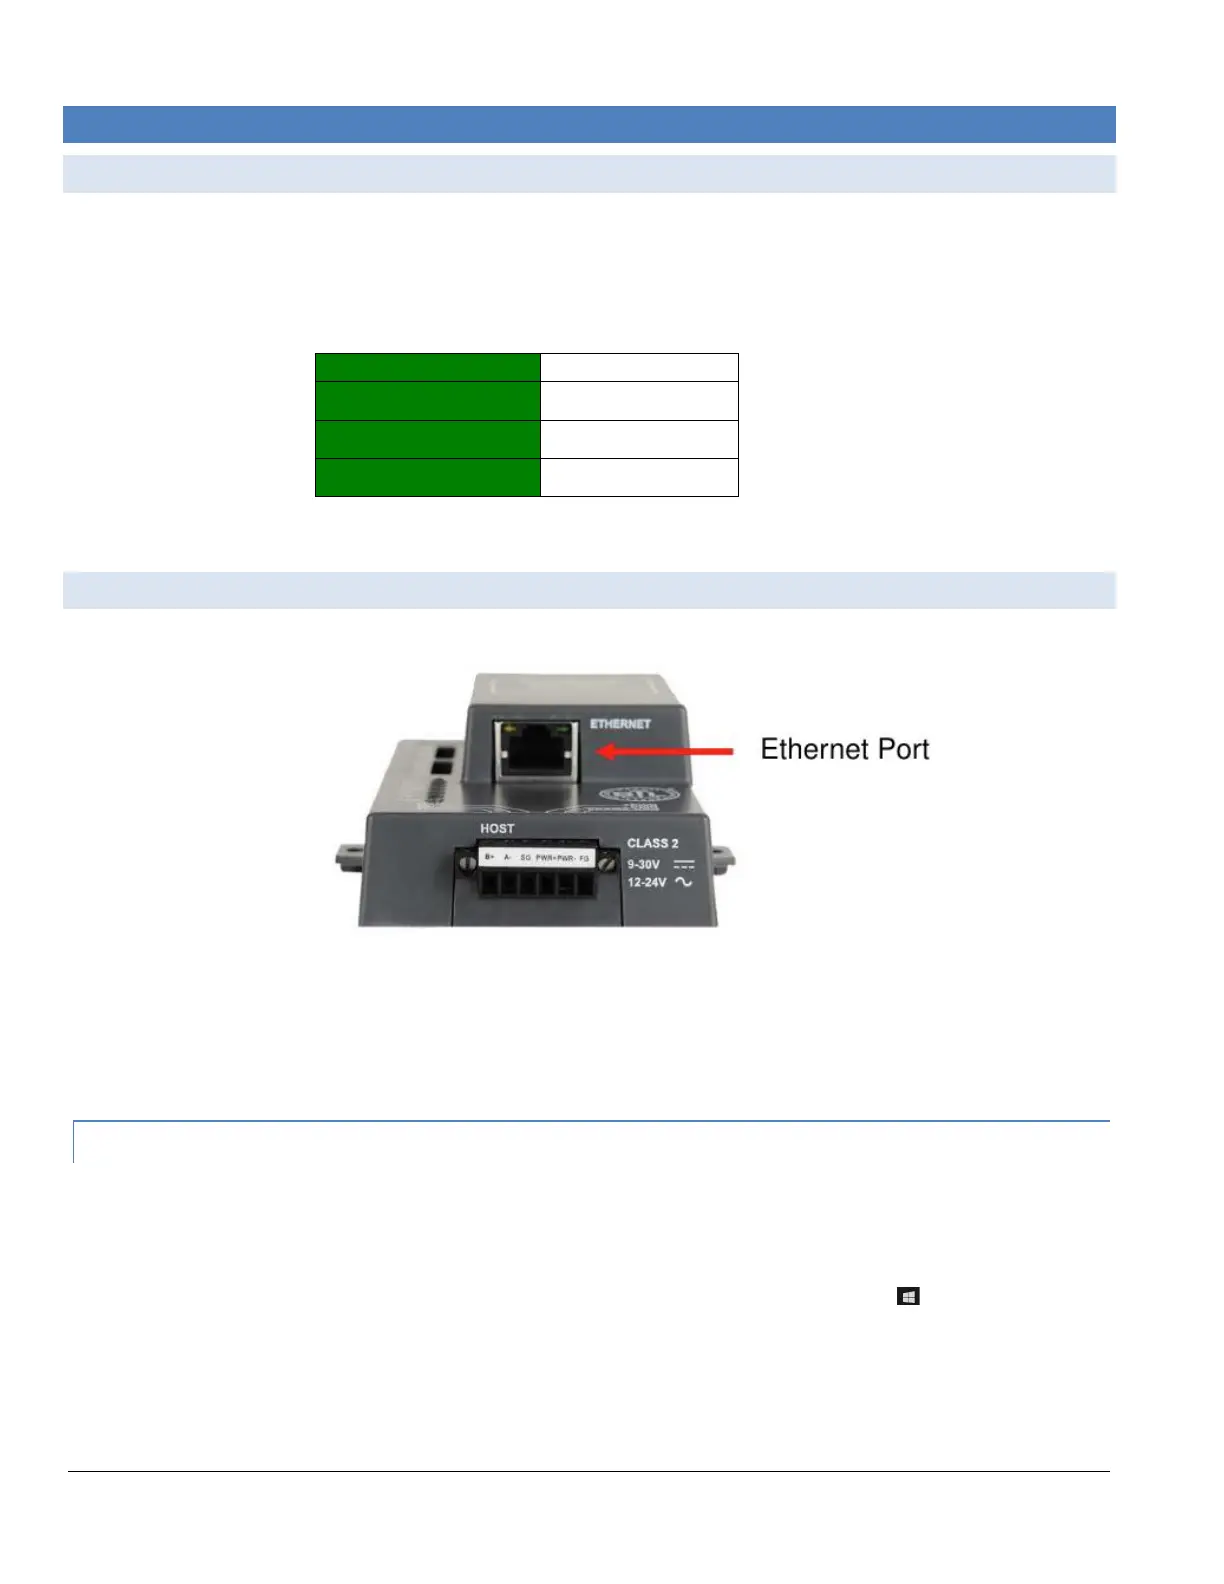
First, connect a standard CAT5 Ethernet cable (straight through or cross-over) between the local PC and ProtoNode.
Figure 4-1: ProtoNode Ethernet Port
There are two methods to access the ProtoNode via Ethernet connection, either by changing the subnet of
the connected PC (Section 4.2.1) or using the FieldServer Toolbox to change the IP Address of the
ProtoNode (Section 4.2.2).
4.2.1 Changing the Subnet of the Connected PC
The default IP Address of the ProtoNode is 192.168.1.24, subnet mask is 255.255.255.0. If the PC and the
ProtoNode are on different IP Networks, assign a static IP Address to the PC on the 192.168.1.xxx network.
For Windows 10:
• Use the search field in the local computer’s taskbar (to the right of the windows icon ) and type in “Control
Panel”.
• Click “Control Panel”, click “Network and Internet” and then click “Network and Sharing Center”.
• Click “Change adapter settings” on the left side of the window.
• Right-click on “Local Area Connection” and select “Properties” from the dropdown menu.