Maintenance Instructions
18.12.15 Kapitel/Chapter 7: Maintenance Instructions - Seite/Page 169
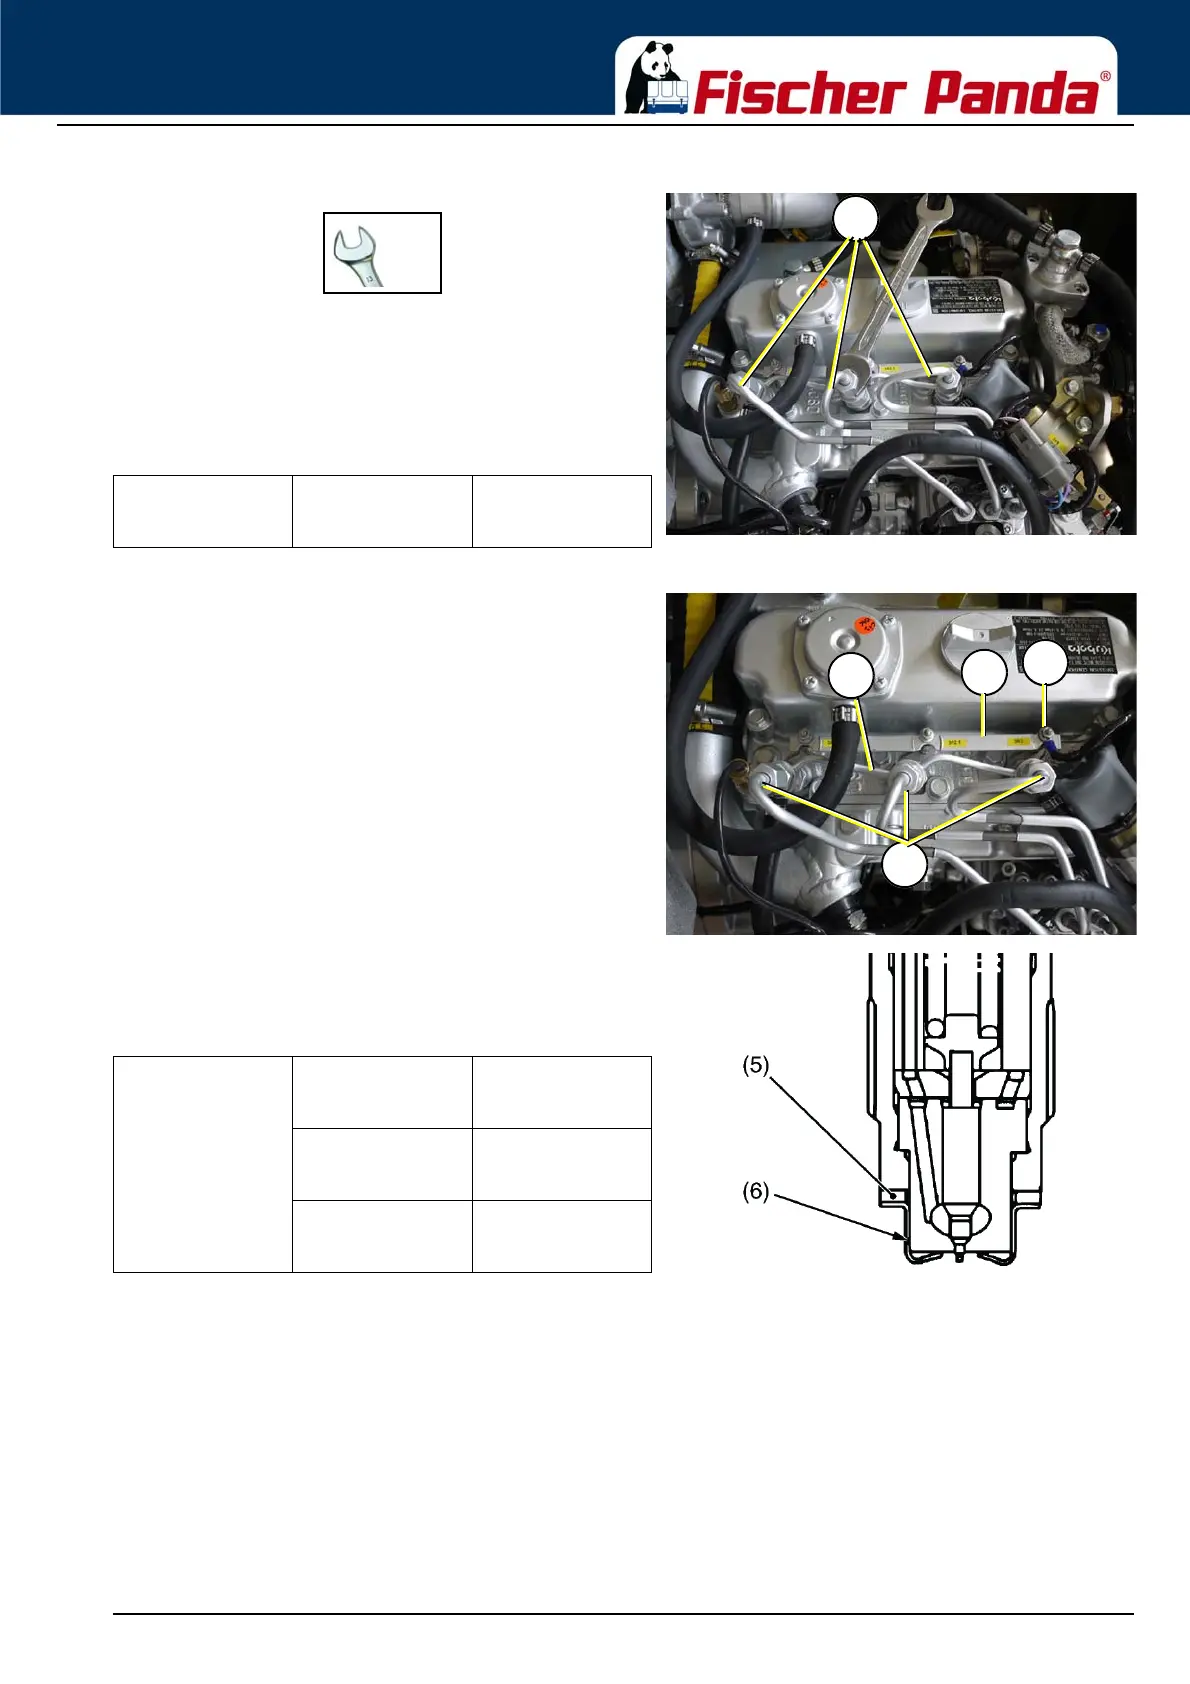
Fig. 7.20-3: Injection nozzles3. Loosen the union nut on the injection lines (1). Wrench
with W.A.F. of 17 mm.
For assembly:
• Blast dust out of the lines using compressed air. Then,
reassemble the lines by proceeding in the reverse order of
steps.
(1) Injection line
Fig. 7.20-4: Injection nozzlesNozzle holder assembly and glow plug
1. Dismount the return line (1). Wrench with W.A.F. of
17 mm.
2. Remove the nozzle holder assembly (4). Wrench with
W.A.F. of 21 mm.
3. Remove the copper seal (5) and the heat shield (6).
4. Dismount the connector (2) from the glow plugs (3)
5. Remove the glow plugs (3).
For assembly:
• Replace the copper seal and the heat shield with new parts.
(1) Return line
(2) Connector
(3) Glow plug
(4) Nozzle holder assembly
(5) Copper seal
(6) Heat shield
Torque Injection line union nut 24.5 to 34.3 Nm
2.5 to 3.5 kgm
18.1 to 25.3 pound-foot
Torque Fixing nut for overflow
oil line
19.6 to 24.5 Nm.
2.0 to 2.5 kgm
14.5 to 18.1 pound-foot
Nozzle holder assembly 49.0 to 68.6 Nm
5.0 to 7.0 kgm
36.2 to 50.6 pound-foot
Glow plug 7.8 to 14.7 Nm.
0.8 to 1.5 kgm
5.8 to 10.8 pound-foot