Installation Instructions
18.12.15 Kapitel/Chapter 6: Installation Instructions - Seite/Page 67
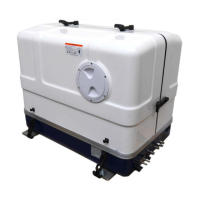
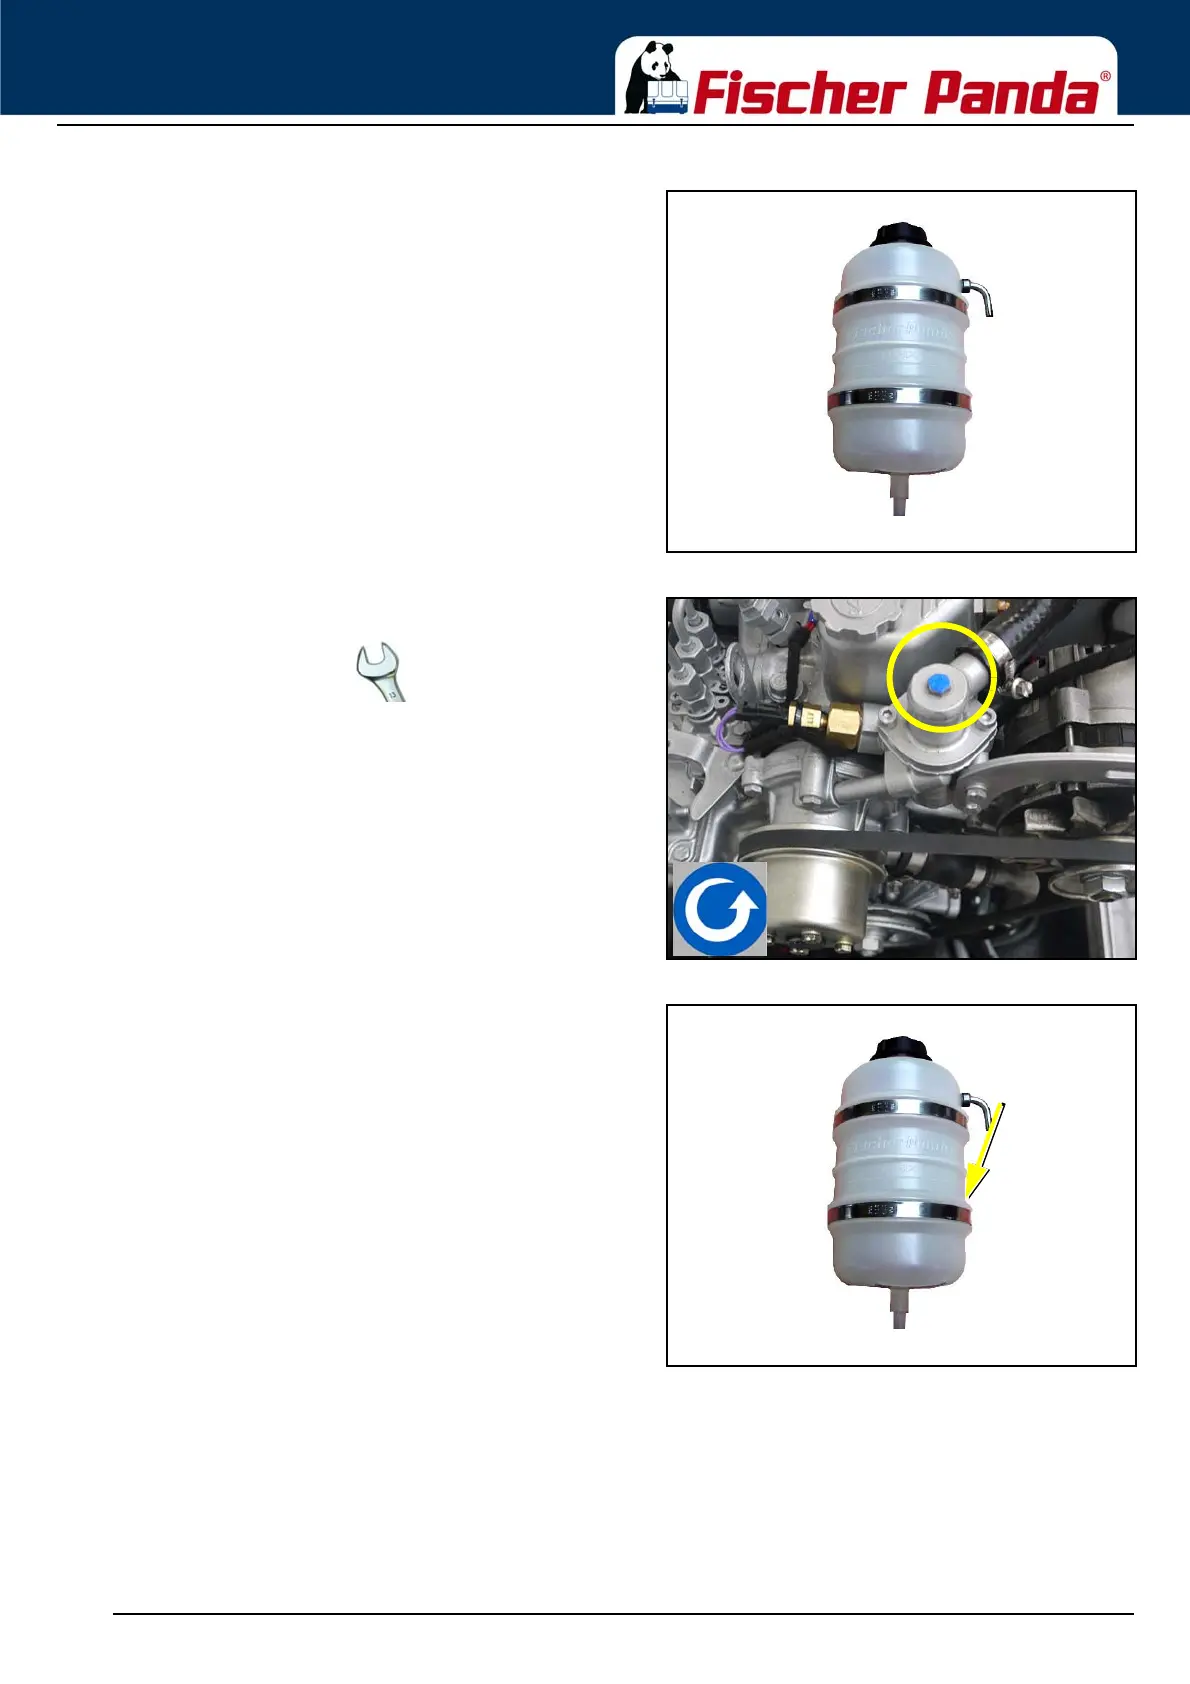
Fig. 6.6-1: Expansion tankExpansion tank
Fig. 6.6-2: Ventilating screw on the thermostat housing7. Open the ventilating screw on the thermostat housing.
Use spanner size 10 mm.
Fig. 6.6-3: filling level 20%8. Pour cooling water into the external expansion tank.
9. If the cooling water level no longer drops (the cooling
water level in cold waters must cover the tin in the
exhaust elbow), close the filler cover and the cooling
water screws and then start the generator.
10.Run the generator for approx. 60 Seconds, then switch off
11.Refill cooling water via the external expansion tank.
12.The expansion tank is connected to the generator by two
hoses.
The external expansion tank should be filled to a max 20 % in a cold state. It is very important that a larger
expansion area is maintained above the cooling water level.
13.Repeat this procedure 1 - 5 times.
If there is no change to the state of the cooling water level, the generator is re-started for 5 minutes. Thereafter the
de-aeration must be repeated two to three times.
Also after the first implementing a small amount of air can be reside in the cooling circuit. To ensure an immaculate
and actual operating of the cooling system the ventilating process must be repeated casual in the next few days
(weeks, if necessary). Small amount of air will still exit out of the ventilating openings, especially if the generator