2 - 1
OMNISCANNER User Guide
Chapter 2 - Getting Started
Twisted Pair Networks
Charging OMNISCANNER’s Battery
In order to operate the OMNISCANNER and OMNIREMOTE with battery
power, the battery must first be charged. Until the charging cycle is
complete, the units can run with the AC adapter plugged in. (See
Appendix B - Batteries for more information about the batteries.)
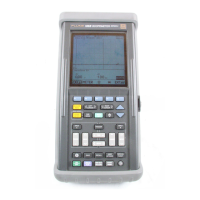
OMNISCANNER’s Project Screen
OMNISCANNER’s project screen is designed to allow you to perform all
typical work flow operations. The project, the test specifications, and
the cable types are all selectable from the OMNISCANNER Project screen.
Press the ON/OFF key to power the unit on
and display the Project screen with its three
user definable items: Project, Autotest, and
Cable.
The Project name will be highlighted. Use the
ê to move the highlight to the Autotest or
Cable field. Press ENTER when a field is
highlighted to change the current Project,
Autotest, or Cable. OMNISCANNER will auto-
sense the Adapter.
Battery and Memory status are graphically indicated by gauges with a
display ranging from empty (left hand side) to full (right hand side).
Press (Setup) to select Autotests, configure Cables, and more.
Press (Measurements) to measure a cable’s performance, utiliz-
ing a variety of tests.
Press (Diagnostics) to identify network cabling faults
Press (Results) to view and manage stored test results.