Setup Menu
231
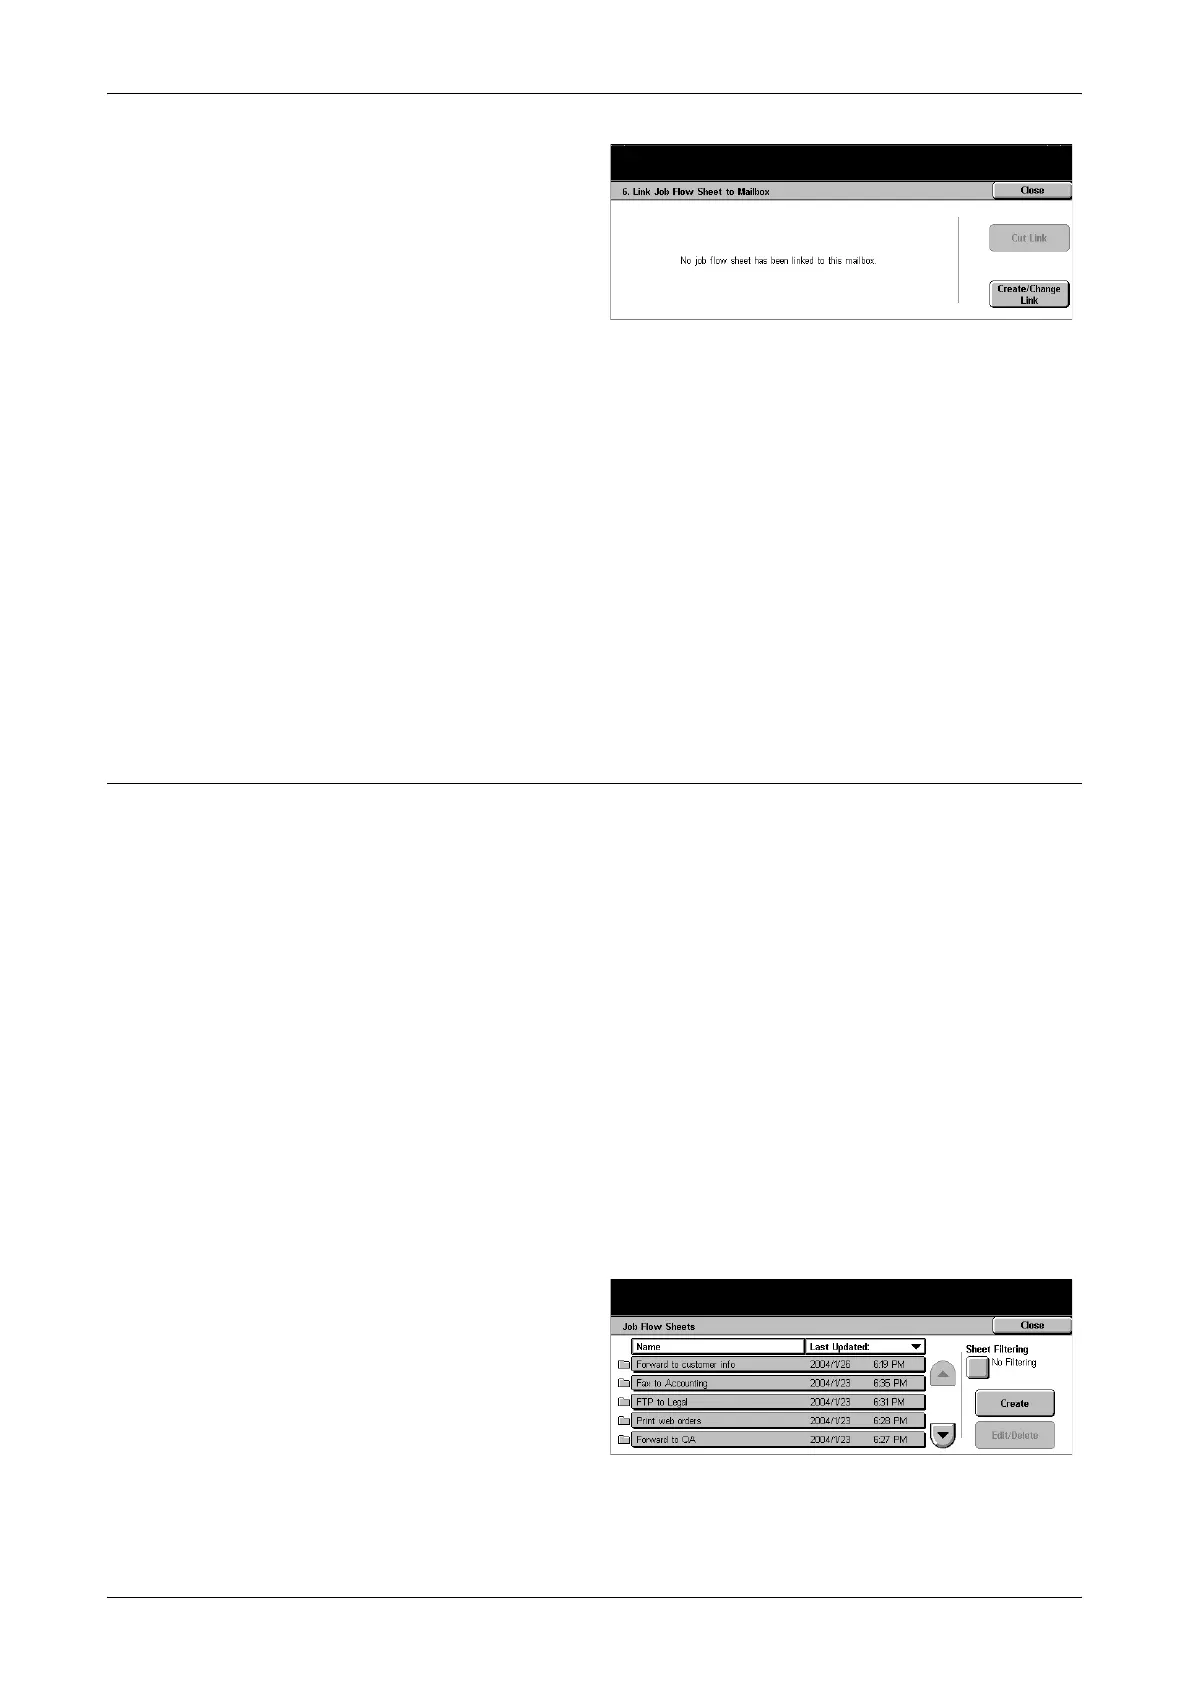
1. Select [Link Job Flow Sheet to
Mailbox] on the [Mailbox XXX –
Create/Delete] screen, and then
select [Change Settings].
2. Perform the necessary
operations.
3. Select [Close].
Cut Link
Removes linkage with a job flow sheet if any linkage has been already made.
Create/Change Link
Allows you to select a job flow sheet to be linked with the mailbox. For the displayed
[Sheet Filtering], [Create], and [Edit/Delete] buttons, refer to Job Flow Sheets on
page 231.
NOTE: The [Auto Start] check box and the [Start] also appear on the [Link Job Flow
Sheet to Mailbox] screen when the mailbox has been linked with any job flow sheet.
Checking the [Auto Start] check box causes the linked job flow sheet to be
automatically executed when a new document is saved in the mailbox. Selecting
[Start] causes the execution of the linked job flow sheet to be started.
Job Flow Sheets
A job flow sheet defines how scanned documents or documents in the mailboxes are
to be processed. Job flow sheets are categorized by the following: created outside and
stored on the machine, created and stored on the machine, and created on the
machine and stored on an external server. Use this feature to create or modify a job
flow sheet. You can program job flow sheets with the following processing.
NOTE: In case of forwarding a document, faxed or stored in the mailbox, by e-mail,
FTP, or SMB, it cannot be opened by the recipient if the [File Format] of the job flow
sheet is set to [JPEG].
• To fax documents
• To send documents using the iFax service
• To send documents as e-mail
• To send documents through the FTP protocol
• To send documents through the SMB protocol
• To print out documents
1. Select [Job Flow Sheets] on the
[Setup Menu] screen.
2. Perform the necessary
operations.
3. Select [Close].
Sheet Filtering
Displays the [Sheet Filtering] screen.
 Loading...