Chapter 2. Clamp-On Fixture and Transducer Installation
18 AquaTrans™ AT600 User’s Manual
2.1.3 Transducer Spacing = 0 to 250 mm or 0 to 320 mm, Traverses = 1, Fixtures = 2 (cont.)
7. Set the spacing between the two transducers to the value calculated by the meter as follows:
a. Loosen the fixture rails and rotate the rails so the transducers are in view.
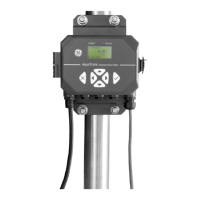
b. Remove the upstream transducer from the first fixture (see Figure 20 below). Disconnect the
transducer cable and route the cable into the second fixture.
Note: The cable for the upstream transducer needs to be pulled out through one side of the rail on the first
fixture and inserted through the side of the rail on the second fixture.
c. Install the upstream transducer into the second fixture, and reconnect the transducer cable.
d. Locate the upstream transducer at the zero position of the second fixture, and then move the
downstream transducer to the required position on the first fixture. If you are using solid
couplant, apply it to both transducer faces. Then, rotate the transducers back onto the rail
Figure 20: Relocate the Upstream Transducer
8. Your clamp-on fixture and transducer installation is now complete. To wire your AT600 flow meter,
proceed to “Wiring the AT600 Electronics” on page 23.
 Loading...