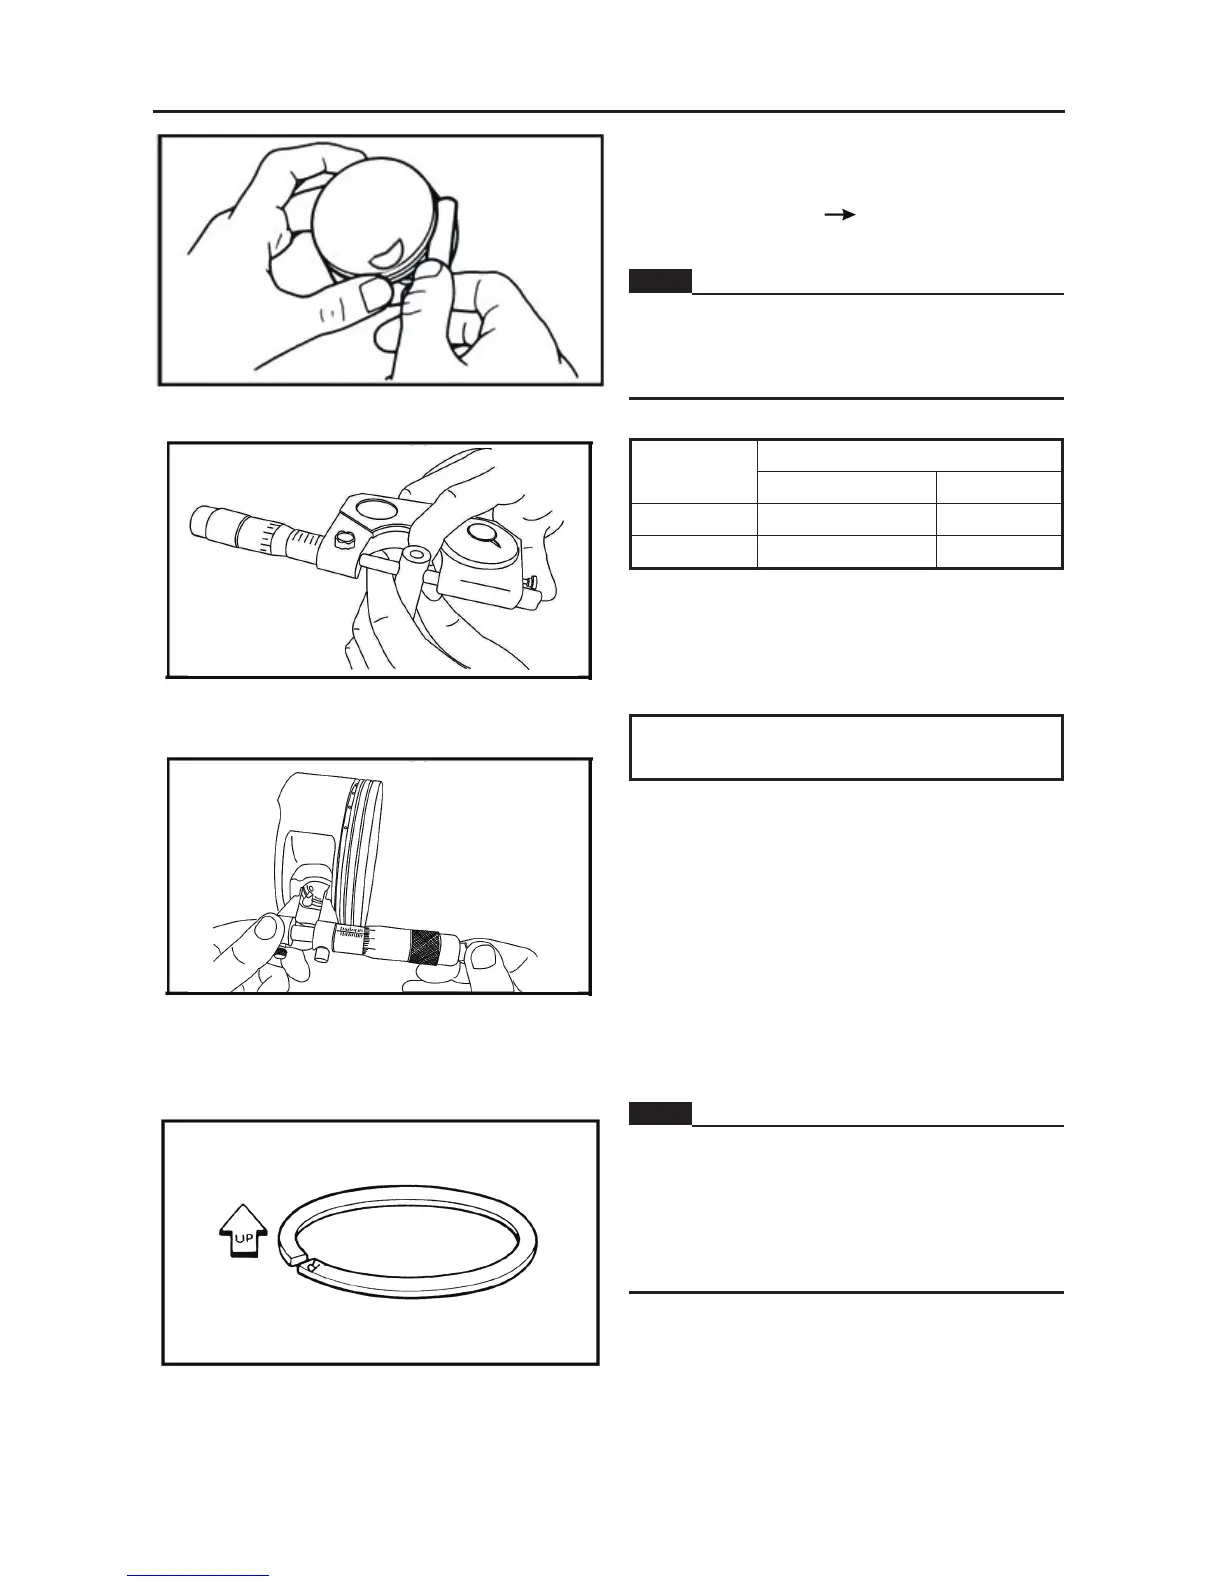
• ring side clearance
Use a thickness gauge.
Out of specification
Replace the piston and
rings as a set.
NOTE:
Clean carbon from the piston ring grooves
and rings before measuring the side
clearance.
Side clearance
Standard Limit
Top ring 0.04~0.08mm 0.13mm
2nd ring 0.03~0.07mm 0.13mm
• piston pin-to-piston clearance.
a. Measure the piston pin outside diameter.
b. Measure the piston pin bore inside diameter.
Repairing limit value
0.08mm
c. Calculate the piston pin-to-piston clearance
with the following formula.
Piston pin-to-piston clearance = Piston pin bore
inside diameter – Piston pin outside diameter
d. If out of specification, replace the piston.
3、INSTALL:
1). Installing the piston
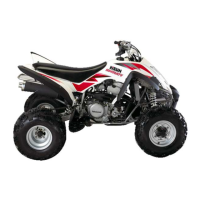
• piston rings (onto the piston)
NOTE:
• Be sure to install the piston rings so that
the manufacturer’s marks or numbers are
located on the upper side of the rings.
• Lubricate the piston and piston rings
liberally with engine oil.
• piston ①
• piston pin ②
• piston pin clips (new replacement)③
ENGINE
- 141 -
NOTE:
• Apply engine oil onto the piston pin, piston
rings and piston.
• Be sure that the arrow mark a on the piston
points to the exhaust side of the engine.
• Before installing the piston pin clip, cove
the crankcase with a clean rag to prevent
the piston pin clip from falling into the
crankcase.
2). Installing the cylinder
• cylinder
• O-ring
NOTE:
Install the cylinder with one hand while
compressing the piston rings with the othe
hand.
CAUTION:
• Be careful not to damage the timing chain
guide during installation.
• Pass the timing chain through the timing
chain cavity.