Chapter 4
Removing and Replacing Components
Removing and Replacing a Processor
57
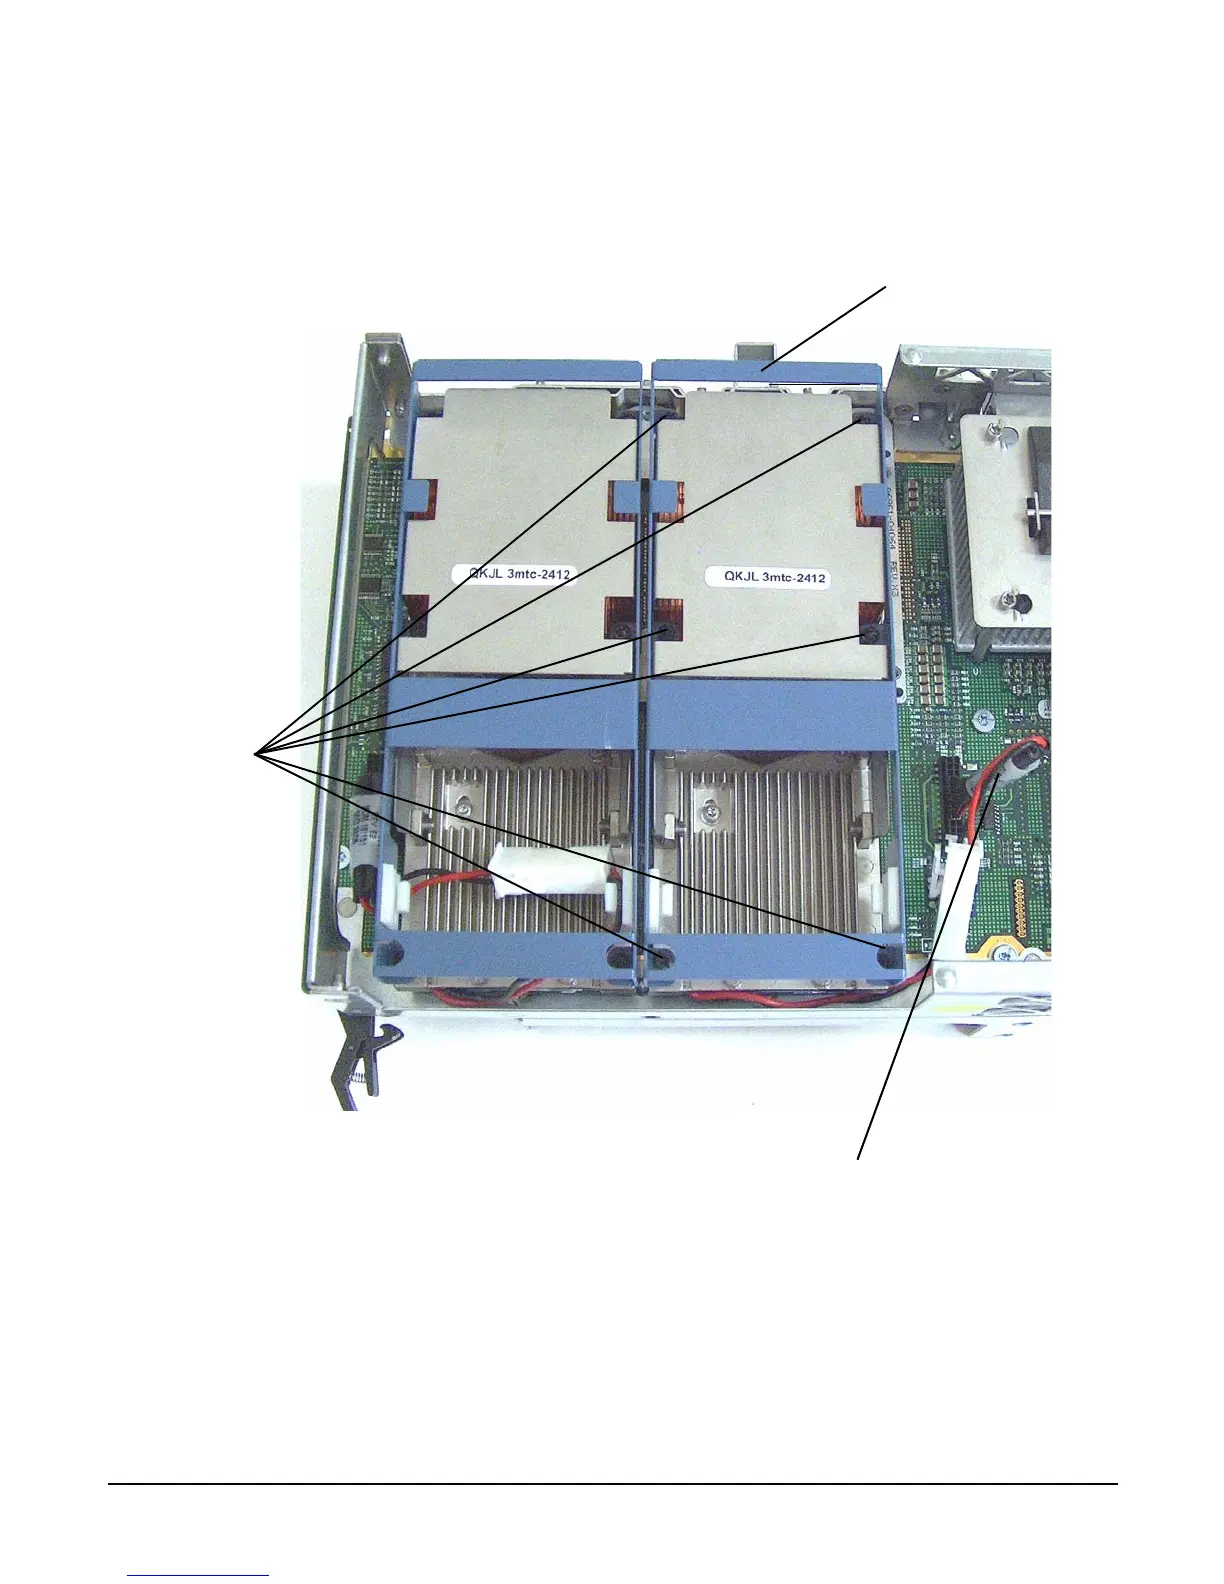
Step 5. Using a torx T15 driver, loosen the six captive T15 shoulder screws that attach the sequencer frame
on the heatsink in the order specified in Figure 4-14 until the sequencer frame is free.
Figure 4-14 Removing the Processor Sequencer
Step 6. Remove the sequencer frame from the heatsink.
Step 7. Unplug the processor power cable from its socket on the extender board.
3
4
5
6
2
1
Sequencer
Shoulder
screws
Processor
power cable
 Loading...


