Chapter 4
Removing and Replacing Components
Removing and Replacing the I/O Baseboard
69
• MX2 dual-core processor - On
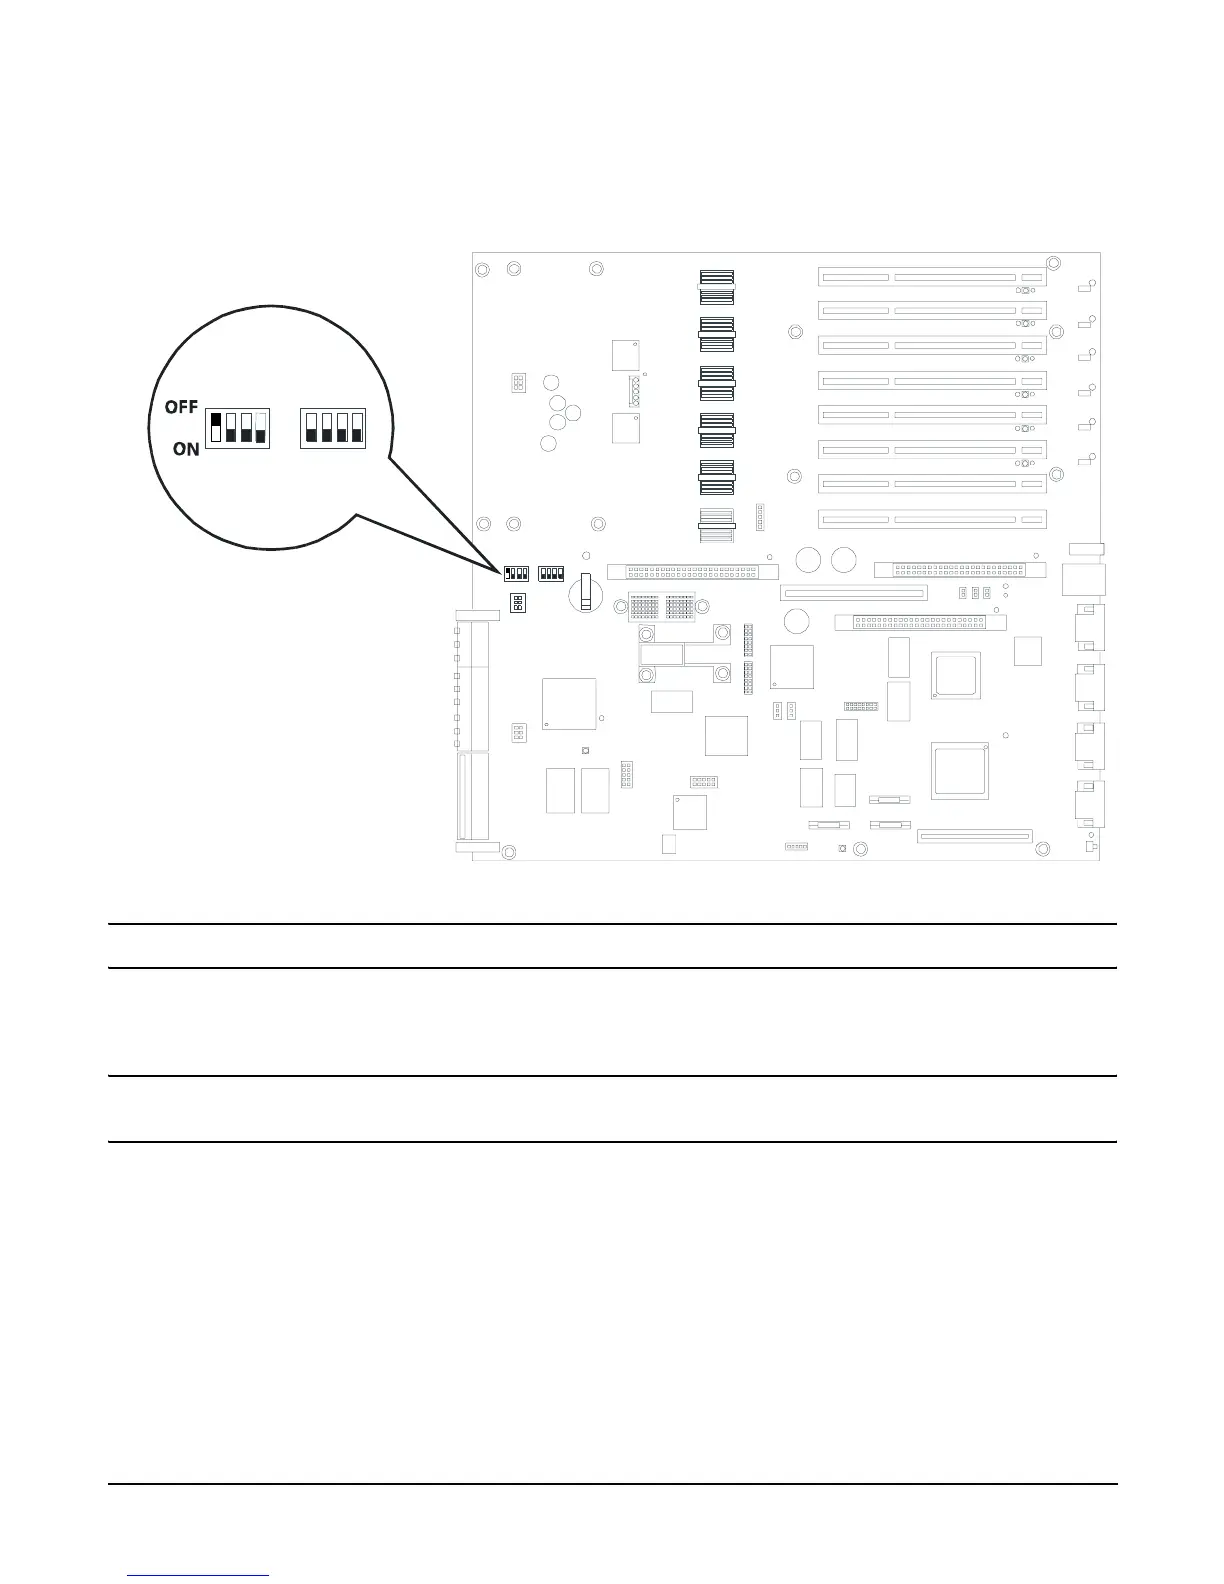
Figure 4-24 I/O Baseboard Dip Switches
NOTE The I/O baseboard is large, so use care when sliding it into the server chassis.
Step 2. Align the I/O baseboard assembly rails with the chassis slots and slide the assembly into the
chassis until it stops against the midplane riser board socket.
CAUTION Ensure the I/O baseboard locking lever is in the “up” position or the I/O baseboard
hangs up before engaging the midplane riser board socket.
Step 3. With the I/O baseboard flush against the midplane riser board socket, push down firmly on the
locking lever until the I/O baseboard plugs all the way into the midplane riser board socket.
Step 4. Replace the three chassis fan units. “Replacing a Hot-Swap Chassis Fan Unit” on page 65.
Step 5. Plug in all external cabling the rear ports of the I/O baseboard.
I/O baseboard switches
 Loading...


