Chapter 4
Removing and Replacing Components
Removing and Replacing OLX Dividers
83
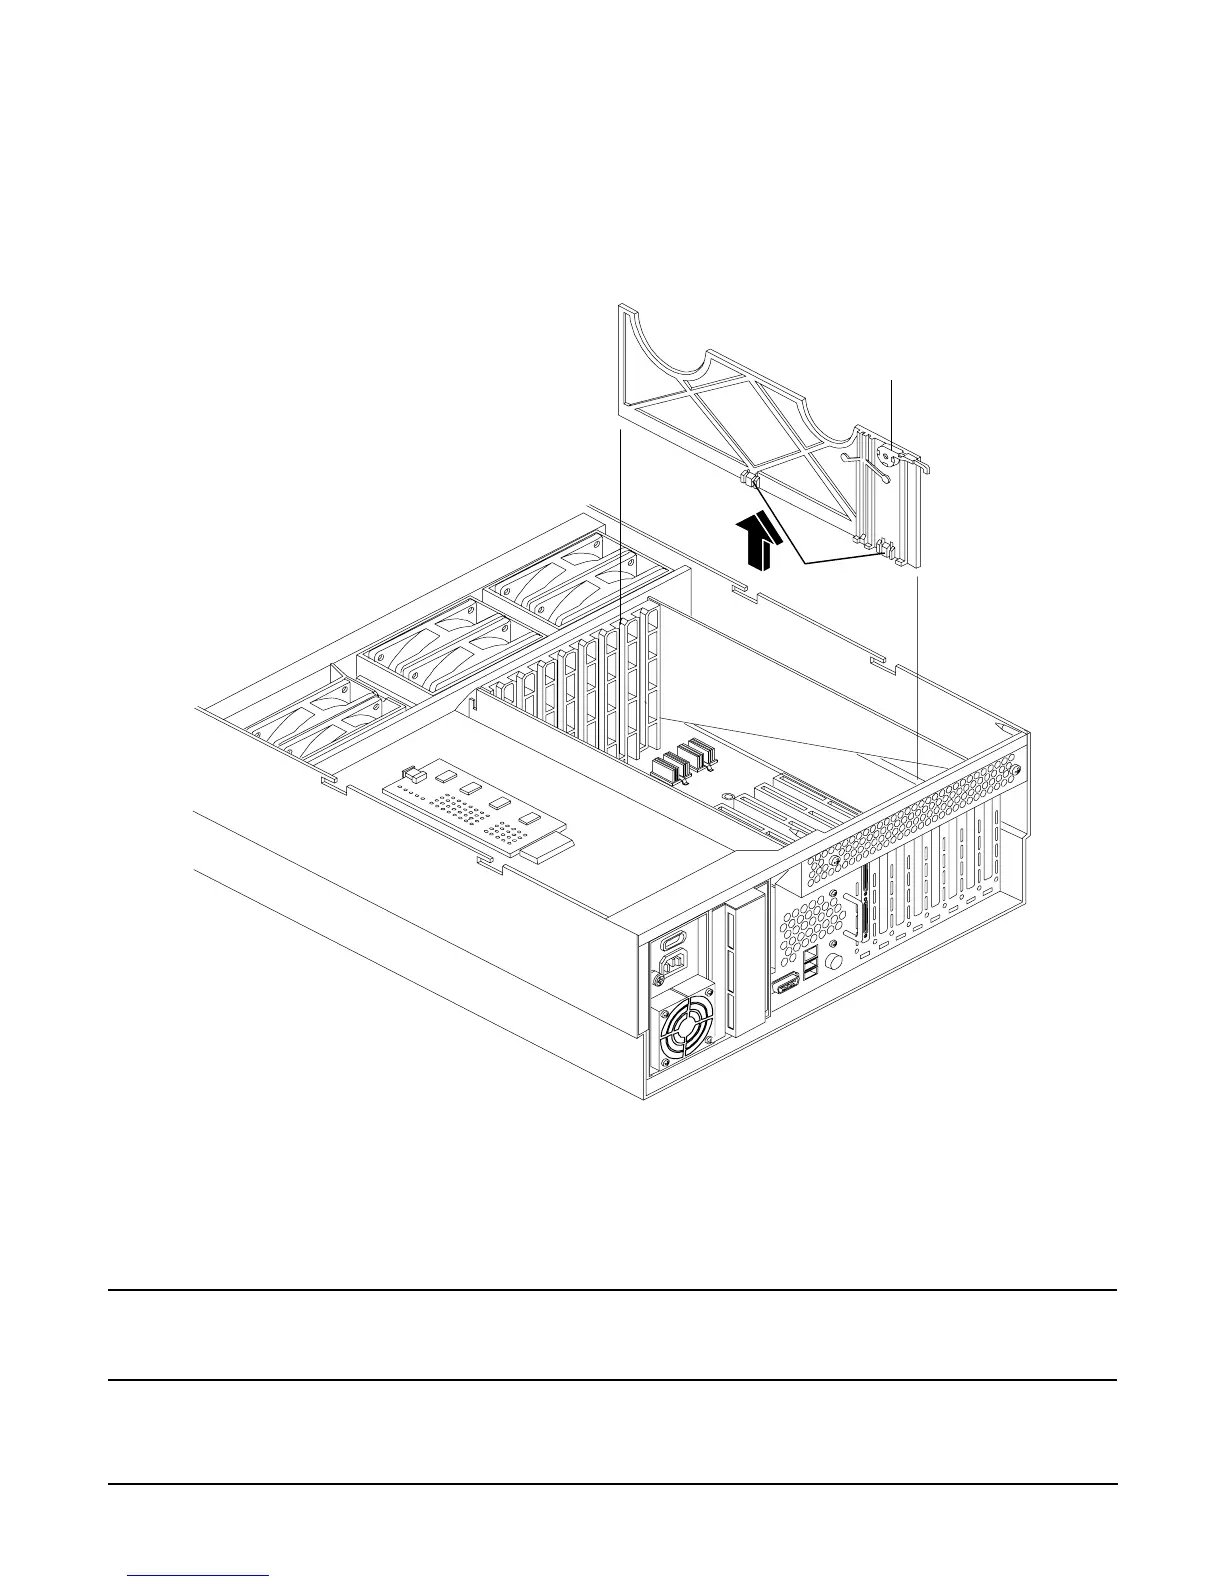
Step 5. Pull up on the manual retention latch to unlock it from the chassis wall. Figure 4-29 shows where
the manual retention latch is on the OLX divider.
Figure 4-29 Removing and Replacing the OLX Divider
Step 6. If you are removing the entire OLX divider rack, remove the four T15 fasteners holding the rack to
the I/O baseboard.
Step 7. Using your fingers, push the two tabs that attach the OLX divider to the I/O baseboard and pull the
OLX divider up sharply to disengage it from the I/O baseboard.
CAUTION When extracting the OLX divider, ensure that you release the locking tabs
completely or you may damage them. If you damage the tabs, the OLX divider may
not seat properly when you reinsert it.
Manual retention latch
Locking tabs
 Loading...


