Chapter 4
Removing and Replacing Components
Removing and Replacing the Power Supplies
99
Step 3. Loosen the captive thumbscrew located at the top left of the PSU.
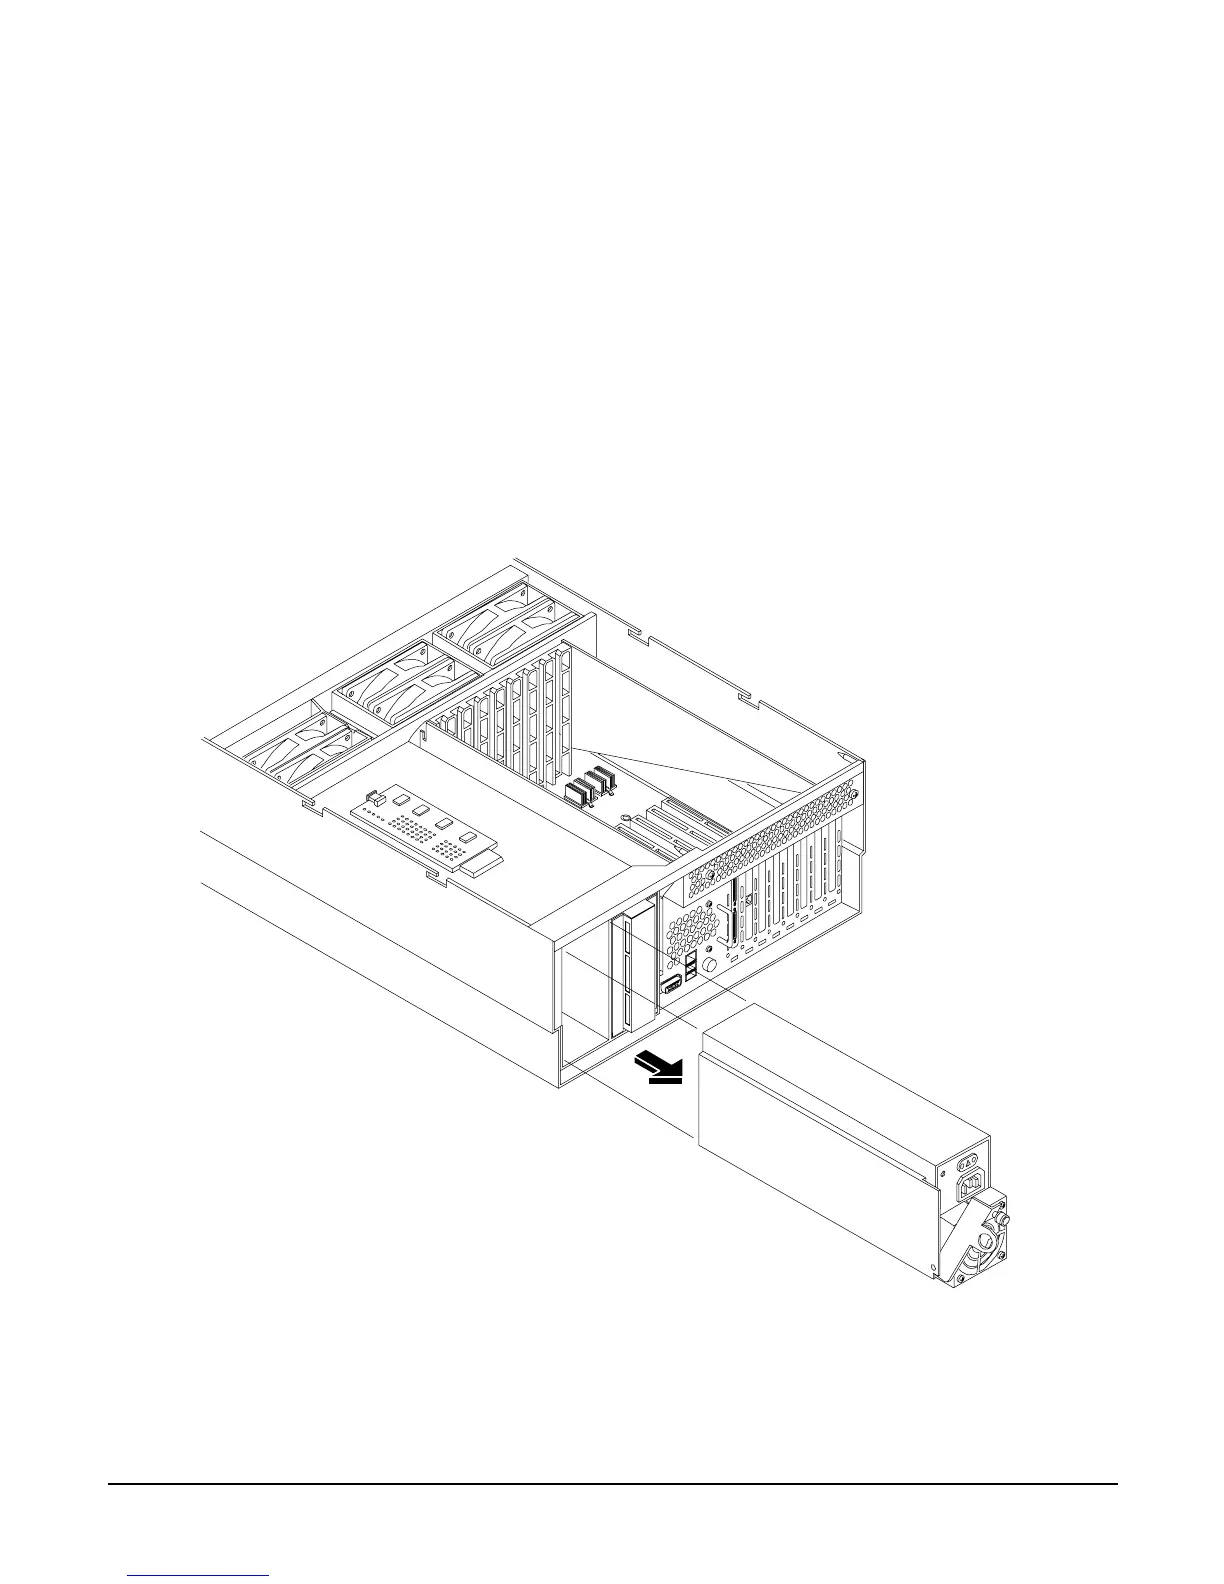
Step 4. Grasp the handle and pull the PSU out of the server. Figure 4-40 shows how to remove a PSU.
Replacing a Hot-Swap Power Supply
Step 1. Supporting the PSU with both hands, slide it into the empty slot until it plugs into the socket on
the internal power distribution board. Tighten the thumbscrew hand-tight.
Step 2. Install the power cord into the PSU socket.
Step 3. Apply power to the new PSU and the LED should immediately turn on.
Step 4. If rack mounted, slide the HP server back into the rack until it stops. “Inserting the Server into the
Rack” on page 39.
Figure 4-40 Removing and Replacing the Hot-Swap Power Supply
 Loading...


