Filler
panel
Power supply
release tab
Spacer
Spacer
release tab
750-watt -48 volt dc
power supply
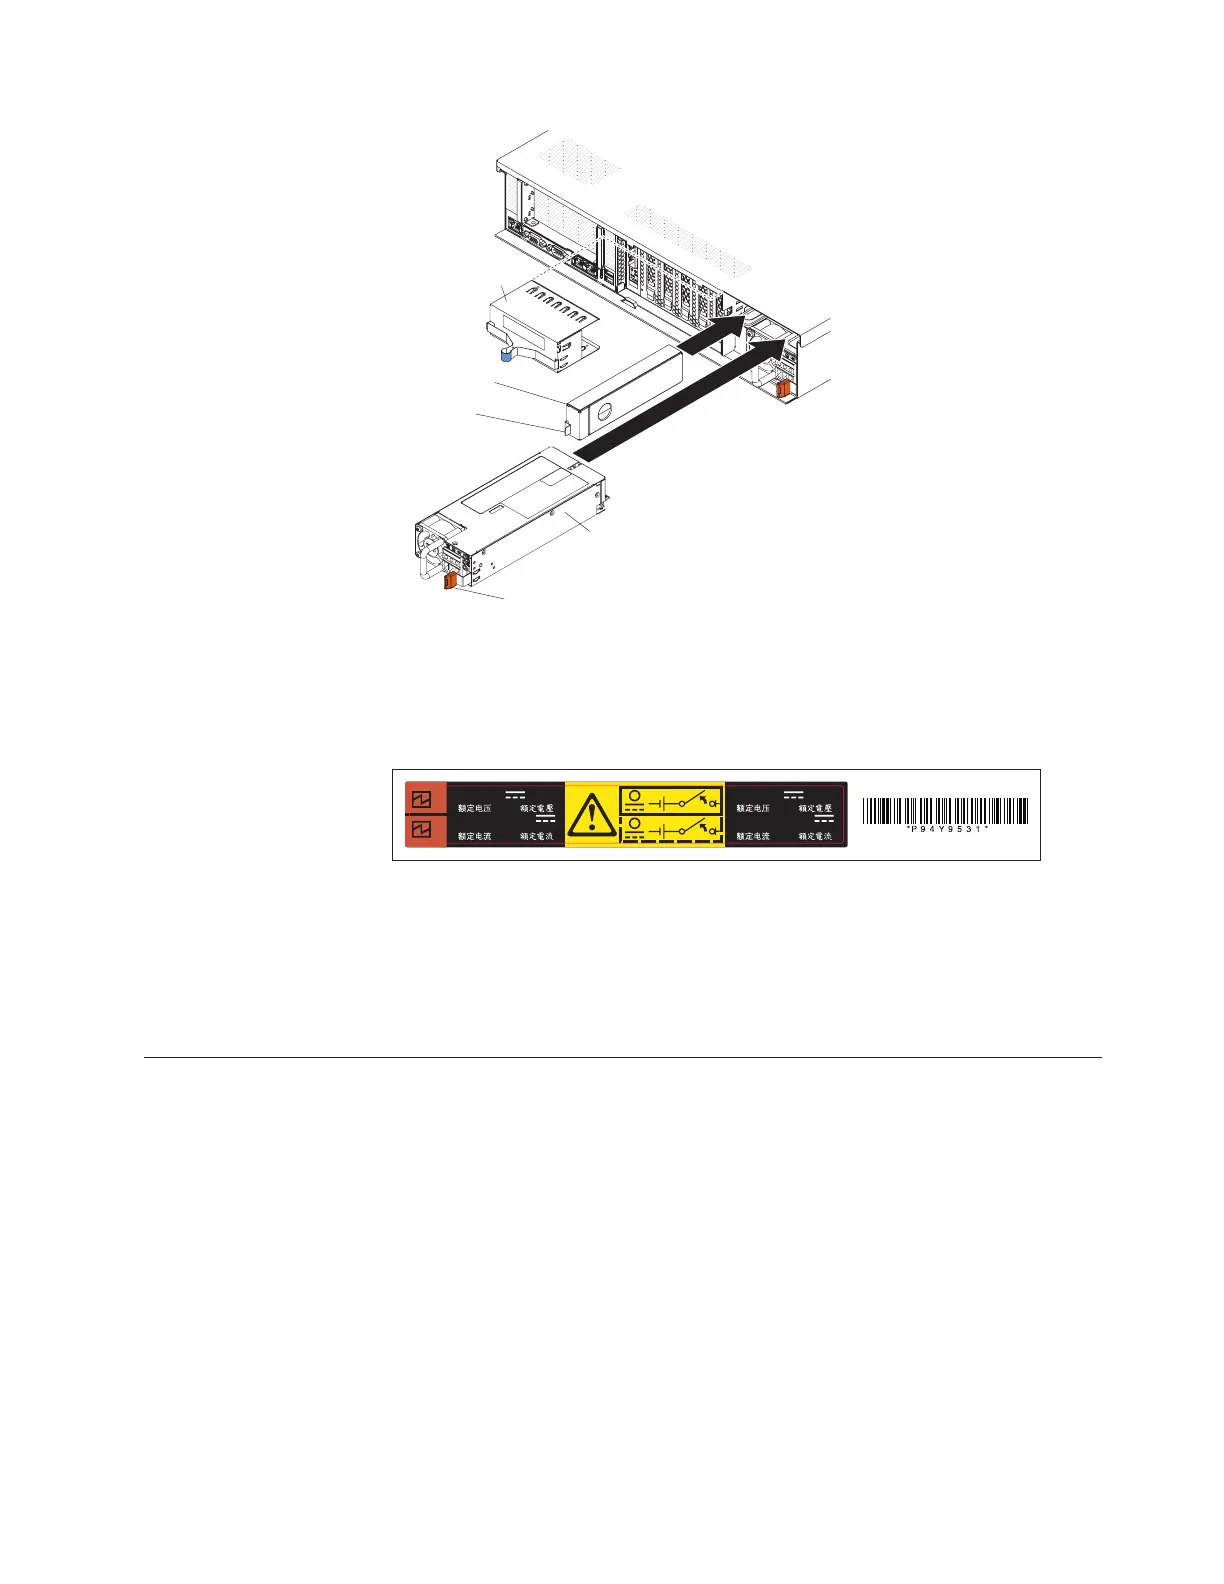
8. Grasp the handle on the rear of the power supply and slide the power supply
into the bay until it clicks into place and is seated firmly into the connector.
9. Connect the other ends of the dc power cable to the dc power source.
Note: When you install the second power supply, place the following power
rating label that comes with the power supply option on the rear of the server.
2
1
20,4A
750W
DC
-48 – -60V
1
2
20,4A
750W
DC
-48 – -60V
10. Turn on the circuit breaker(s) for the dc power supplies.
11. Route the power cable through the cable hook-and-loop on the rear of the
server so that it does not accidentally become unplugged.
12. Reconnect all of the cables to the peripheral devices.
13. Restart the server. Make sure that it starts correctly and recognizes the newly
installed device, and make sure that no error LEDs are lit.
Installing the power interposer for redundant power supply card
assembly
This information provides instructions on how to install the power interposer for
redundant power supply card assembly.
Chapter 2. Installing optional devices 109

 Loading...


