8. Disconnect the combination power/configuration cable from the backplane
assembly. If SAS signal cables are attached to the drive backplane, disconnect
them.
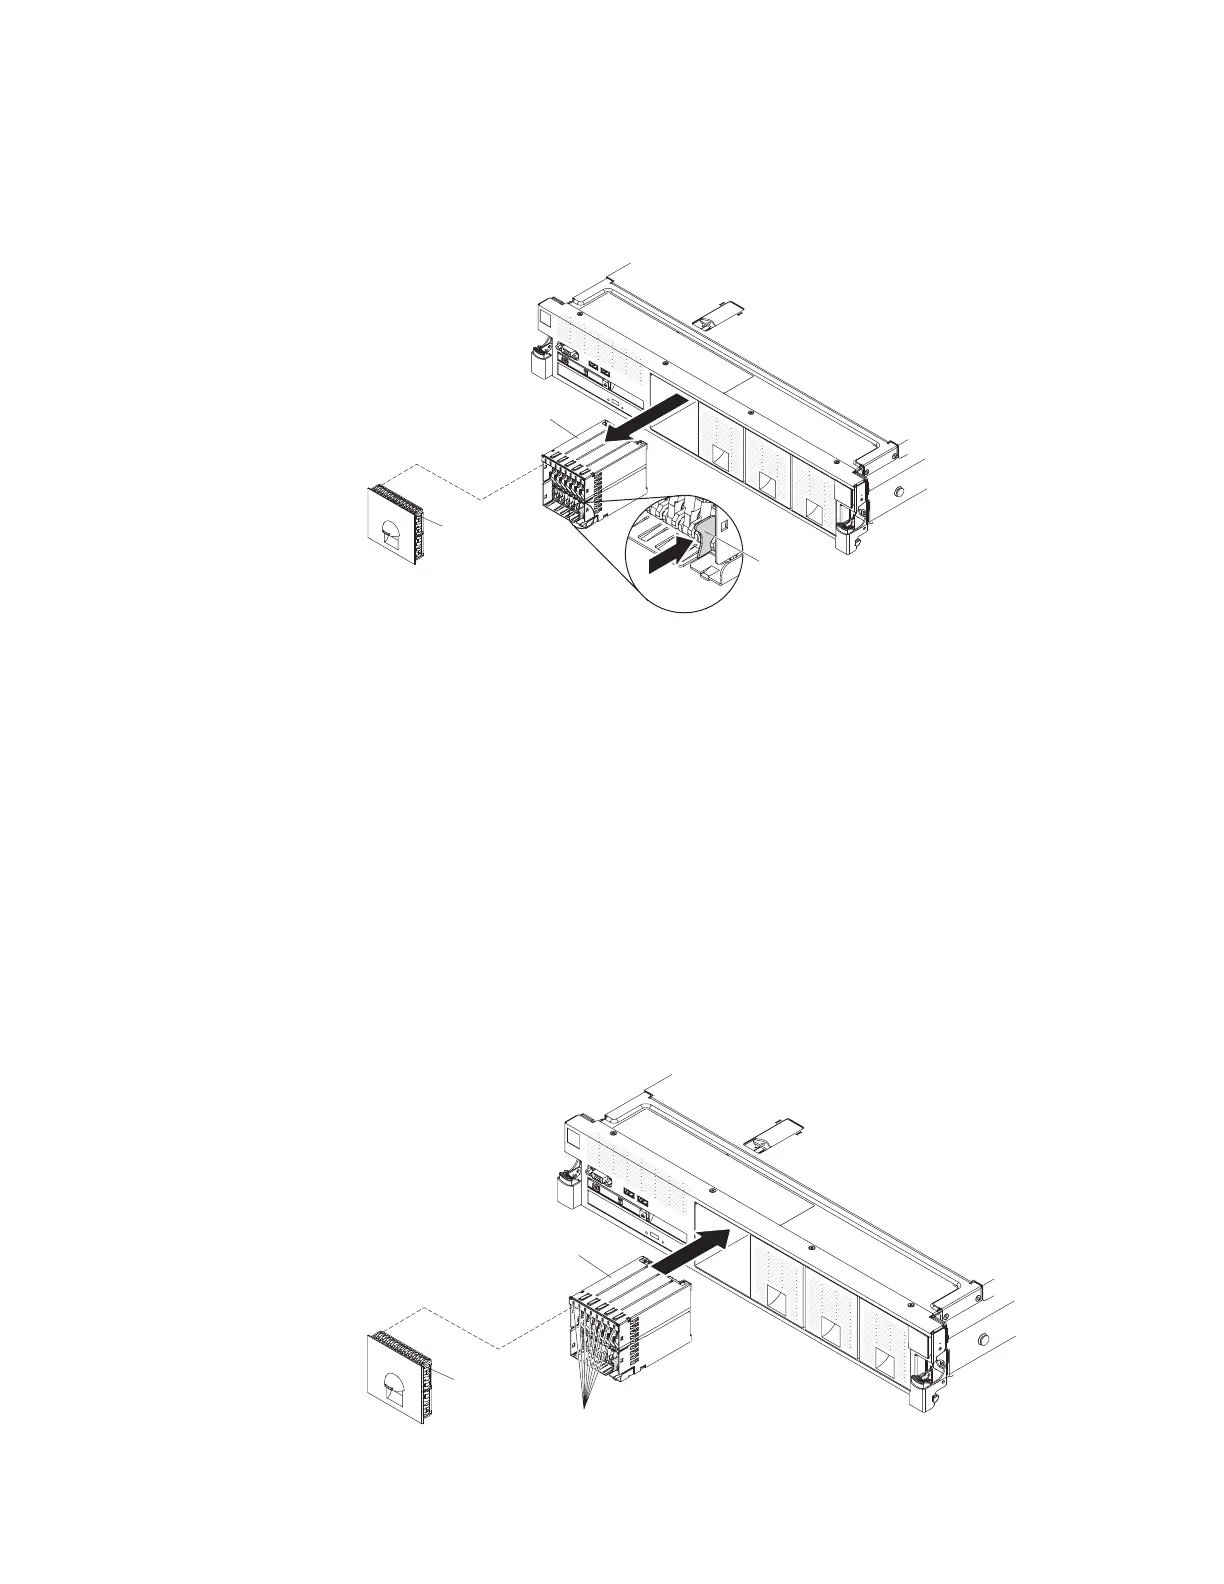
9. Lift up the spring release latch slightly while pushing the assembly from the
back and slide the backplane assembly out the front of the server.
1.8-inch
filler panel
8x 1.8-inch
drive backplane
assembly
Release
latch
10. If you are instructed to return the drive backplane, follow all packaging
instructions, and use any packaging materials for shipping that are supplied
to you.
Replacing the 8x1.8-inch hot-swap drive backplane assembly
This information provides instructions on how to replace the 8x1.8-inch hot-swap
drive backplane assembly.
About this task
To replace the 8x1.8-inch hot-swap drive backplane assembly, complete the
following steps:
Procedure
1. Read the safety information that begins on page “Safety” on page vii and
“Installation guidelines” on page 35.
2. Align the drive backplane assembly with the drive-bay slots in which you
want to install the assembly.
1.8-inch
filler panel
8x 1.8-inch
drive backplane
assembly
Drive LEDs
3. Slide the drive backplane assembly into the slot until it clicks into place.
294 System x3750 M4 Types 8722 and 8733: Installation and Service Guide

 Loading...


