41
5.2 Installing a Digital Camera
5.2.1 Overview
A digital camera provides co-axial vision of the workspace, which is useful for aligning, previewing, and
inspecting the workpiece.
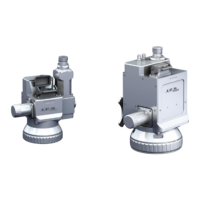
IPG Photonics offers three variations of cameras; HDMI Camera, Ethernet Camera, and USB Camera. All
cameras can be mounted to IPG Scanning Optics through the use of a Camera Arm Module.
IPG supplied cameras are not intended to be used as vision systems (i.e. they cannot capture and
calculate positional offset values). They are intended for through the lens visualization only. A third
party camera and/or software would be required for capturing positional offset data.
For detailed information about your digital camera, refer to the accompanying product documentation.
5.2.2 Installation and Setup
The following instructions detail the installation of a digital camera. Although the images depict the 2D
High-Power Scanner, the same principles apply to the installation of a camera with a Mid-Power
Scanner.
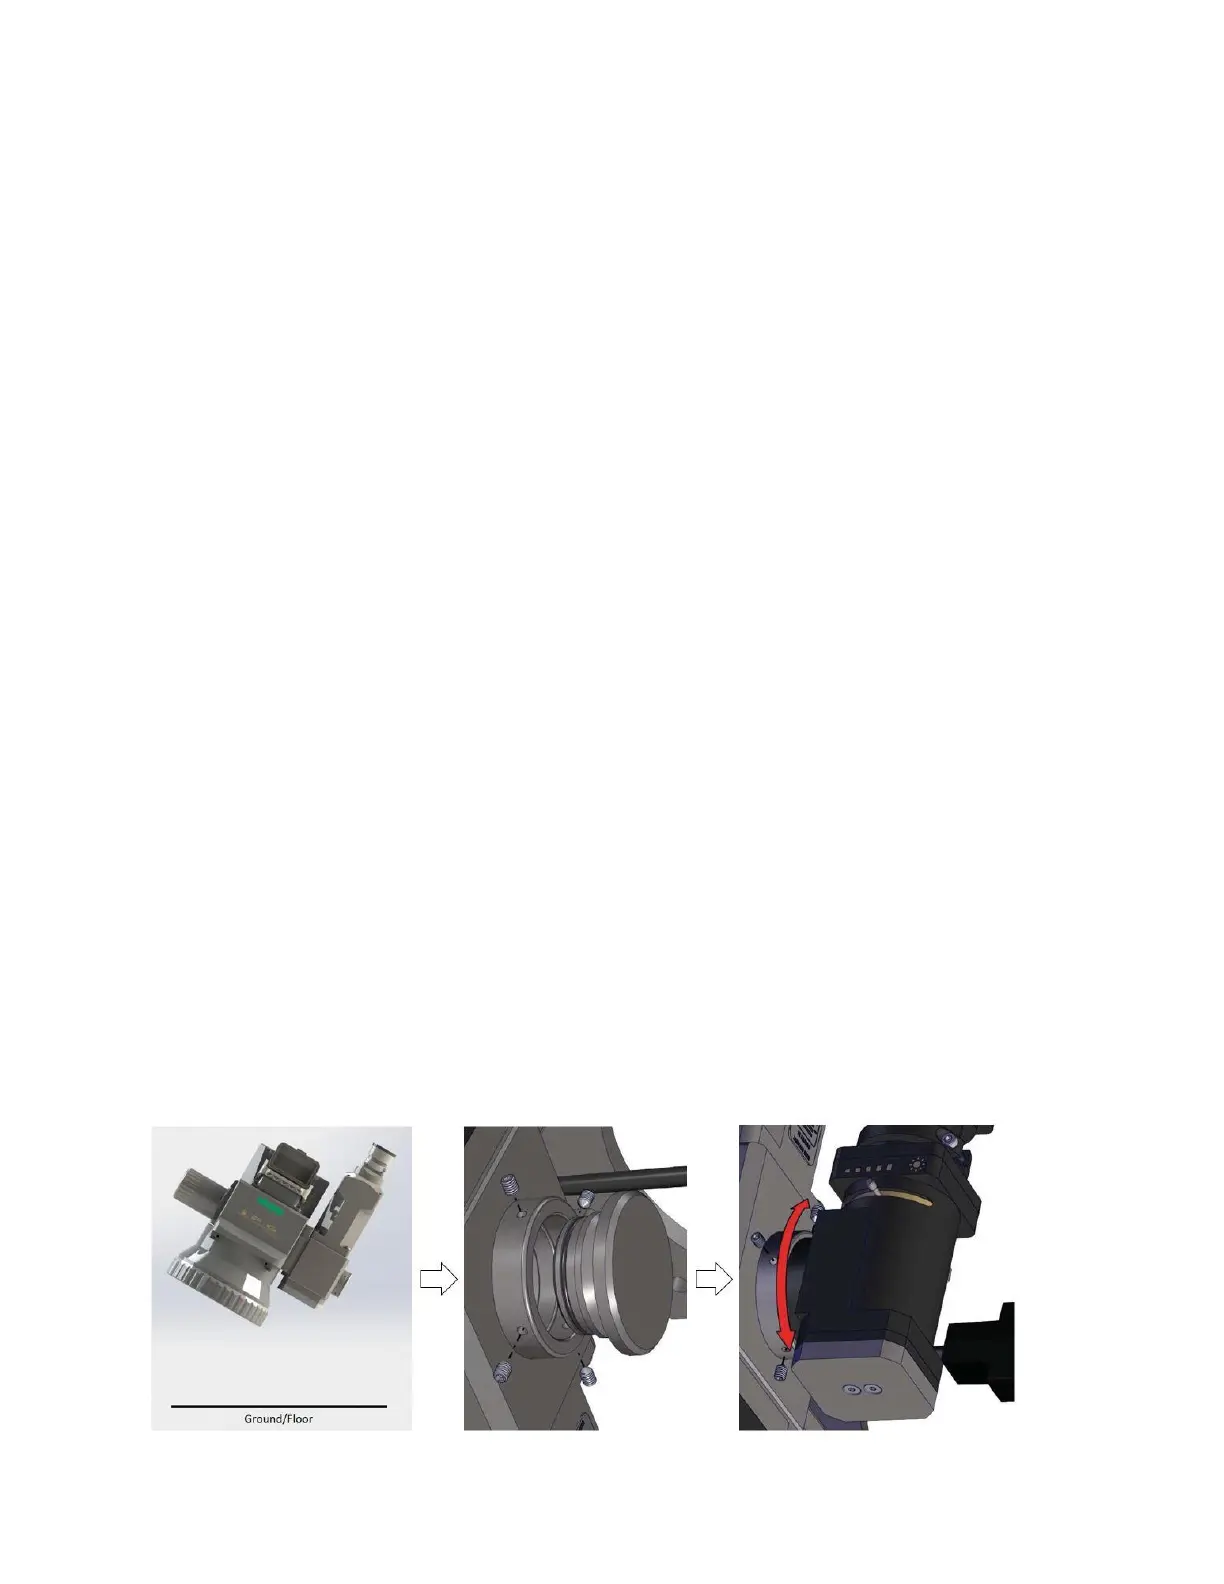
1. Tilt the scan head so the camera port is angled slightly down towards the ground.
a. This is done to help prevent any falling debris that may be in the air from entering the
head.
2. Using a 1.5mm Allen Wrench, loosen the four set screws holding the plug in place.
a. Have the camera ready to install shortly after removing the camera plug. The less time
the head is open to the environment, the better.
3. Remove the plug and store it in a safe place.
4. Insert the camera arm into the open port.
a. The camera arm is normally positioned parallel to the collimator, although, it can be
positioned off axis.
b. Figure 5-6 details steps 1 through 4.
Figure 5-6 Installing a Digital Camera