2. Connect the other end of the Ethernet cable into the console server (see Figure 41 on
page 98) or management console (see Figure 42 on page 98).
To configure the device from the management console, see “Connecting and Configuring
an EX Series Switch (CLI Procedure)” on page 110 or Connecting and Configuring an EX
Series Switch (J-Web Procedure).
NOTE: EX2200-24T-DC switches, EX2200-C switches, EX3300 switches,
and EX6200 switches do not support switch connection and configuration
through the J-Web interface.
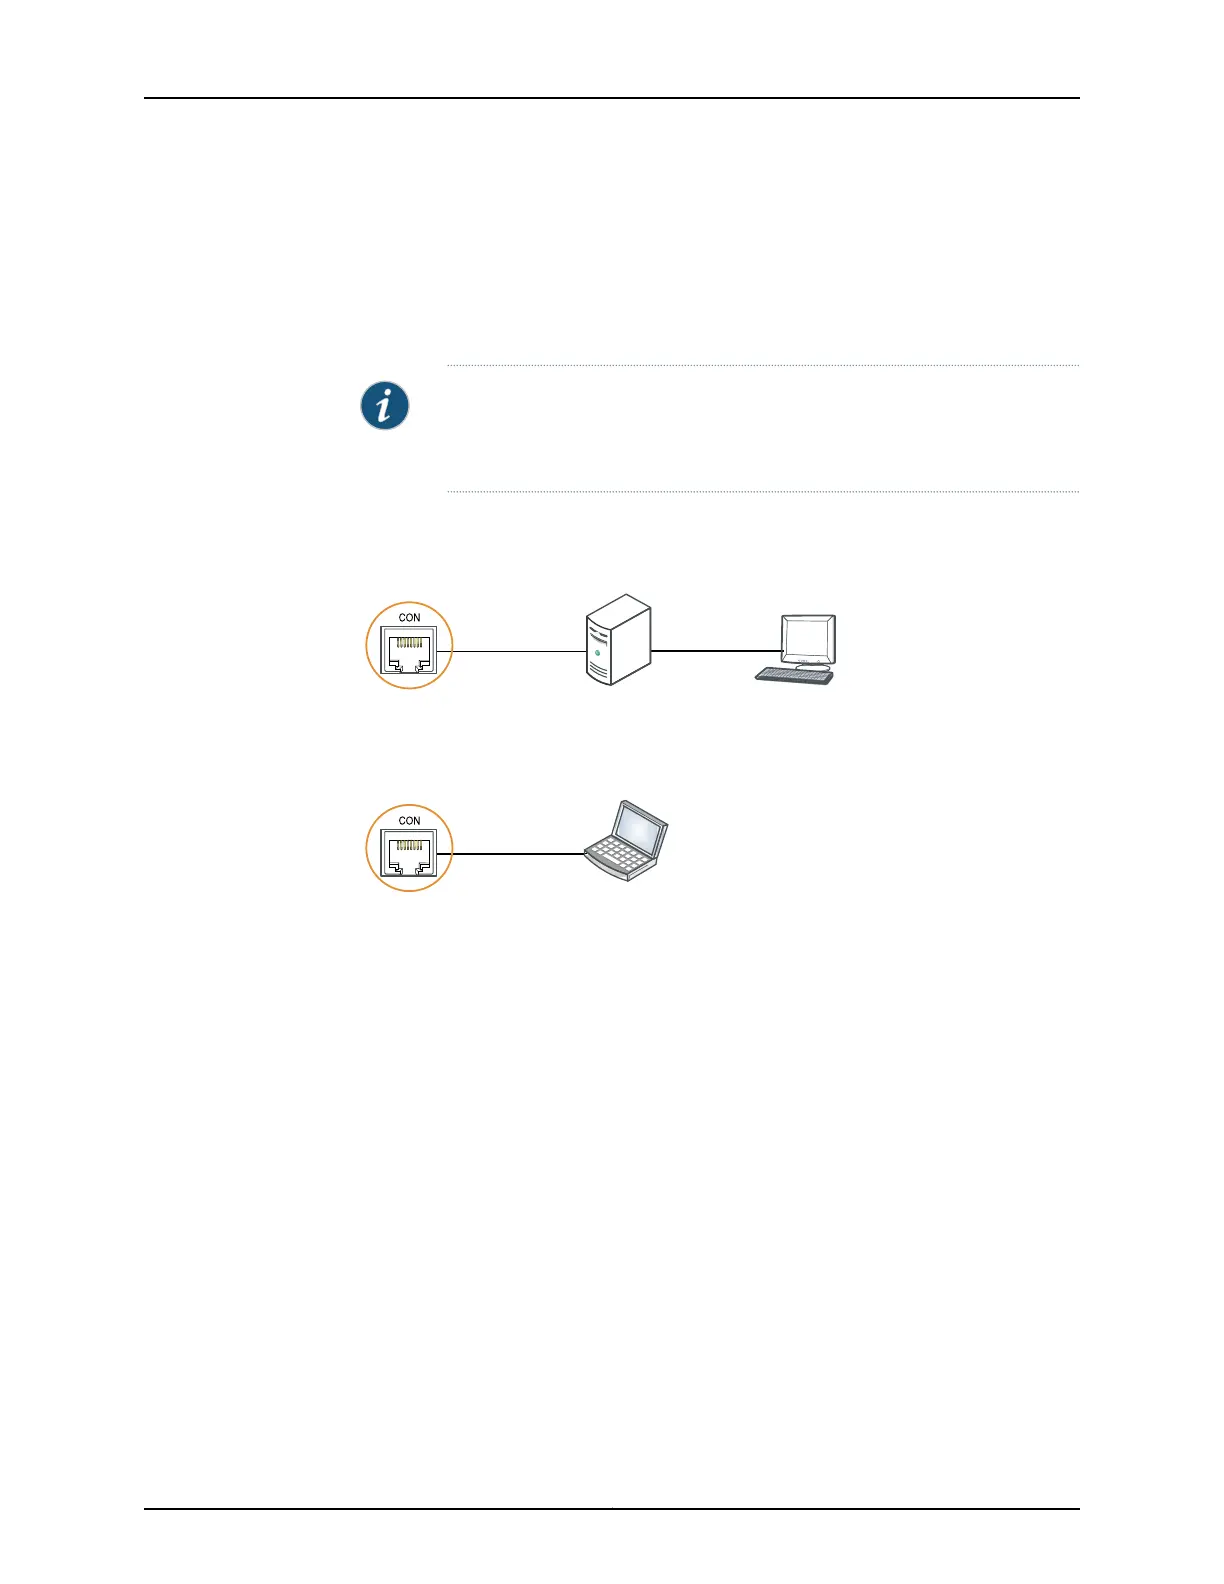
Figure 41: Connecting an EX Series Switch to a Management Console
Through a Console Server
g020547
Console server
PC
To Console port
(on the switch)
Figure 42: Connecting an EX Series Switch Directly to a Management
Console
g020570
Laptop CPU
To Console port
(on the switch)
Connecting an EX2200 Series Switch to a Management Console Using Mini-USB Type-B Console
Port
This section describes the process of connecting an EX2200-C switch to the management
console using the Mini-USB Type-B console port and configuring the Mini-USB Type-B
console port as an active port.
You can configure and manage an EX2200-C switch, the compact, fanless model using
the RJ-45 console port, see “Connecting an EX Series Switch to a Management Console”
on page 96 and Mini-USB Type-B console port.
By default, the RJ-45 port is set as an active console port and the Mini-USB Type-B port
is the passive console port.
Ensure that the prolific driver is installed on the host machine. You can download the
prolific driver from http://www.juniper.net/support/products/junos/ww/11.3/ or
http://www.juniper.net/support/products/junos/dom/11.3/.
Ensure that you have the following parts and tools available:
Copyright © 2011, Juniper Networks, Inc.98
Complete Hardware Guide for EX3300 Ethernet Switches