List of Figures
Part 1 Switch and Components Overview and Specifications
Chapter 1 EX3300 Switch Overview . . . . . . . . . . . . . . . . . . . . . . . . . . . . . . . . . . . . . . . . . . . 3
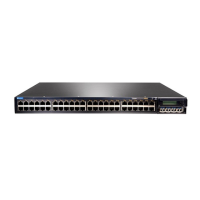
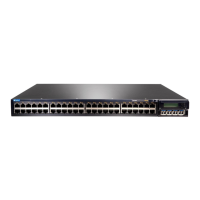
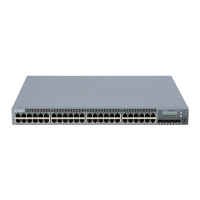
Figure 1: Front Panel of an EX3300 Switch with 48 Gigabit Ethernet Ports . . . . . . 6
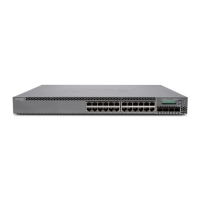
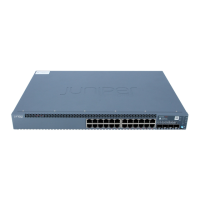
Figure 2: Front Panel of an EX3300 Switch with 24 Gigabit Ethernet Ports . . . . . . 7
Figure 3: Rear Panel of an EX3300 Switch with an AC Power Supply . . . . . . . . . . . 8
Figure 4: Rear Panel of an EX3300 Switch with a DC Power Supply . . . . . . . . . . . . 8
Chapter 2 Component Descriptions . . . . . . . . . . . . . . . . . . . . . . . . . . . . . . . . . . . . . . . . . . . 11
Figure 5: LCD Panel . . . . . . . . . . . . . . . . . . . . . . . . . . . . . . . . . . . . . . . . . . . . . . . . . . 11
Figure 6: Chassis Status LEDs in an EX3300 Switch . . . . . . . . . . . . . . . . . . . . . . . . 16
Figure 7: LEDs on the Network Ports on the Front Panel . . . . . . . . . . . . . . . . . . . . . 17
Figure 8: LEDs on the Uplink Ports . . . . . . . . . . . . . . . . . . . . . . . . . . . . . . . . . . . . . . 17
Figure 9: LEDs on the Management Port on an EX3300 Switch . . . . . . . . . . . . . . 20
Figure 10: Front-to-Back Airflow Through the EX3300 Switch Chassis . . . . . . . . . 22
Figure 11: Back-to-Front Airflow Through the EX3300 Switch Chassis . . . . . . . . . 23
Part 2 Planning for Switch Installation
Chapter 5 Mounting and Clearance Requirements . . . . . . . . . . . . . . . . . . . . . . . . . . . . . . 47
Figure 12: Clearance Requirements for Airflow and Hardware Maintenance for
EX3300 Switches . . . . . . . . . . . . . . . . . . . . . . . . . . . . . . . . . . . . . . . . . . . . . . . 50
Figure 13: Front-to-Back Airflow Through the EX3300 Switch Chassis . . . . . . . . . 51
Figure 14: Back-to-Front Airflow Through the EX3300 Switch Chassis . . . . . . . . . 52
Chapter 7 Planning Power Requirements . . . . . . . . . . . . . . . . . . . . . . . . . . . . . . . . . . . . . . 55
Figure 15: AC Plug Types . . . . . . . . . . . . . . . . . . . . . . . . . . . . . . . . . . . . . . . . . . . . . . 57
Chapter 8 Planning the Virtual Chassis . . . . . . . . . . . . . . . . . . . . . . . . . . . . . . . . . . . . . . . . 59
Figure 16: EX3300 Switches Mounted on a Single Rack and Connected in a Ring
Topology: Option 1 . . . . . . . . . . . . . . . . . . . . . . . . . . . . . . . . . . . . . . . . . . . . . . . 61
Figure 17: EX3300 Switches Mounted on a Single Rack and Connected in a Ring
Topology: Option 2 . . . . . . . . . . . . . . . . . . . . . . . . . . . . . . . . . . . . . . . . . . . . . . . 61
Figure 18: EX3300 Switches Mounted on a Single Rack and Connected in a Ring:
Option 3 . . . . . . . . . . . . . . . . . . . . . . . . . . . . . . . . . . . . . . . . . . . . . . . . . . . . . . . 62
Figure 19: EX3300 Switches Mounted on Adjacent Racks and Connected in a
Ring Topology Using Medium and Long Cables: Option 1 . . . . . . . . . . . . . . . . 62
Figure 20: EX3300 Switches Mounted on Adjacent Racks and Connected in a
Ring Topology Using Medium and Long Cables: Option 2 . . . . . . . . . . . . . . . . 62
Part 3 Installing and Connecting the Switch and Switch Components
Chapter 9 Installing the Switch . . . . . . . . . . . . . . . . . . . . . . . . . . . . . . . . . . . . . . . . . . . . . . 65
xiiiCopyright © 2011, Juniper Networks, Inc.
 Loading...
