INFORMATION FOR DISASSEMBLY
7
79
EN
1.
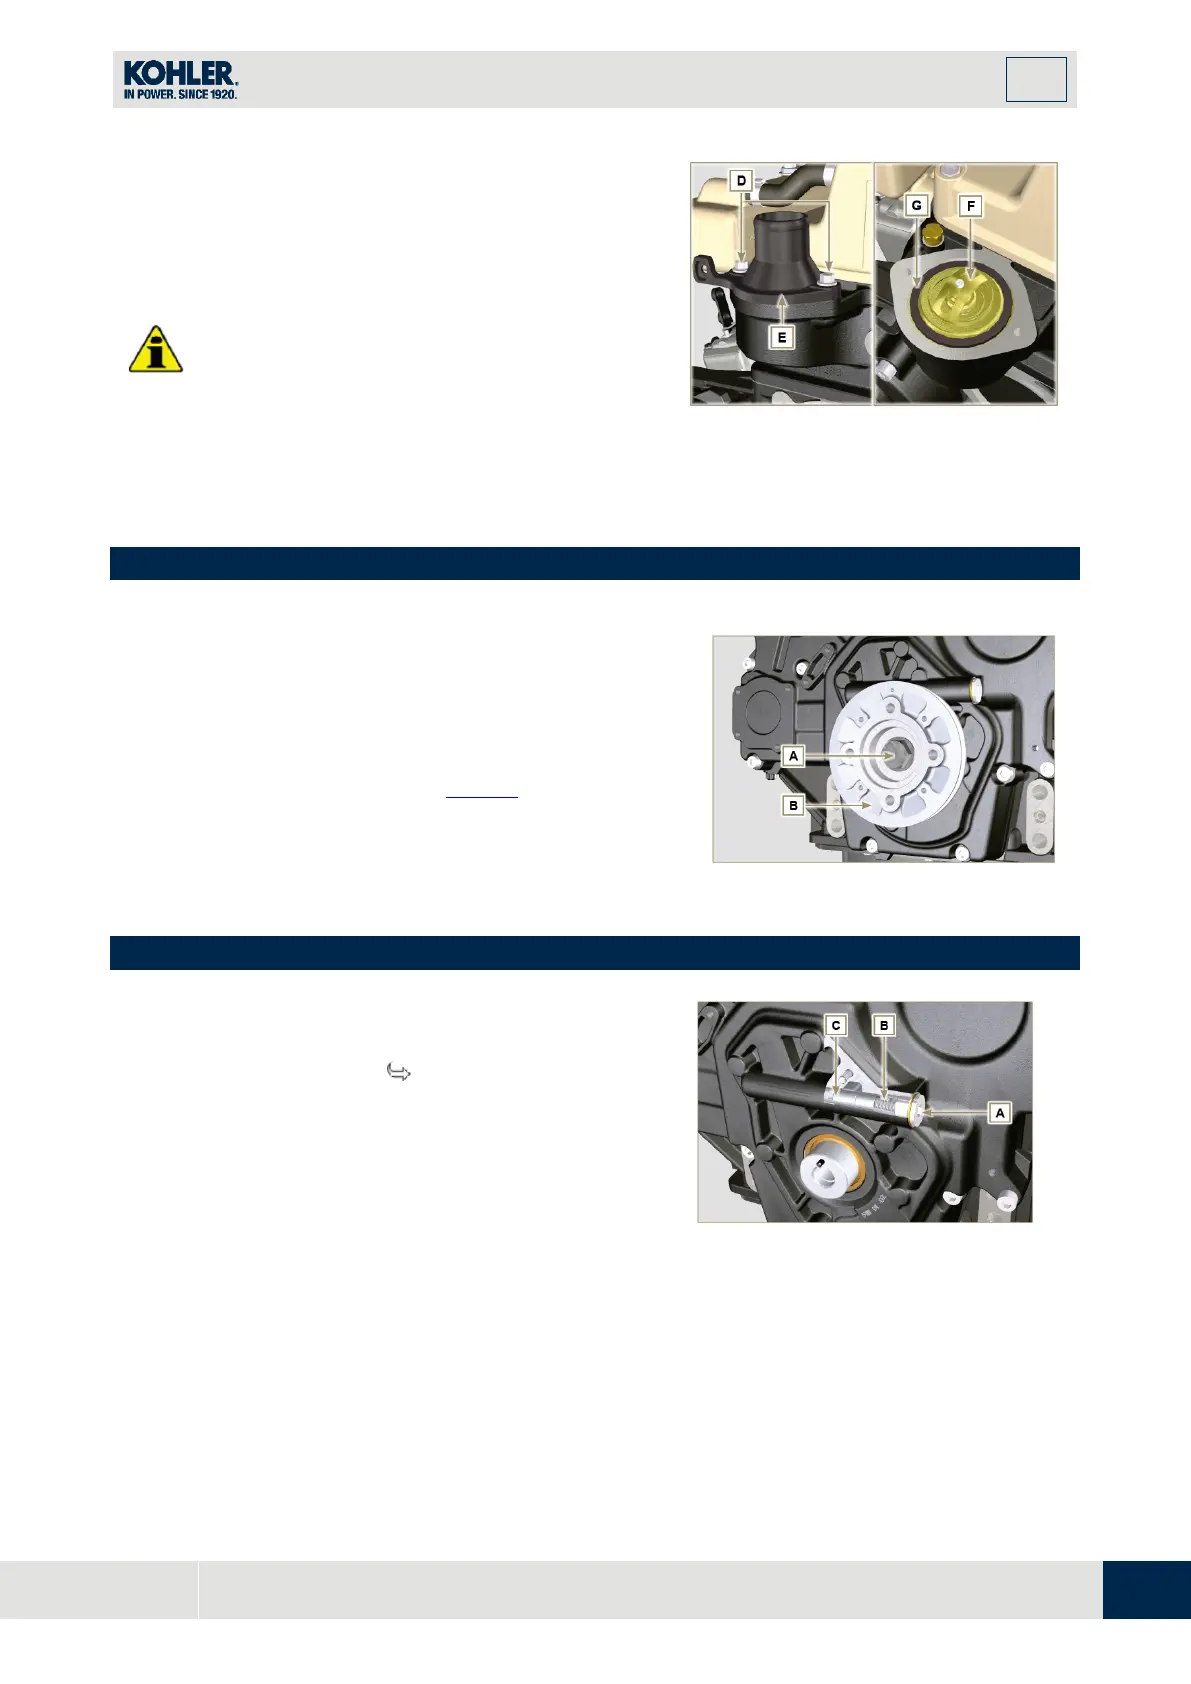
Undo the screws D and remove the thermostatic
valve cover E.
2.
Remove the thermostatic valve F and its gasket.
Important
•
Always replace the gasket G every time it is
disassembled.
3.
Check that the air bleeding hole is not clogged or
blocked (Par. 2.11.3).
Fig 7.8
7.5 Crankshaft pulley disassembly
NOTE:
Perform the operations described in
Par. 6.1.5 points
2 and 3
.
1.
Undo the screw A (clockwise - as seen from th
e
t
iming system side - Ref. A Par. 1.3
) and remove th
e
pulley B.
7.6 Lubrication circuit disassembly
7.6.1 Oil overpressure valve ( )
1.
Undo the cap A.
2.
Remove the spring B.
3.
Remove the valve piston C using a magnet.

 Loading...


