7. Install
the connecting rod cap (5) and loosely
tighten the connecting rod screw (4) by hand.
NOTE
• Apply engine
oil to the connecting rod
screws.
• If the connecting rod screw won't be
screwed in smoothly, clean the threads. If
the connecting rod screw is still hard to
screw in, replace it.
• When using the existing crankpin bearing
again, put tally marks on the crankpin
bearing and the connecting rod in order to
keep their positioning.
(4) Connecting rod screw (5) Connecting rod cap
8. Tighten the connecting rod screw (4) to the
specified torque.
T
ightening tor-
que
Connecting rod
screw (4)
40.0 to 45.0 N⋅m
4.08 to 4.58 kgf⋅m
29.5 to 33.1 lbf⋅ft
6.12 Installing oil strainer and oil pan
NOTE
• Clean the
oil pan and crankcase surface that
attached each other.
Tools required
• Liquid gasket (Three Bond 1217H)
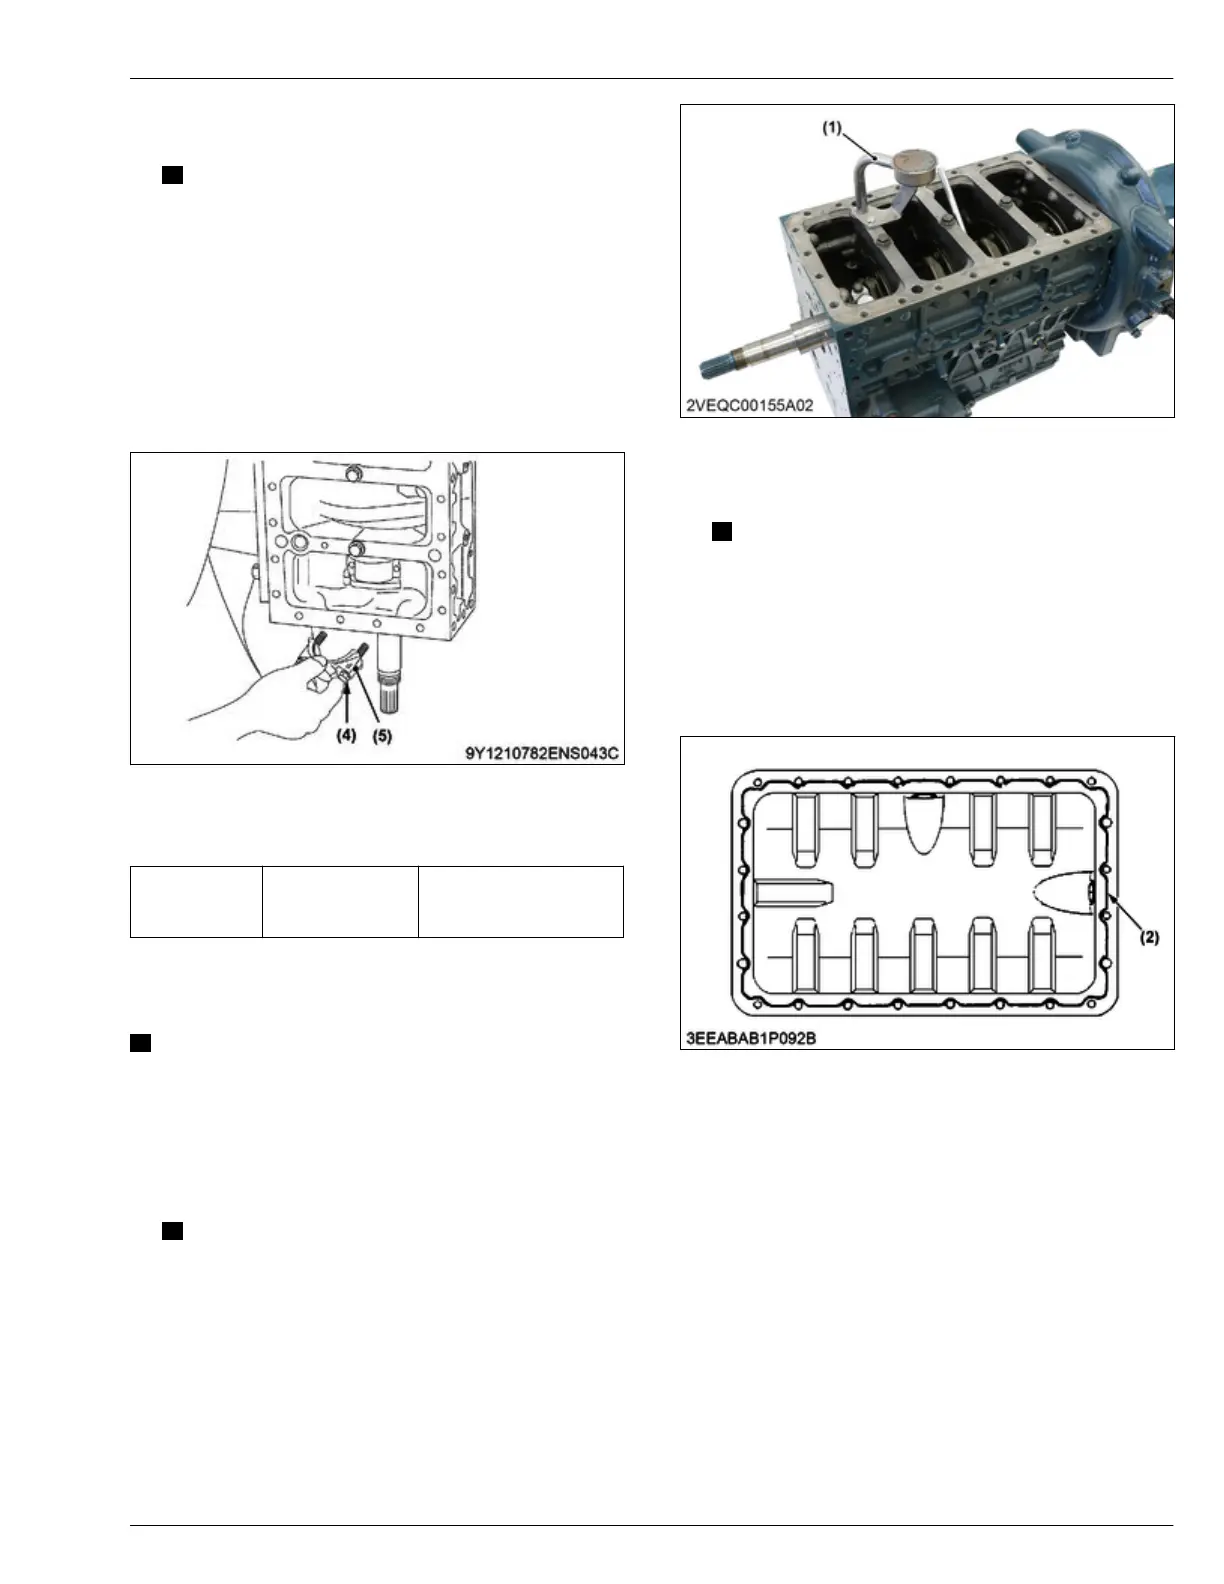
1. Install the oil strainer (1).
NOTE
•
Using care not to damage the O-ring.
•
After cleaning the oil strainer (1), install it.
(1) Oil strainer
2. Apply liquid gasket (2) to the oil pan as shown in
the figure.
NOTE
• Confirm that
the liquid gasket (2) coating
surface is free of water, dust and oil in order
to keep sealing effect.
• Make sure the surfaces align when mounting
parts with a liquid gasket (2) applied to
them.
• Carefully apply the liquid gasket (2) evenly.
(2) Liquid gasket
SERVICING
6. Assembling 4. ENGINE
D1803-CR-E4,D1803-CR-TE4,D1803-CR-TIE4,V2403-CR-E4,V2403-CR-TE4,V2403-CR-TE4BG,V2403-CR-TIE4