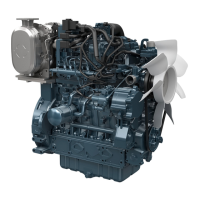
4. Connect the inlet hose (3), (4).
(1) Oil pipe joint screw
(2) Oil pipe
(3)
Inlet hose
(4) Inlet hose
(5) Turbocharger assembly
(6) Return pipe
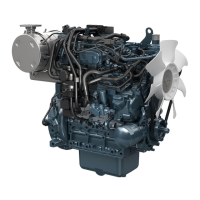
6.38 Installing EGR cooler
NOTE
• Replace the gaskets with new ones.
1.
Install the EGR cooler (3)and the EGR cooler pipe
(2).
2. Connect the EGR cooler hose (1).
(1) EGR cooler hose
(2) EGR cooler pipe
(3)
EGR cooler
3. Install the EGR pipe (5).
4.
Install the muf
fler flange (4).
(4) Muffler flange (5) EGR pipe
6.39 Assembling DPF assembly
IMPORTANT
• Since the
DPF that was dropped or given a
shock cannot be reused even if there is no
damage outwardly, replace it with a new one.
NOTE
• Put a
product (engine) on a stable ground, and
set the parking brake.
• Make sure not to let any foreign substances
enter the opening section during the operation.
• Make sure not to damage the DPF muffler full
assembly by falling or impact as it contains a
ceramic filter.
• When installing the muffler full assembly (DPF),
make sure that the exhaust gas temperature
sensor, differential pressure sensor, and
differential pressure pipe do not make contact
with surrounding parts.
• Replace the gasket with a new one.
• If the differential pressure tube is damaged or
cracked, replace it.
• When replacing the differential pressure pipe,
apply a anti-seize & lubricating compound
(Bostik, NEVER SEEZ, Pure Nickel Special
Grade), and then attach it to its correct position.
• When replacing the exhaust gas temperature
sensor, check that it is coated with anti-seize &
lubricating compound, and then attach it to its
correct position.
• Tighten bolts and nuts to their specified torque.
Also tighten the exhaust gas temperature
sensor tightening nut or the differential
pressure pipe tightening nut to the specified
torque with crowfoot wrench.
• After attaching the assembly, start the engine
and make sure that there are no gas leaks.
Tools required
• Crowfoot wrench
4. ENGINE
SERVICING
6. Assembling
D1803-CR-E4,D1803-CR-TE4,D1803-CR-TIE4,V2403-CR-E4,V2403-CR-TE4,V2403-CR-TE4BG,V2403-CR-TIE4