7 Installation, connection, exchange
71 of 206
BA KR 6, 16 F, KR C4 12.10.07 en
7 Installation, connection, exchange
Information!
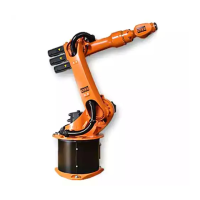
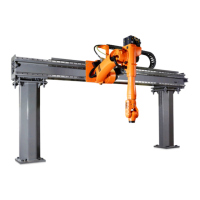
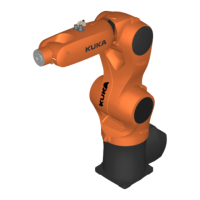
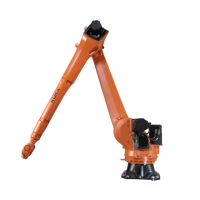
This description applies analogously to all of the industrial robots listed in Chapter 1,
regardless of the variant or model shown in the illustrations.
7.1 General
Caution!
Observe Chapter 5, “Safety”!
With all work involving the connection of the manipulator (and of the control
cabinet), the control cabinet documentation “Initial Start--up” must be observed.
Notice!
When putting the industrial robot into operation either for the first time or after
an exchange, zero adjustment must be carried out in accordance with the Opera-
ting Handbook, Software KR C4, Chapter “Start --up”, Section “Robot Mastering/
Unmastering”.
Before any installation and exchange work is started, any attached tools or additional equip-
ment that would hinder the installation and exchange work must be dismounted.
Caution!
If the manipulator is transported by fork lift truck, the forks must be placed in the
fork slots. It is forbidden to pick up the manipulator in any other way using a
fork lift truck!
The fork lift truck, lifting tackle and crane must be suitable for handling the
manipulator. For weight, see Chapter 4, “Technical Data”.
The manipulator must be moved into its transport position each time it is
transported. It must be ensured that the manipulator is stable while it is being
transported.
The manipulator must remain in its transport position until it is -- depending on
the type -- fastened to the floor, the ceiling or to a hinged steel base.
Before the manipulator is lifted, it must be ensured that it is free from
obstructions. Transport safeguards, such as nails and screws, are all to be
removed in advance, as is any rust or glue on contact surfaces.
Notice!
If the robot is operated in the vicinity of liquid or abrasive media (e.g. water, grinding
and polishing materials, or similar), the mounting flange of axis 6 must be permanently
sealed by applying a liquid seal to the tool flange and beneath the screw heads.
The correct functioning of the seal must be checked at appropriate intervals.
The description of the installation and exchange operations is subdivided into job steps with
numbers in brackets appearing before them. The text which immediately follows these steps
must also be read if it is specially marked by a warning triangle or either of the hand sym-
bols. Many of these marked texts refer to the preceding job
step.

 Loading...


